How to Enable Continuous Recording on a Tapo Camera Using a microSD Card
- Last updated: Dec 12, 2025
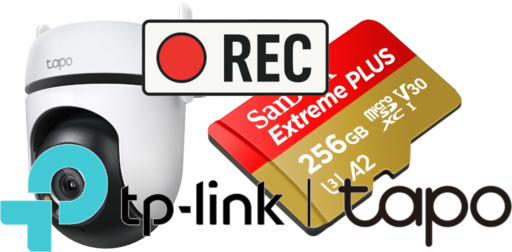
I recently purchased a Tapo C520WS camera. I initially tried the (somewhat expensive 🙂) cloud storage subscription, but it only records video clips when motion is detected. It does not allow full, continuous recording. To achieve this, you need to use a microSD card.
Now that microSD cards offer large storage capacities, this solution makes a lot of sense. For example, in my case, using a 256GB microSD card, I can store more than two weeks of video in QHD 2K quality.
By default, recording on the microSD card is also limited to motion-detected clips only. To enable continuous recording, specific settings must be adjusted in the application. That is exactly the purpose of this article.
Enable Continuous Recording on a Tapo Camera
- Open the Tapo app on your smartphone, select the camera for which you want to enable continuous recording, then tap the icon in the top-right corner and choose Storage & Recording:

- From Storage & Recording, tap Recording Schedule, then tap Edit:

- Select Continuous Recording (1), then tap Select All (2). Choose Continuous Recording and confirm by tapping OK.

- Finally, tap the checkmark icon to save your changes:

Continuous recording is now enabled.