How to Share and Download Torrents Anonymously with I2PSnark on the I2P Network
- Last updated: Jun 1, 2025


In a previous article, I demonstrated how to install I2P on a Windows 11 computer. You can find the complete tutorial: here. At the end of that article, I showed how to navigate the internet securely and anonymously using I2P, similar to what you can do with the Tor Browser.
However, I2P offers much more, such as using the BitTorrent protocol to share files securely and anonymously.
One last thing to note is that you cannot use standard torrents with the default I2P Torrent client, I2PSnark. So, don't add torrents from The Pirate Bay or similar platforms, as they won't work. Instead, you should use specific torrents that have been designed to work natively with I2P.
I2PSnark Interface
I2PSnark is the built-in torrent client included with the default I2P installation. Unlike traditional applications like Transmission, it doesn't run as a separate program. Instead, it is accessed through your web browser via the following local URL: http://127.0.0.1:7657/i2psnark, or directly from the main I2P Console menu.
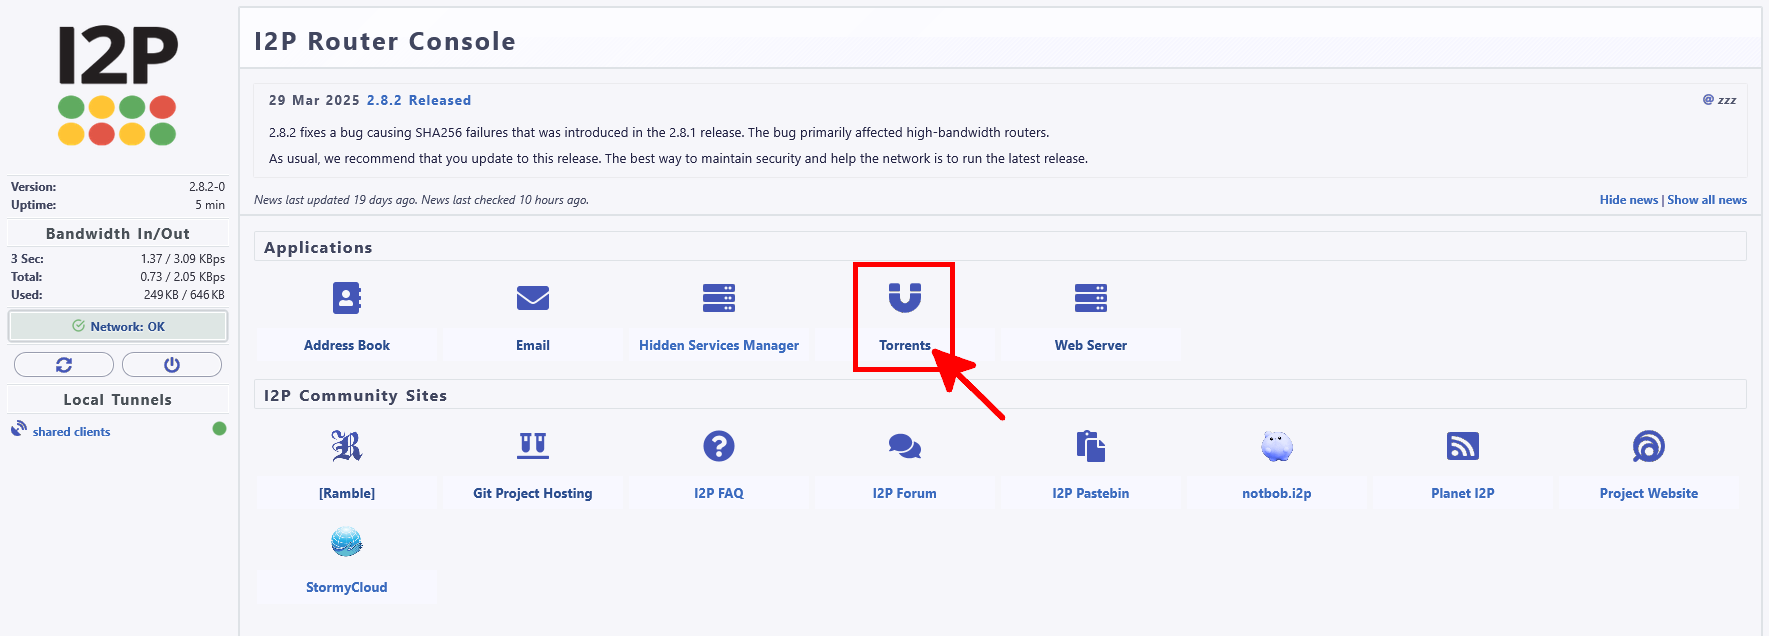
- For example, from the main menu, simply click on the Torrents icon:
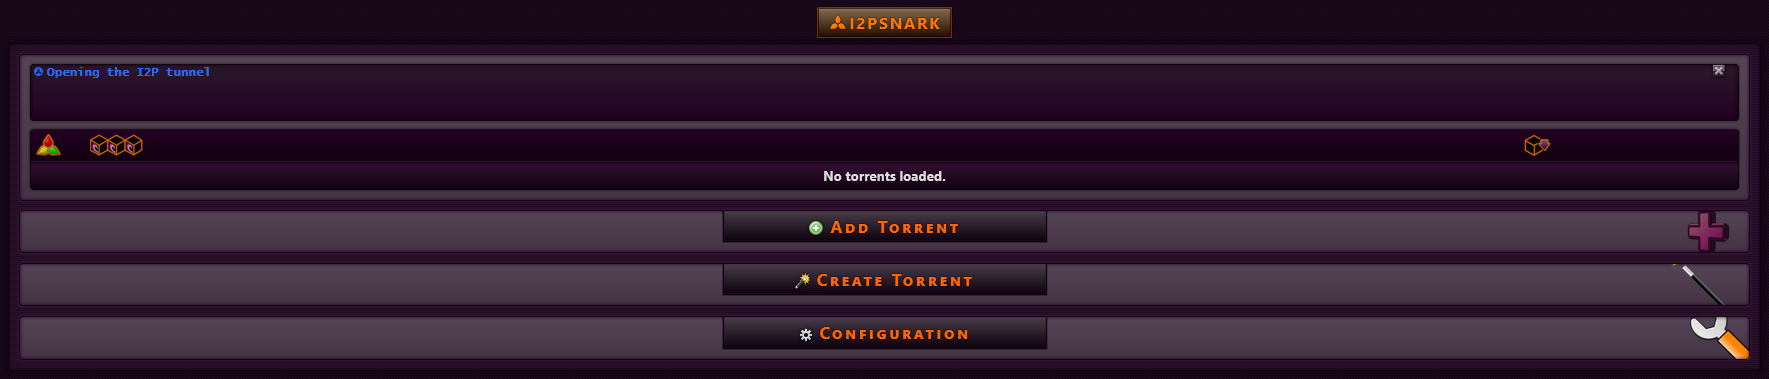
- As you can see, the interface of I2PSnark is rather minimalist, offering just three choices: Add a Torrent, Create a Torrent and access to the Configuration:
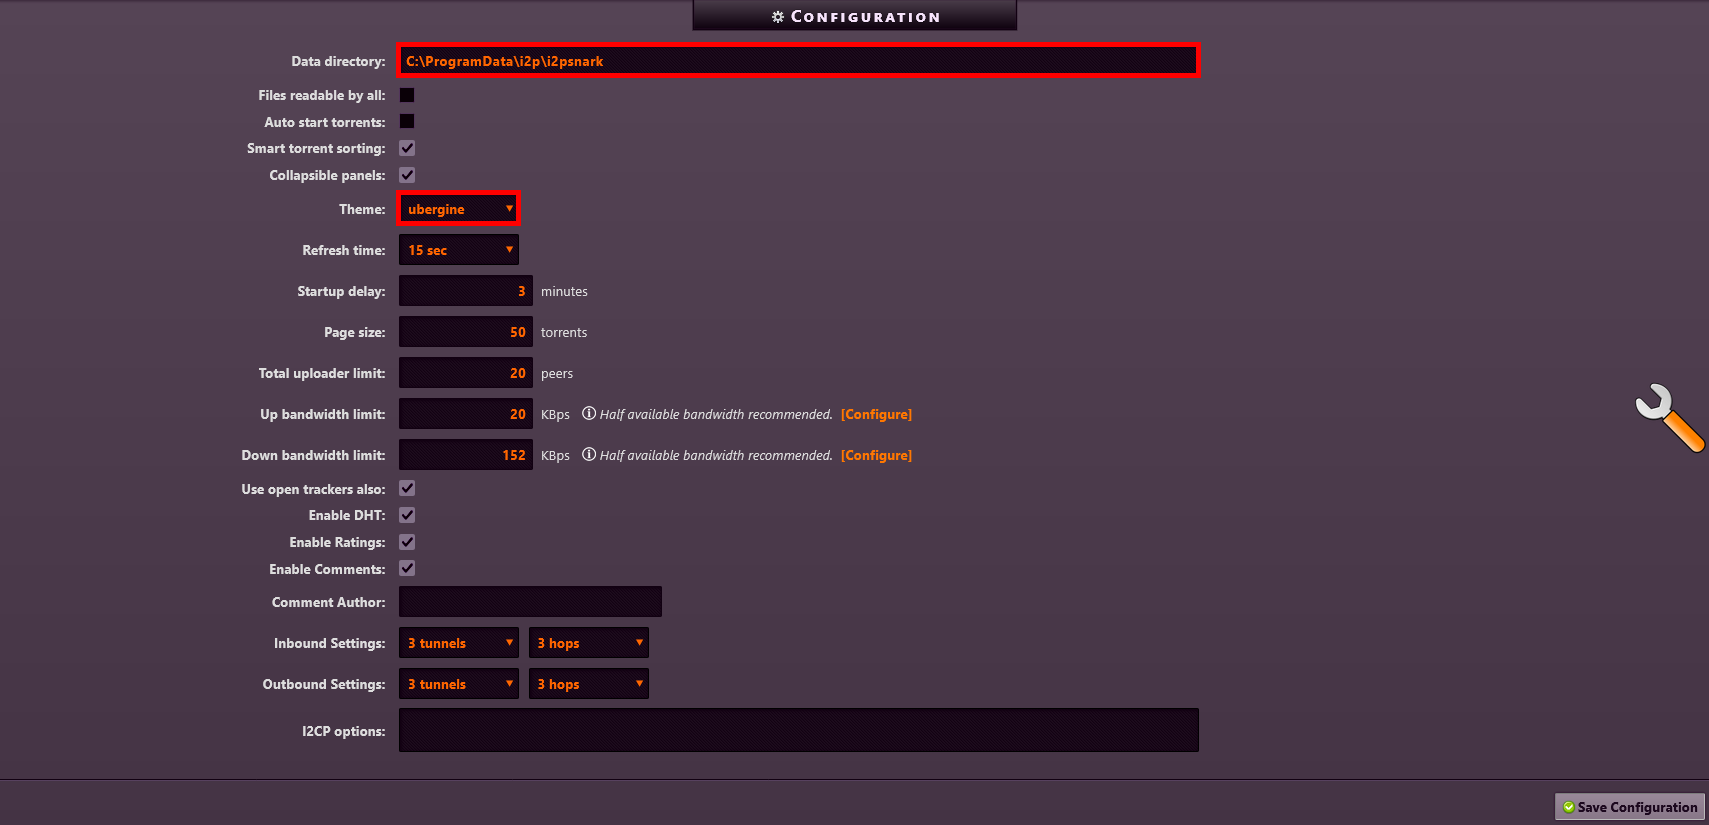
Configuration
- You can customize several settings, including the download directory, the visual theme (yes, you can finally get rid of that awful one!), and the amount of bandwidth allocated to the client:
Add Torrent
Now that we've explored the Configuration menu (and hopefully changed that awful default theme 😉), it's time to try downloading something, right?
As mentioned earlier, standard torrents won't work here. Instead, you'll need to use torrents specifically designed for I2PSnark. One such site that lists compatible torrents is: http://tracker2.postman.i2p (and if you know of any others, feel free to share 😏).
- The interface is very similar to other torrent websites. For example, you can search using the keyword debian (because we're only here to download legal stuff, right? 😇):
- Let’s say you want to download the debian-live ISO. Right-click on the magnet link icon and select Copy Link:
- Go back to the I2PSnark interface and click on Add Torrent. Paste the previously copied magnet link into the From URL field, then click Add torrent:

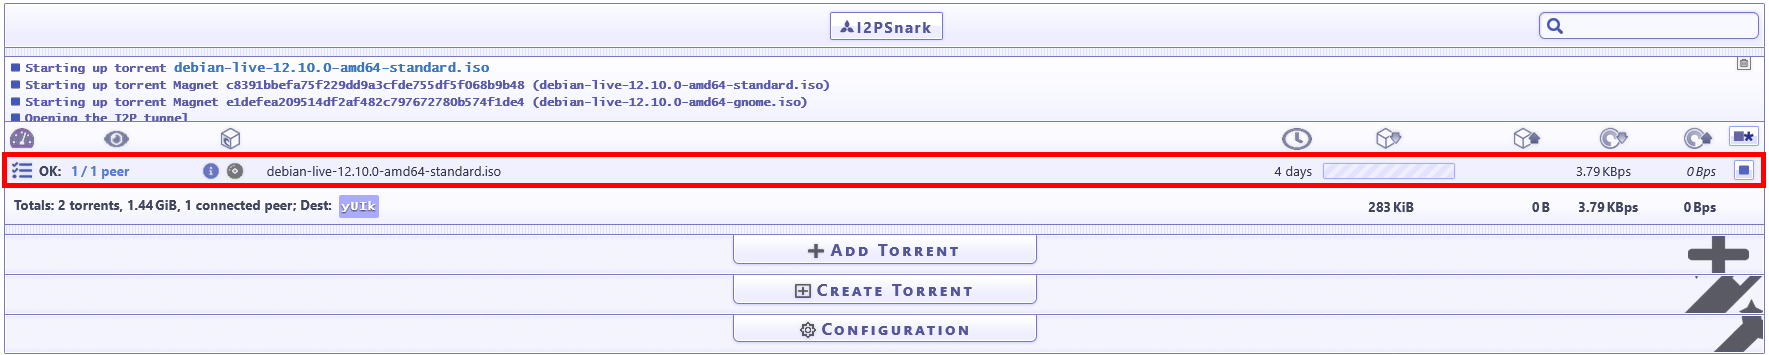
- After a few minutes, depending on the number of seeders, the download should start:
Create Torrent
If you have something you'd like to share with the community, it's entirely possible! Here's how to create a .torrent file so you can share it via the Postman tracker.
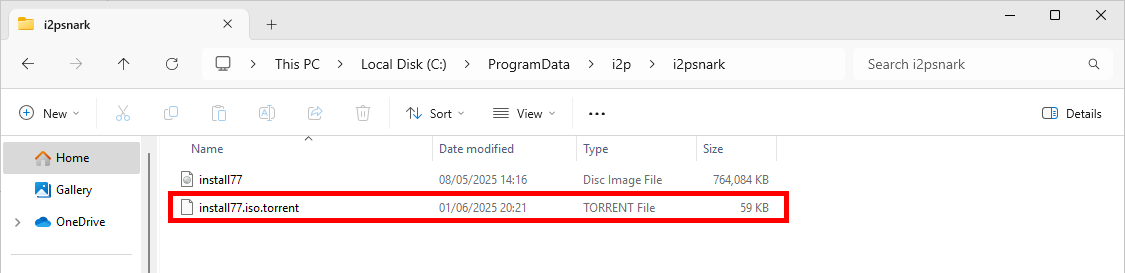
- Click on Create Torrent. Specify the full path to the file you want to share, select Postman as the tracker, and finally click Create torrent:

- A .torrent file should appear in your directory:
- Go to
http://tracker2.postman.i2pand click on Register(1) to create an account. Enter your desired username and password(2), then click on (3) to complete the registration:
- Click on Upload(1). Then, browse to the
.torrentfile(2), enter a title(3), select a category(4), write a description(5), and click on Proceed(6) to upload your torrent.