Setting Up OpenVPN on Windows Server 2025
- Last updated: Sep 24, 2024

This tutorial explains how to set up an OpenVPN server on Microsoft Windows Server 2025.
- OpenVPN is a powerful VPN solution that offers several advantages:
- It is free and Open Source
- Compatible with most operating systems
- Reliable, with a responsive community
- Easy to implement
- Highly configurable.
Network diagram

OpenVPN Server

- OpenVPN Server Properties:
- OS: Windows Server 2025
- Role: OpenVPN Server
- IP: 192.168.0.254
Prerequisites
OpenSSL

To create the certificates used for authentication, we'll need to install the OpenSSL software library. In Microsoft environments, I use the packages provided by this website: https://slproweb.com.
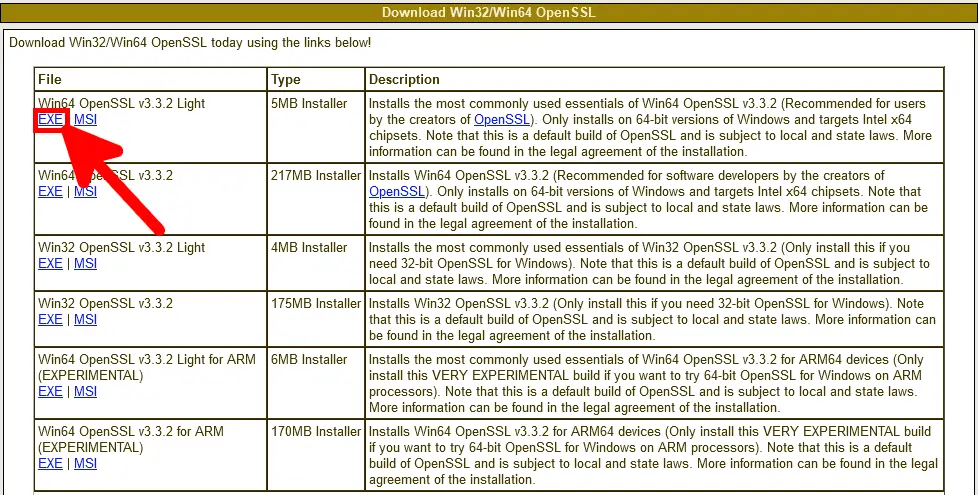
Download OpenSSL
Download the latest version of OpenSSL Light.
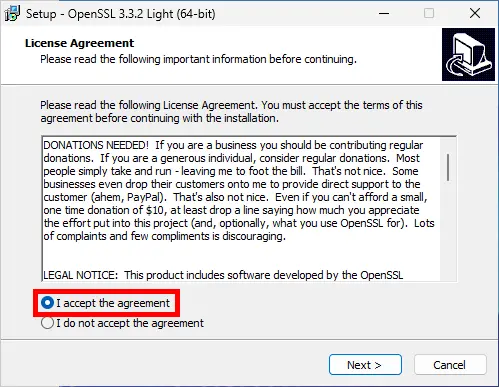
Install OpenSSL
- Accept the agreement:
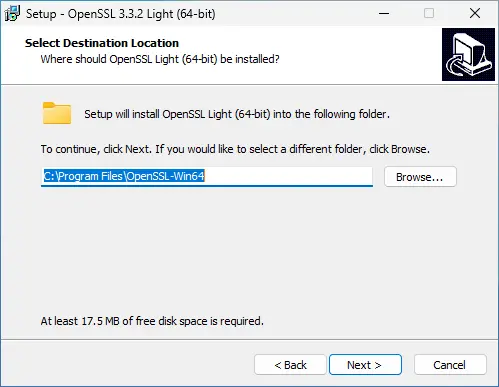
- Select destination location:
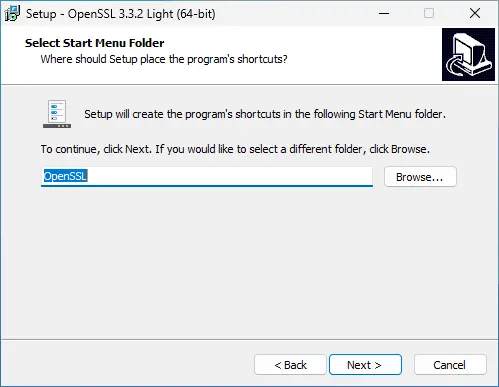
- Select start menu folder:
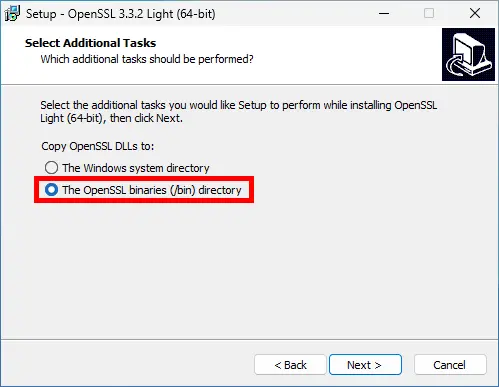
- Select the OpenSSL binaries directory:
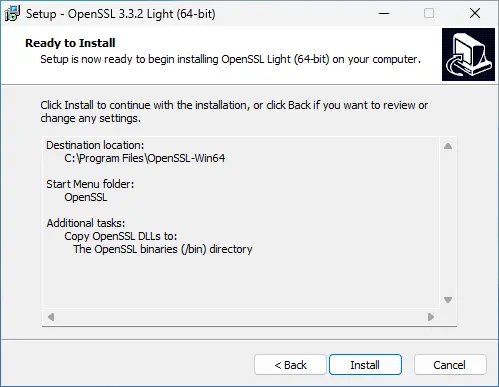
- Click to install:
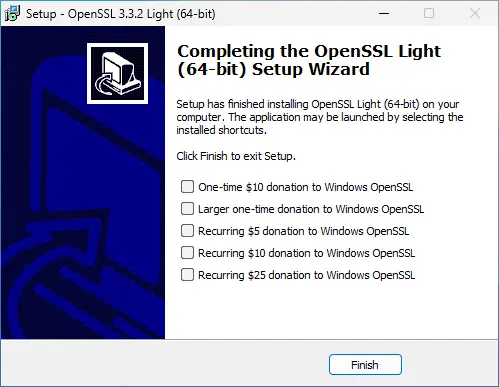
- Click Finish to exit (and make a donation if you can to support the project 😊):
Add OpenSSL in Environment Variables
We need to add the OpenSSL path to the environment variables.
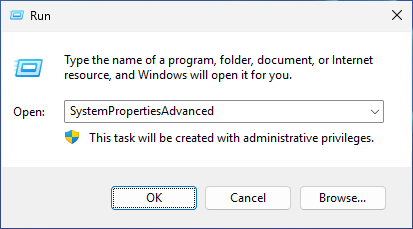
- Run SystemPropertiesAdvanced to open System Properties:
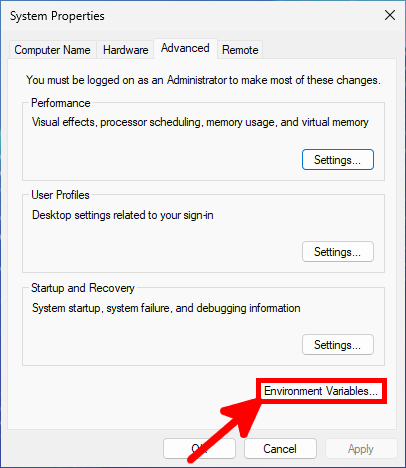
- Click on Environment Variables…:
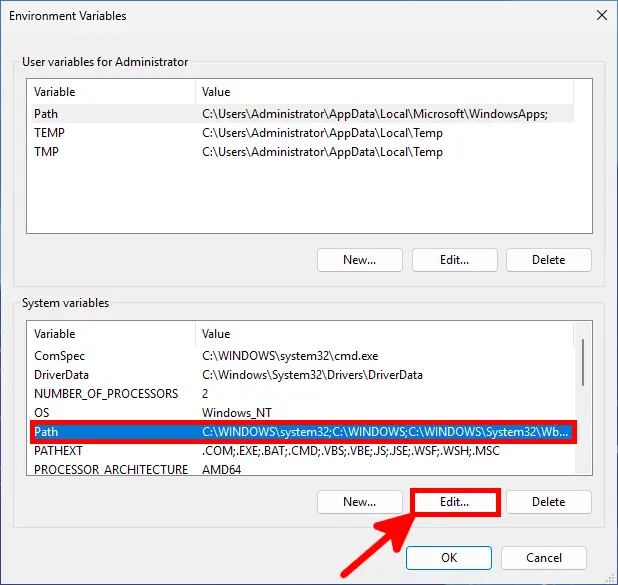
- Modify Path:
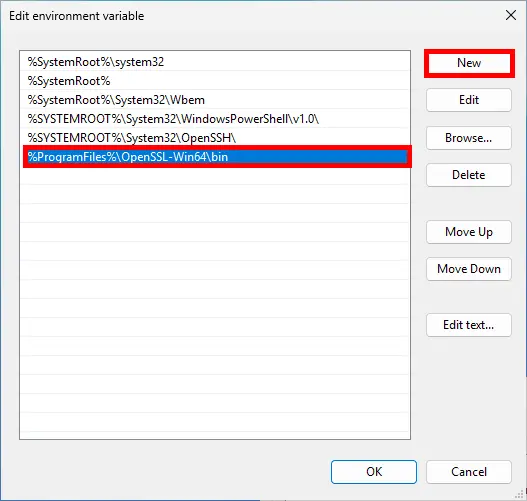
- Click on New and add
%ProgramFiles%\OpenSSL-Win64\bin:
- Open a new Windows command and check that you can run this openssl command:

Windows Firewall

We need to open port 1194 udp to allow OpenVPN client connections.
- To do this, use the Windows Firewall Management Console or this command in an Administrator command-line console.
C:\Windows\system32>netsh advfirewall firewall add rule name="OpenVPN" dir=in localport=1194 remoteport=0-65535 protocol=UDP action=allow remoteip=any localip=any- Or with PowerShell:
PS C:\ > New-NetFirewallRule -DisplayName "OpenVPN" -Direction Inbound -Protocol UDP -LocalPort 1194 -Action AllowInstalling OpenVPN
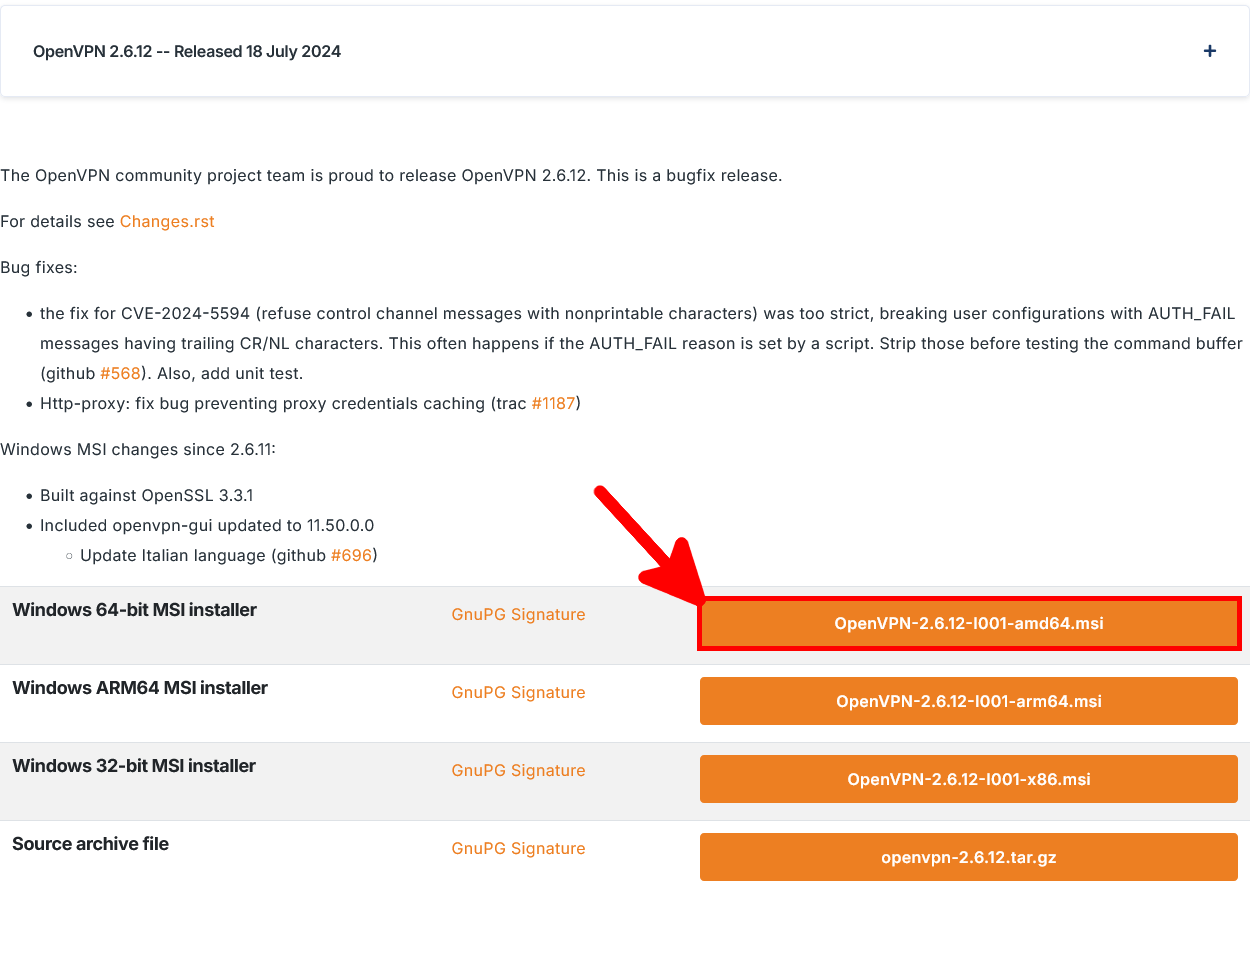
Go to the official OpenVPN website here: https://openvpn.net and download the latest installer.
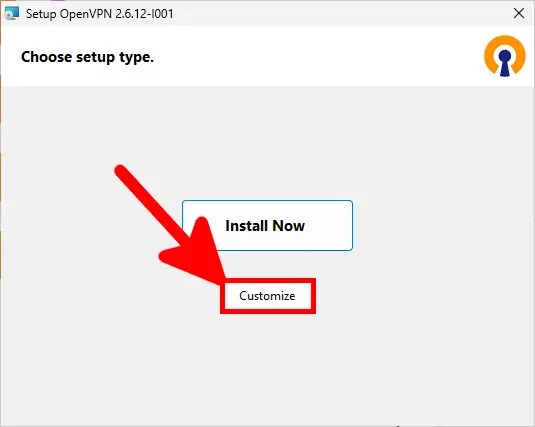
- Since we are setting up a server, we will choose Customize:
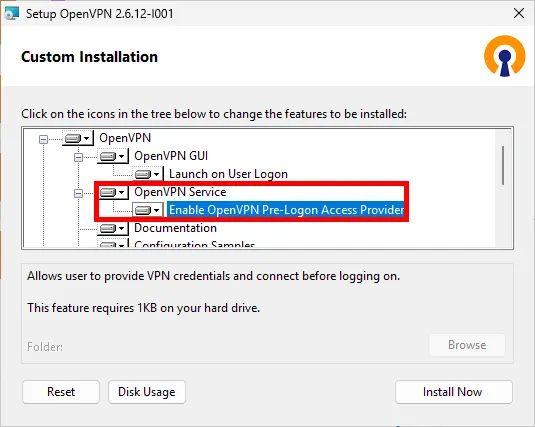
- We enable the OpenVPN Service to run on startup:
- We install EasyRsa to create certificates for the server and clients:
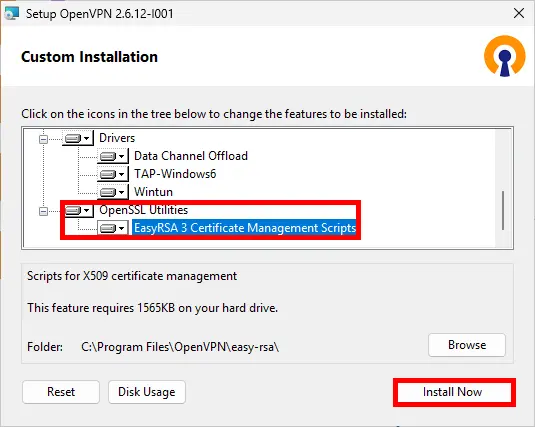
- Finally, click on Close:
Certificates
Setting up Certificate Authority (CA) and generating certificates and keys for server and clients
Here, we're going to set up a pki to create our server and client certificates.
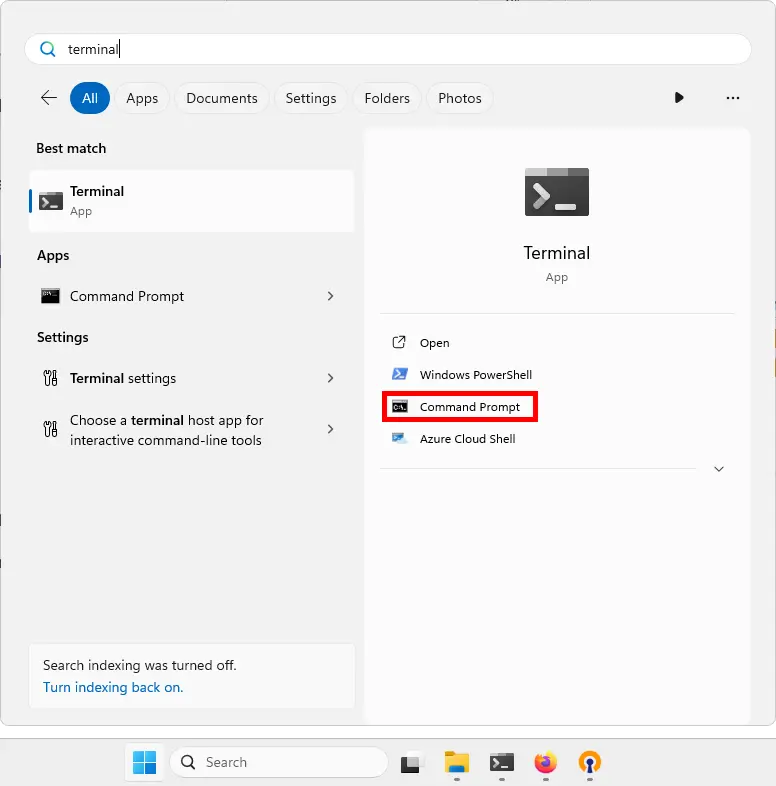
- Open a Command Prompt:
- Then type the following commands to enter the EasyRSA shell:
C:\Windows\system32> cd "C:\Program Files\OpenVPN\easy-rsa"C:\Program Files\OpenVPN\easy-rsa> .\EasyRSA-Start.bat
Welcome to the EasyRSA 3 Shell for Windows.
Easy-RSA 3 is available under a GNU GPLv2 license.
Invoke 'easyrsa' to call the program. Without commands, help is displayed.
Using directory: C:/Program Files/OpenVPN/easy-rsa
EasyRSA Shell
#- Delete the existing configuration, just for good measure:
# ./easyrsa clean-all- Initialize pki, and type yes to confirm:
# ./easyrsa init-pki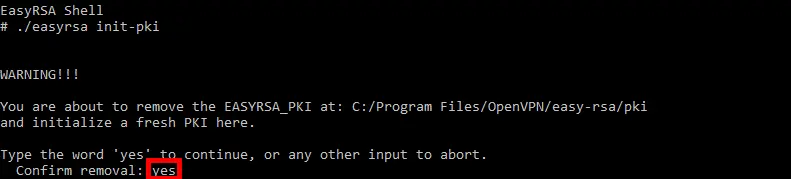
- Building the certificate authority:
# ./easyrsa build-ca
[…]
Enter PEM pass phrase:MyPassW0rd
Verifying - Enter PEM pass phrase:MyPassW0rd
[…]
Common Name (eg: your user, host, or server name) [Easy-RSA CA]:ovpn- Building the server certificate and key:
# ./easyrsa build-server-full server nopass
[…]
Confirm request details: yes
[…]
Enter pass phrase for c:\Program Files\OpenVPN\easy-rsa\pki\private\ca.key:MyPassW0rd- Generate Diffie-Hellman parameters:
# ./easyrsa gen-dh- Generate client certificates:
# ./easyrsa build-client-full client01 nopass
[…]
Confirm request details: yes
[…]
Enter pass phrase for c:\Program Files\OpenVPN\easy-rsa\pki\private\ca.key:MyPassW0rd
Move certificates to the correct folders
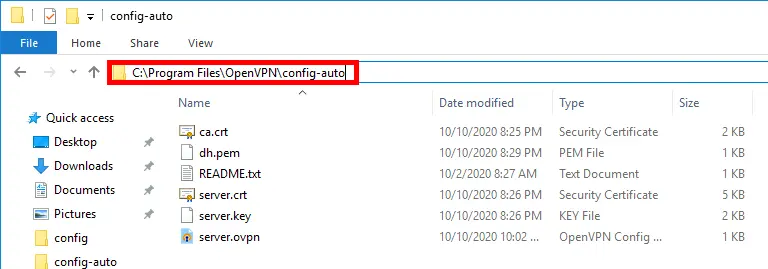
- Place these files (from «
C:\Program Files\OpenVPN\easy-rsa\pki», «C:\Program Files\OpenVPN\easy-rsa\pki\issued» and «C:\Program Files\OpenVPN\easy-rsa\pki\private») :ca.crtdh.pemserver.crtserver.key
- In the «
C:\Program Files\OpenVPN\config-auto» and «C:\Program Files\OpenVPN\config» folders.
Configuration File
- As administrator, edit the «
C:\Program Files\OpenVPN\config-auto\server.ovpn» file:
port 1194
proto udp
dev tun

ca ca.crt
cert server.crt
key server.key
dh dh.pem

server 10.50.8.0 255.255.255.0
ifconfig-pool-persist ipp.txt

keepalive 10 120

#comp-lzo

persist-key
persist-tun

status openvpn-status.log

verb 3
Restart OpenVPN Service
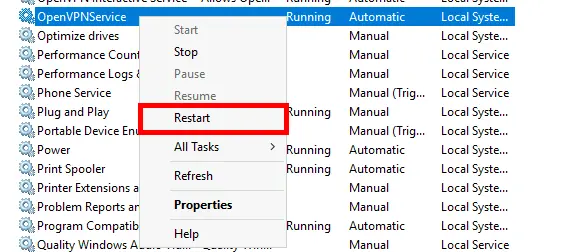
The OpenVPN service must be restarted for the configuration file to take effect.
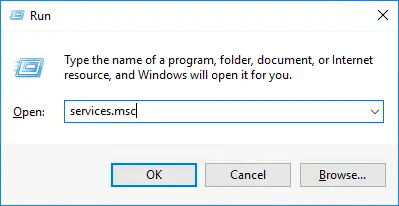
- Open the service management console:
- Right click on OpenVPNService then Restart:
- Alternatively, use an administrator command prompt:
C:\Windows\system32>net stop openvpnserviceC:\Windows\system32>net start openvpnservice- Or with PowerShell:
PS C:> Restart-Service OpenVPNService -PassThruWindows client configuration

Installing OpenVPN
We need to download the same package as for the server, but this time install it with the default settings.
Copy certificates from the Server
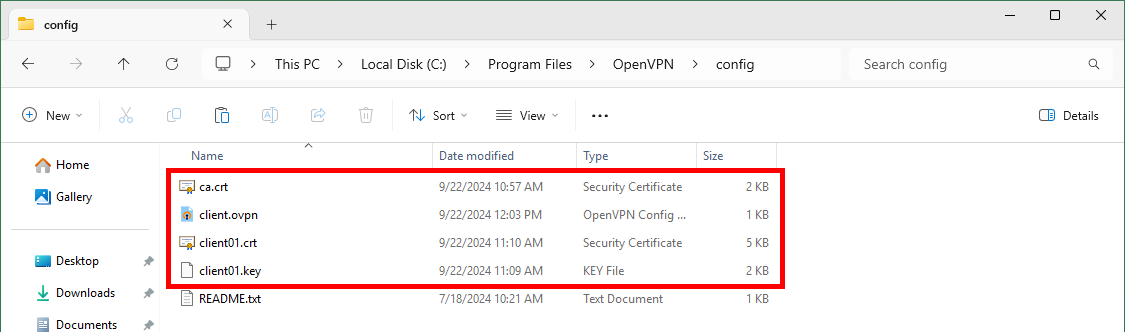
- From the server, we need to copy the following files:
ca.crt: C:\Program Files\OpenVPN\easy-rsa\pkiclient01.crt: C:\Program Files\OpenVPN\easy-rsa\pki\issuedclient01.key: C:\Program Files\OpenVPN\easy-rsa\pki\private
And paste them to the C:\Program Files\OpenVPN\config directory of our Windows client.
- You should see this client files:
- Edit the
C:\Program Files\OpenVPN\config\client.ovpnfile:
client

dev tun

proto udp

remote OPENVPN_IP 1194

resolv-retry infinite
nobind
persist-key
persist-tun

ca ca.crt
cert client01.crt
key client01.key

#comp-lzo

verb 3- Open OpenVPN with administrator rights (otherwise the routing rules, if any have been set up, will not work) and connect:
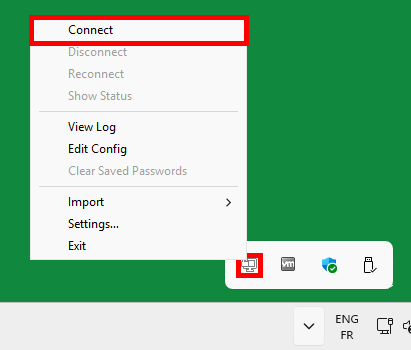
- A pop-up window will confim that we are connected:
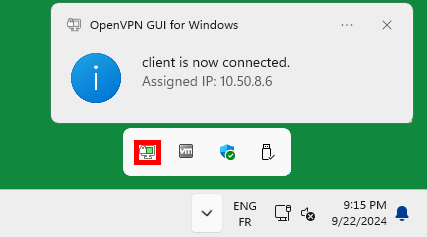
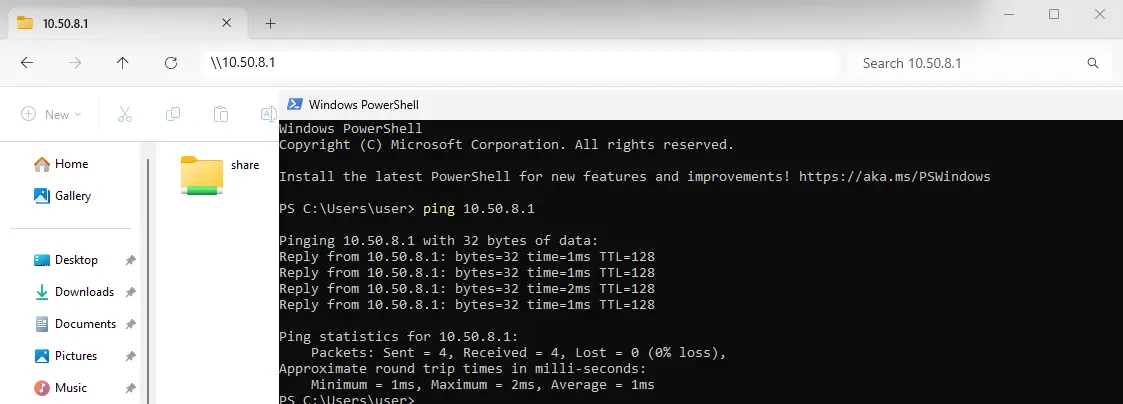
- To reach the server, we'll use the IP address
10.50.8.1: