rss logo

Microsoft SQL Server Always On in a Workgroup environment

Mssql Server Logo

Intro

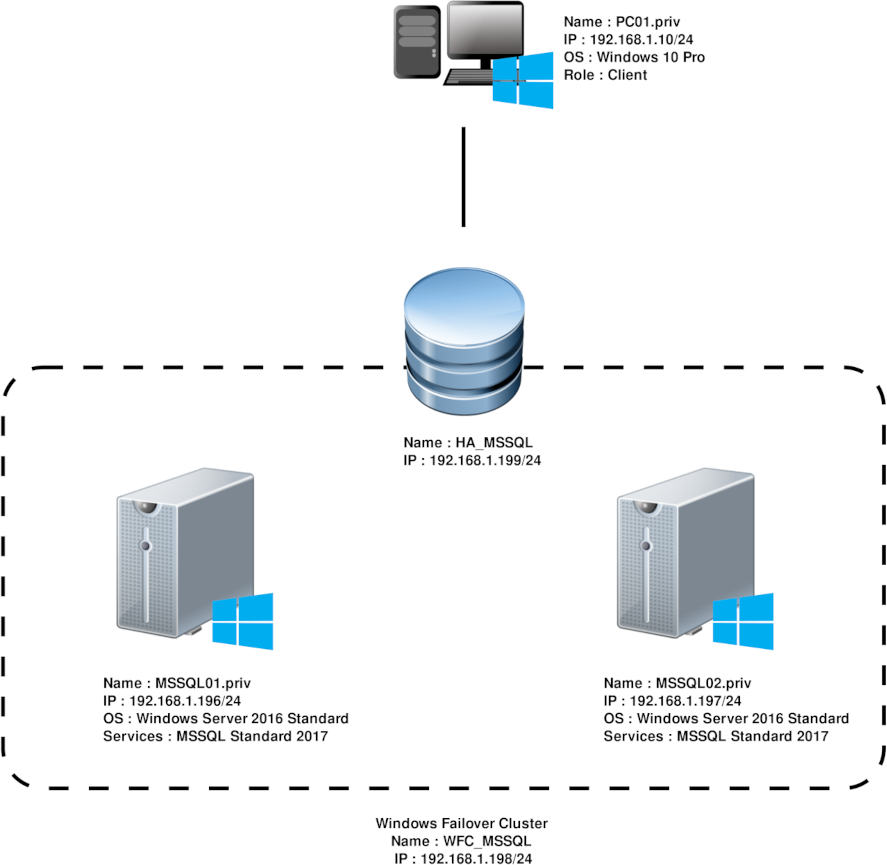
I had to set a high availability Microsoft SQL Server in a WORKGROUP environment. Since Microsoft SQL Server 2017 the Always On feature is available (for only one database with a MSSQL Standard licencing). And since Windows 2016 Server Standard High Availability cluster is possible in a WORKGROUP environment.

Configuration

  • OS : Windows 2016 Server Standard
  • Microsoft SQL Server : 2017 Standard

Network diagram

Create Microsoft SQL service account (MSSQL01 and MSSQL02)

  • ⚠️ the /expires:never switch doesn't seem working, so I use WMIC command right after :
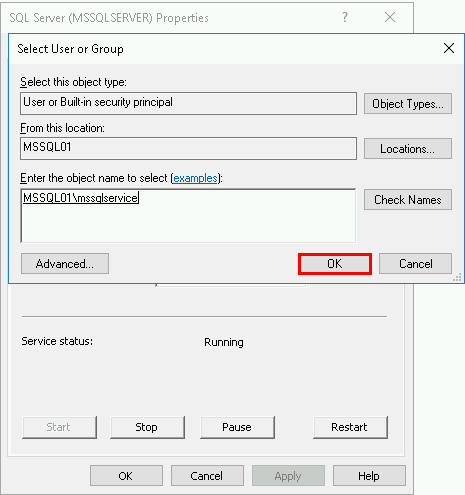
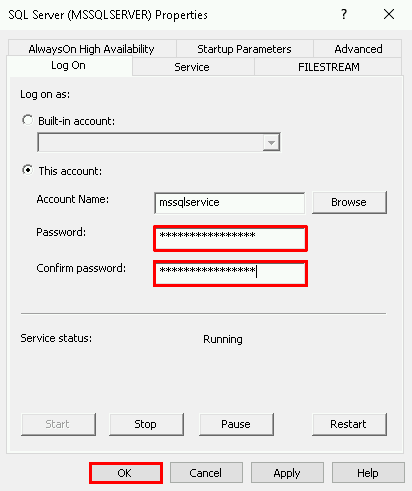
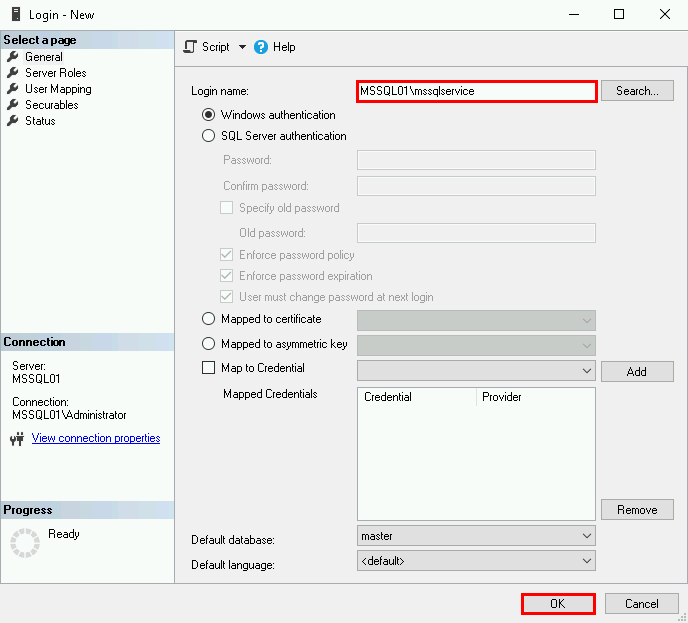
net user mssqlservice MyPassw0rdMSSQL! /add /expires:never
WMIC USERACCOUNT WHERE Name='mssqlservice' SET PasswordExpires=FALSE
net localgroup administrators mssqlservice /add

Microsoft SQL Server Installation (MSSQL01 and MSSQL02)

  • Let's do a classic installation
  • Specify the edition. As I'm in a test environment I will use Evaluation.
  • Accept the licence terms.
  • Do the Microsoft Update now or later.
  • Select minimal features.
  • Set Instance ID as you wish.
  • Click on Add Current User to add current user. I won't use SQL Server authentication
  • Click Install
  • Done

Network and DNS configuration (MSSQL01 and MSSQL02)

Firewall

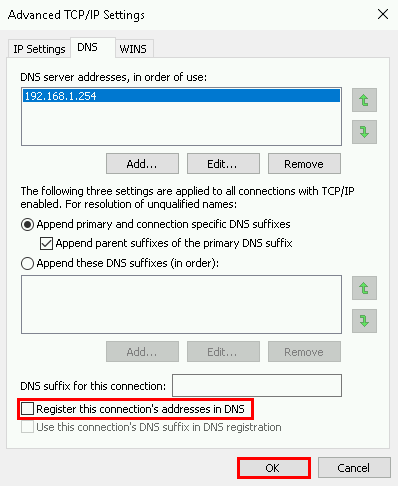
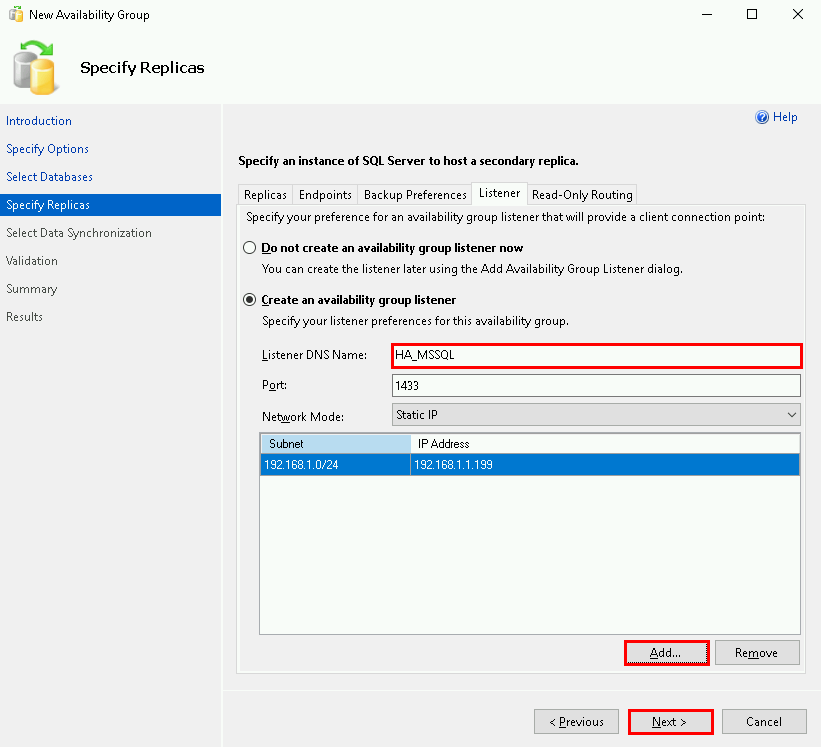
Note : We have to open the TCP 1433 and 5022 on each server.

  • For example, for the Windows integrated firewall by executing the following command :
PS C:\Windows\system32> netsh advfirewall firewall add rule name="MSSQL" dir=in localport=1433,5022 remoteport=0-65535 protocol=TCP action=allow remoteip=any localip=any
  • Or via PowerShell :
PS > New-NetFirewallRule -DisplayName "MSSQL" -Direction Inbound -LocalAddress Any -RemoteAddress Any -Protocol tcp -LocalPort 1433,5022 -Action Allow

DNS

  • Add DNS records inside C:\Windows\System32\drivers\etc\hosts file
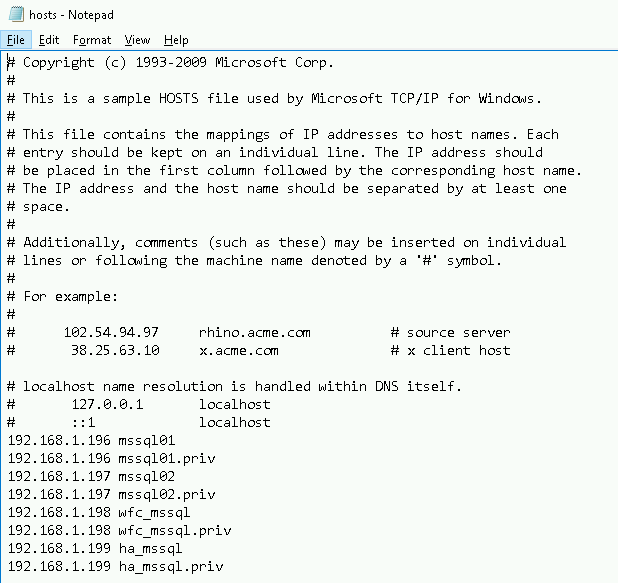
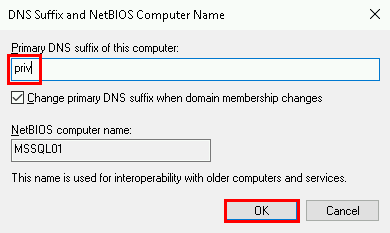
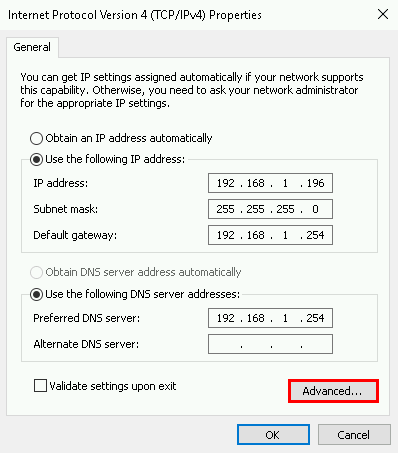
192.168.1.196 mssql01
192.168.1.196 mssql01.priv
192.168.1.197 mssql02
192.168.1.197 mssql02.priv
192.168.1.198 wfc_mssql
192.168.1.198 wfc_mssql.priv
192.168.1.199 ha_mssql
192.168.1.199 ha_mssql.priv
  • Add Primary DNS suffix
  • Disable DNS registering

Windows Failover Clustering (MSSQL01 and MSSQL02)

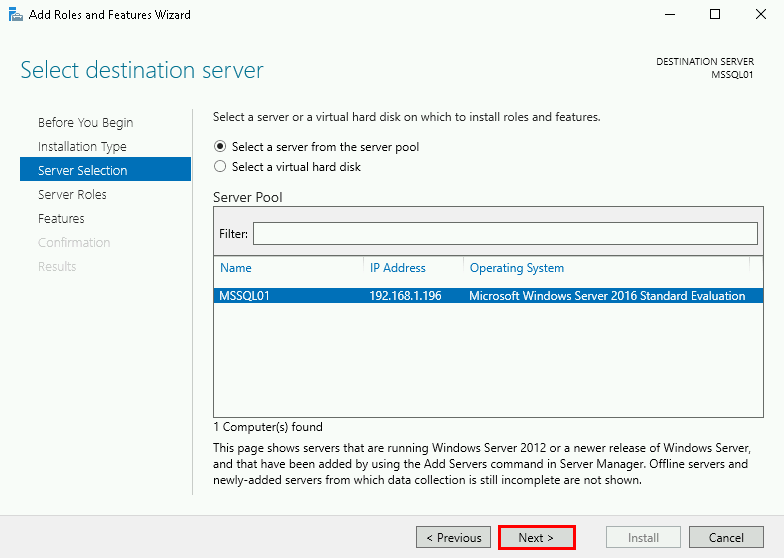
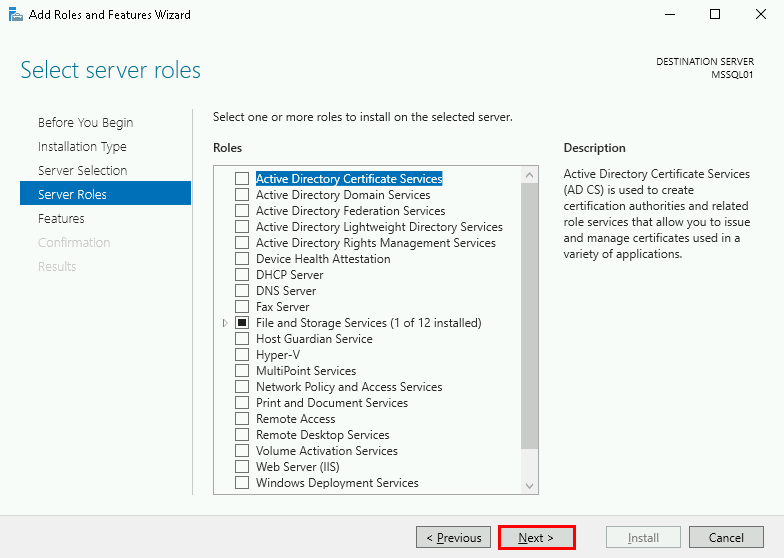
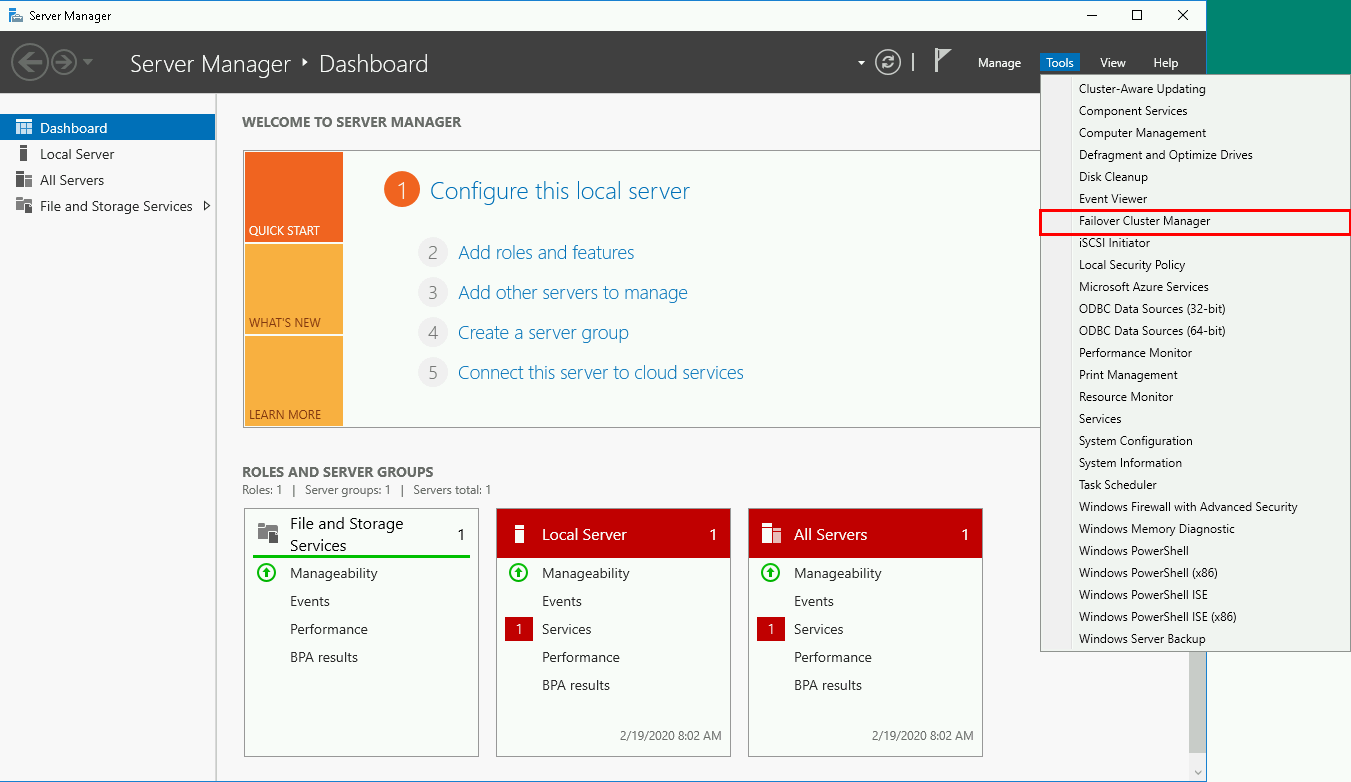
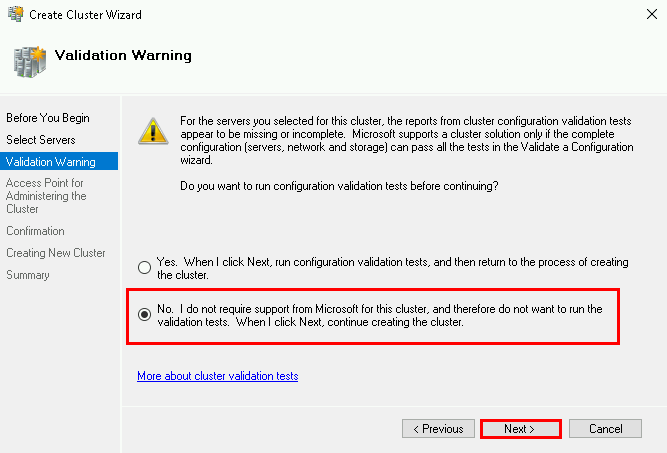
Install the Windows Failover Clustering role.

Windows Failover Clustering Install

Install from the graphical interface

  • From Server Manager select Add Roles and Features
  • Follow the instructions
  • Select Failover Clustering
  • Let it Restart if he wants to

Install With PowerShell

  • Or with a single PowerShell command :
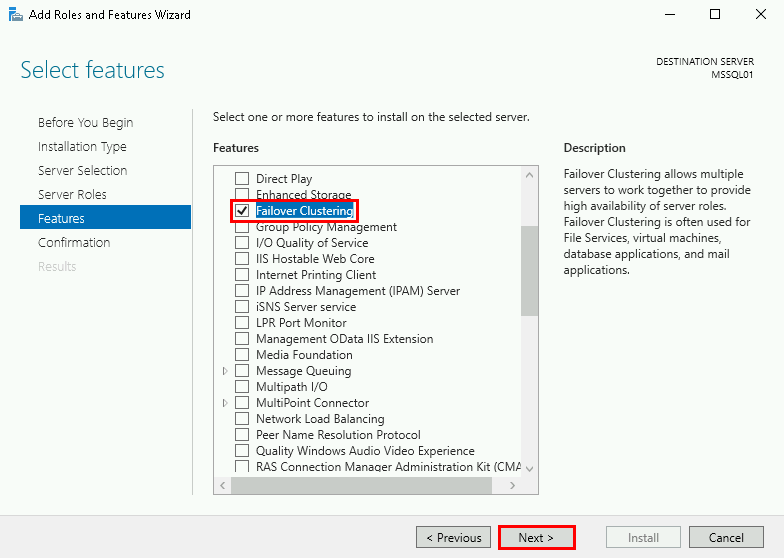
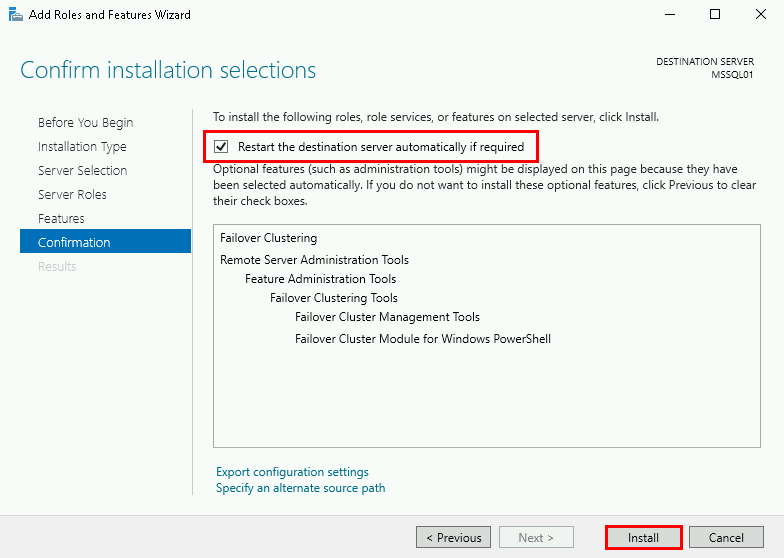
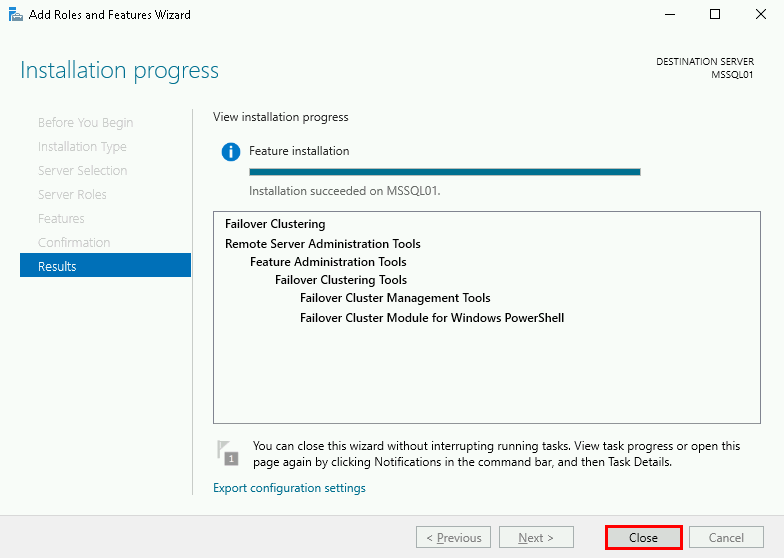
Install-WindowsFeature -Name Failover-Clustering –IncludeManagementTools -Restart

Windows Failover Clustering Configuration (MSSQL01)

Configure the Windows Failover Clustering role.

Configuration from the GUI

  • From Server Manager select Failover Cluster Manager
  • Create Cluster
  • Add mssql servers
  • Give a Cluster Name and set ip address

Configuration with PowerShell

  • Or with a single PowerShell command :
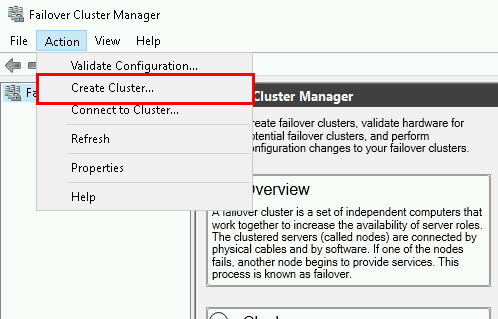
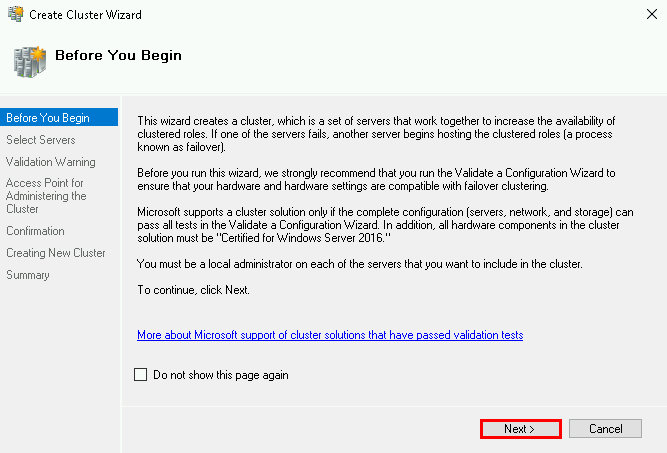
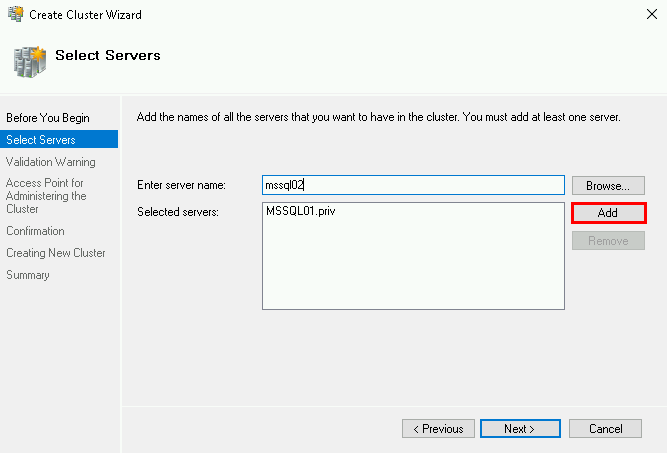
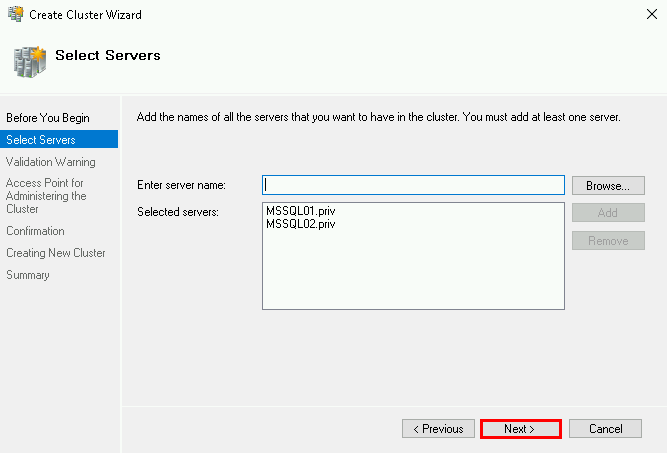
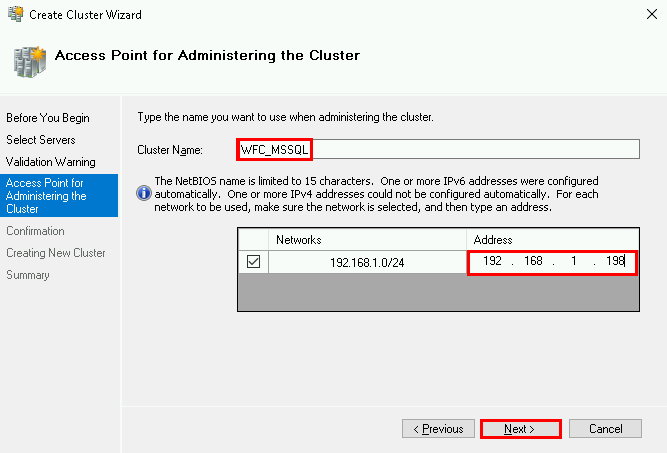
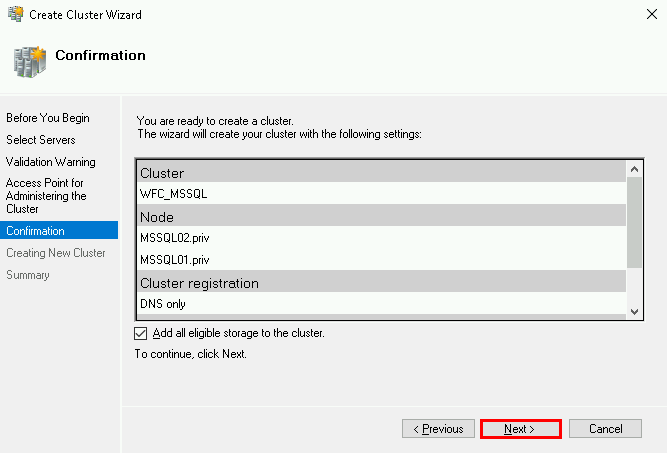
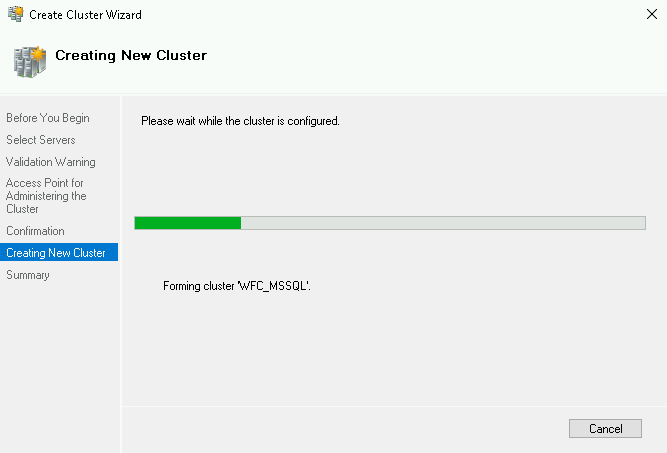
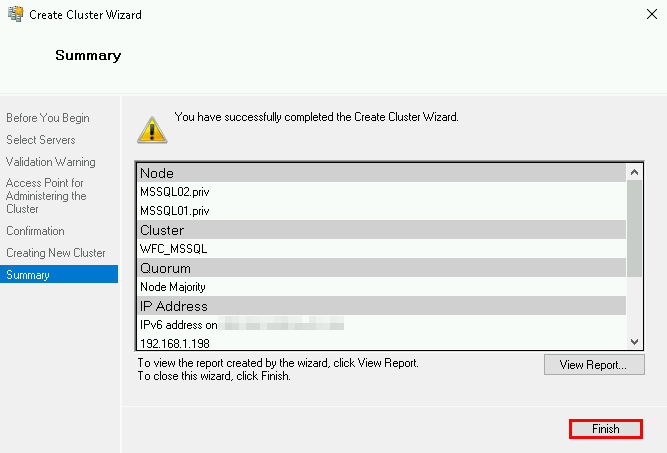
New-Cluster -Name WFC_MSSQL -Node mssql01.priv, mssql02.priv -AdministrativeAccessPoint DNS -StaticAddress 192.168.1.198

Enable AlwaysOn Availability (MSSQL01 and MSSQL02)

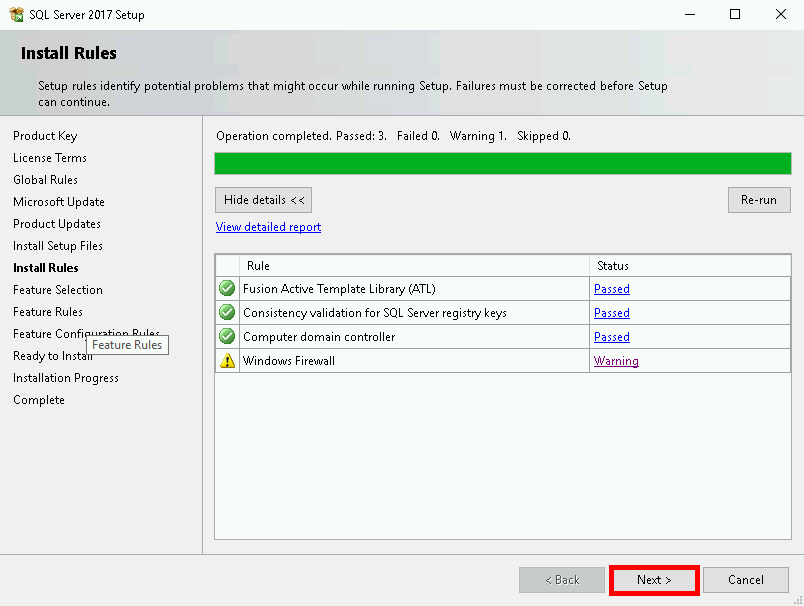
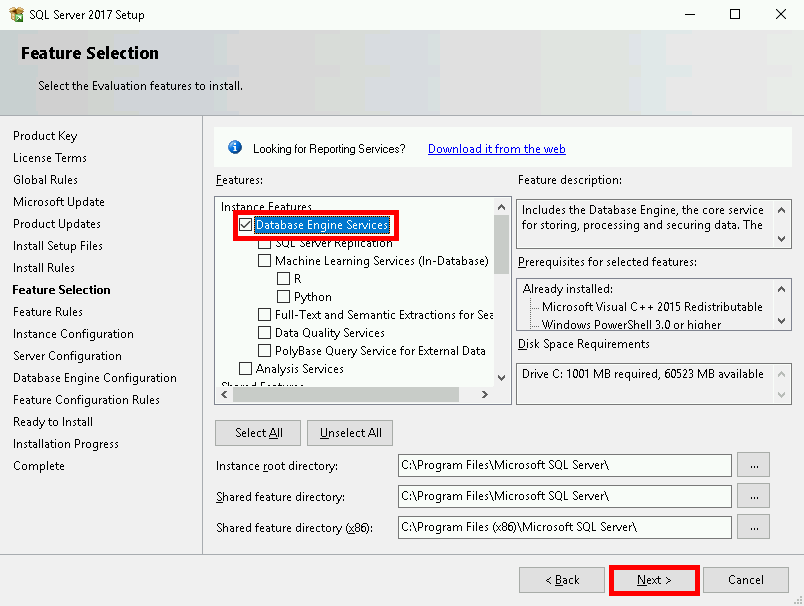
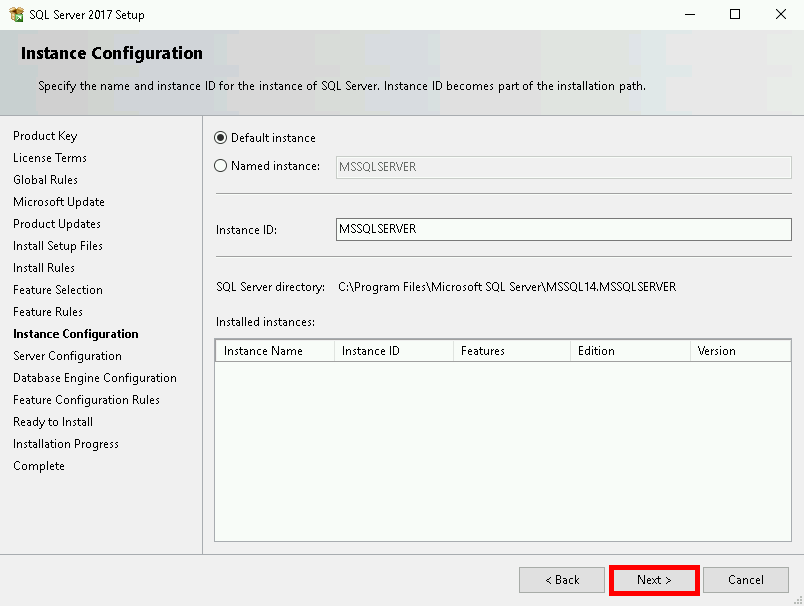
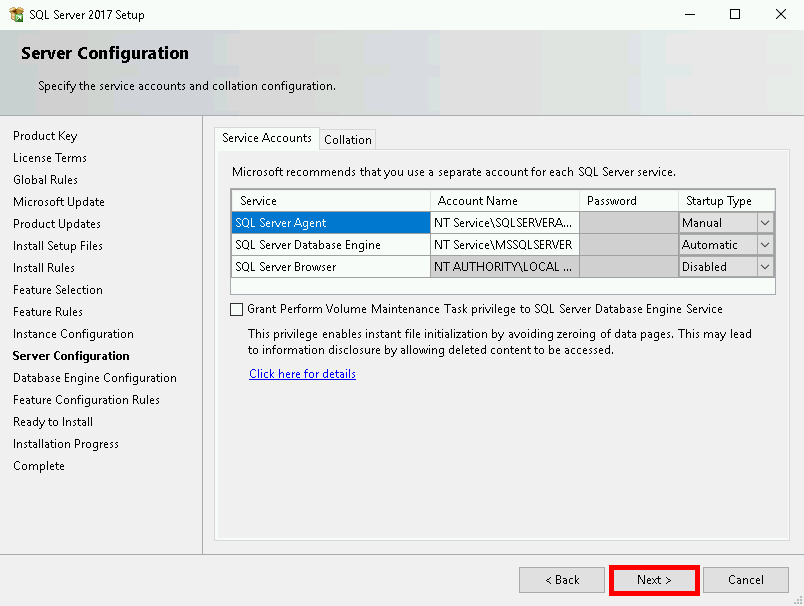
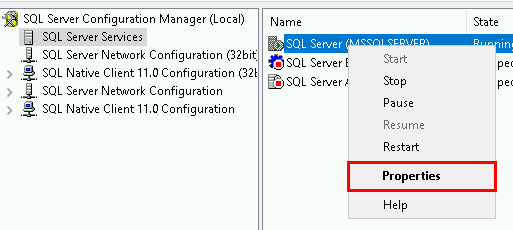
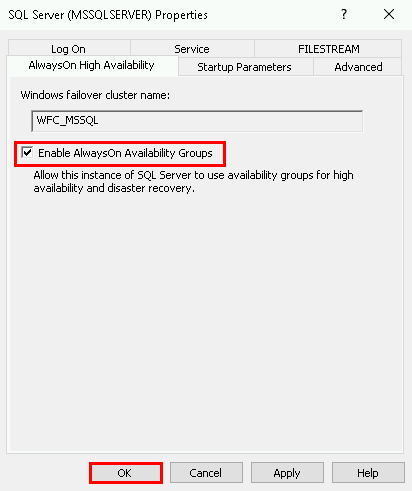
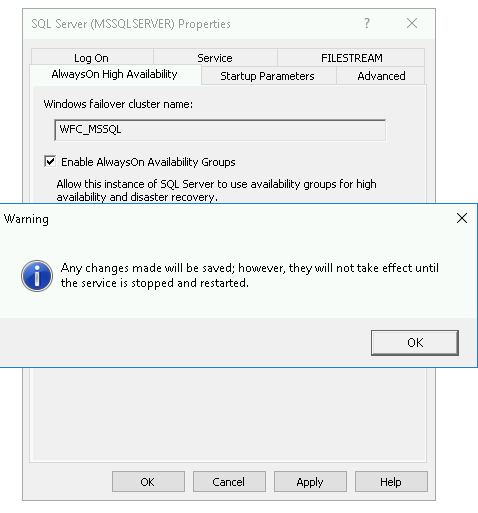
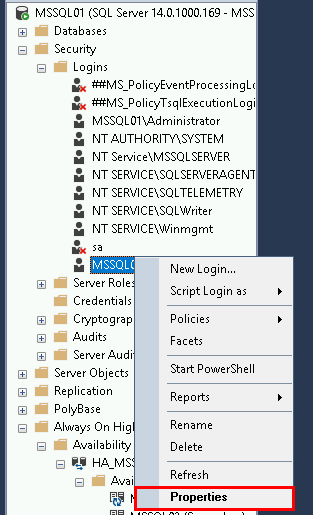
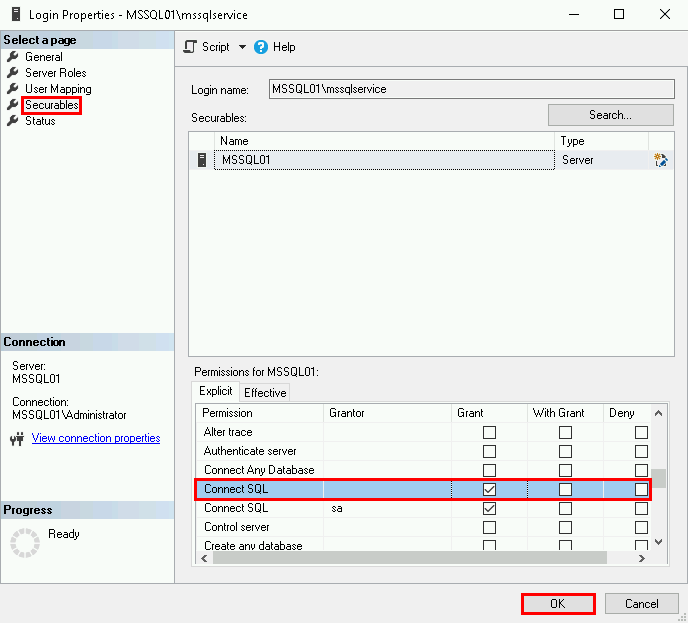
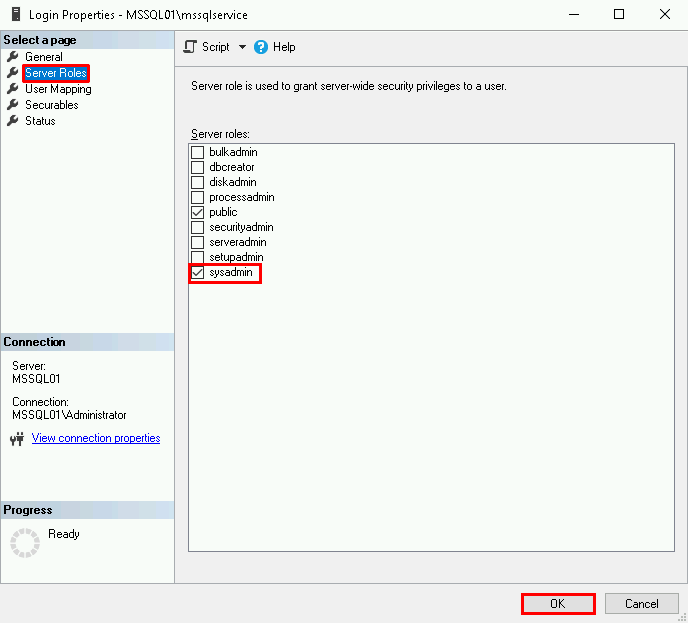
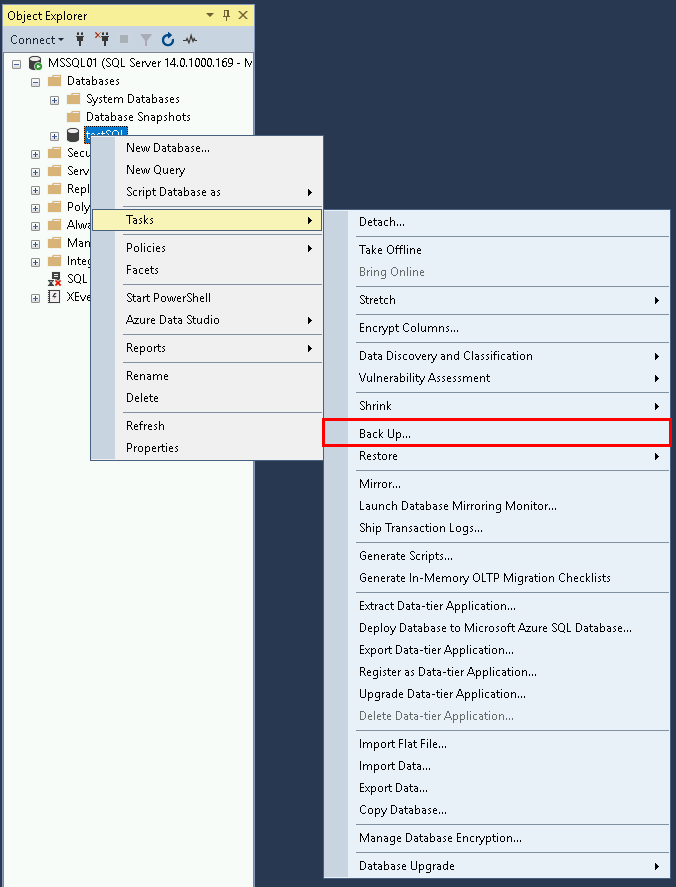
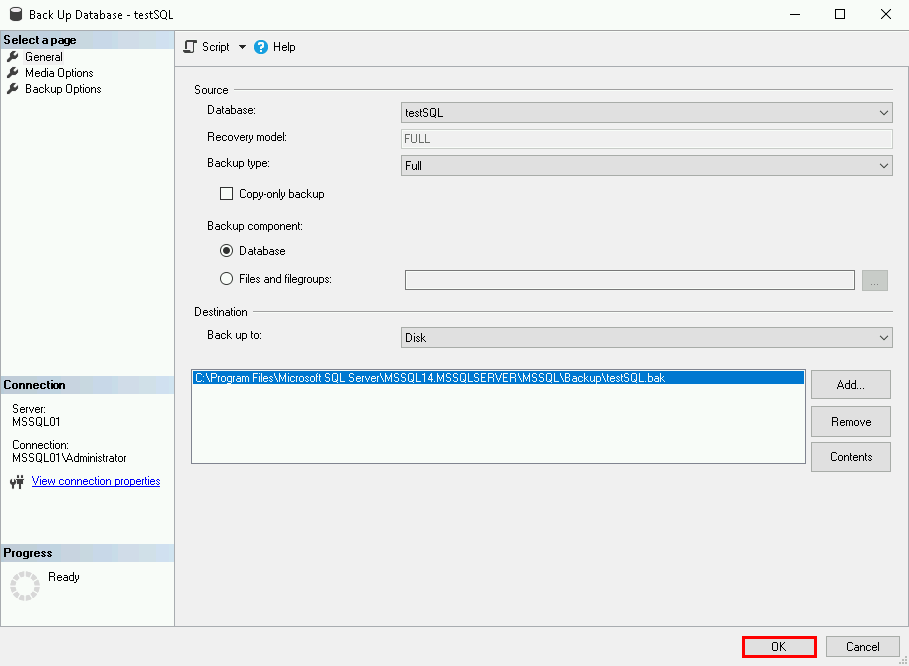
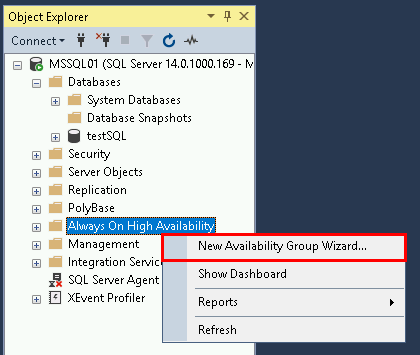
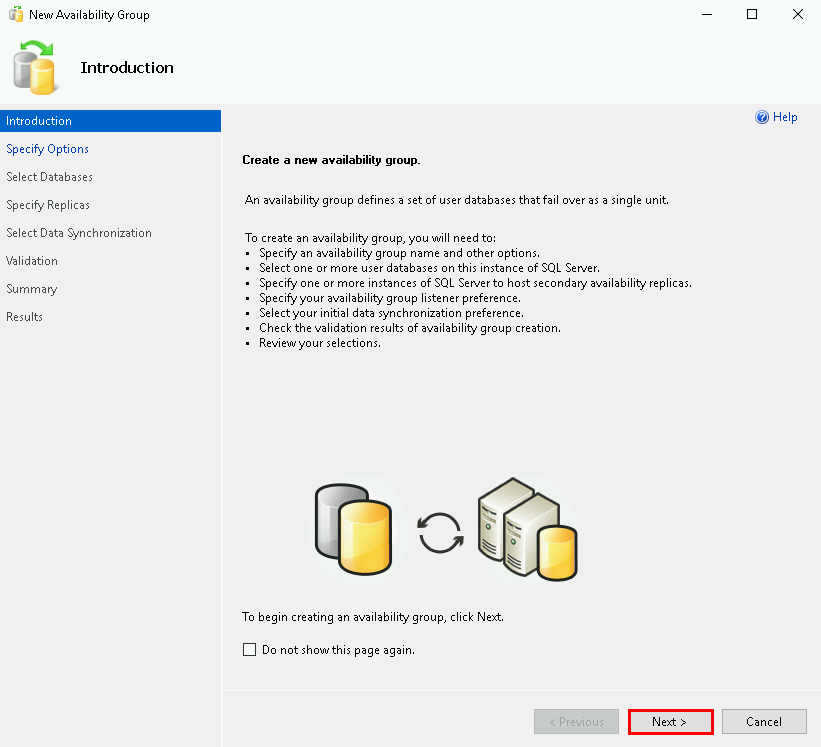
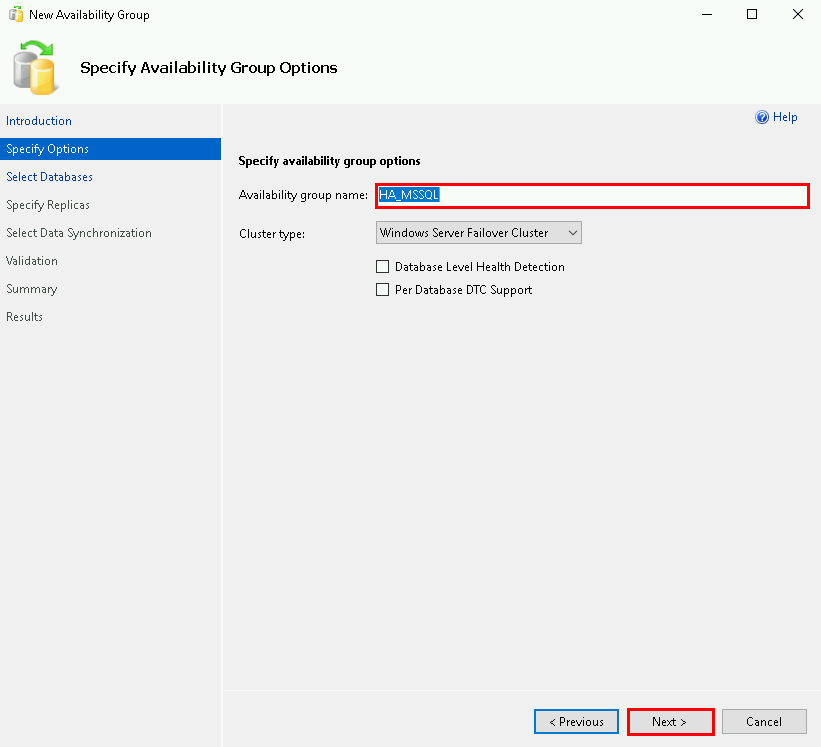
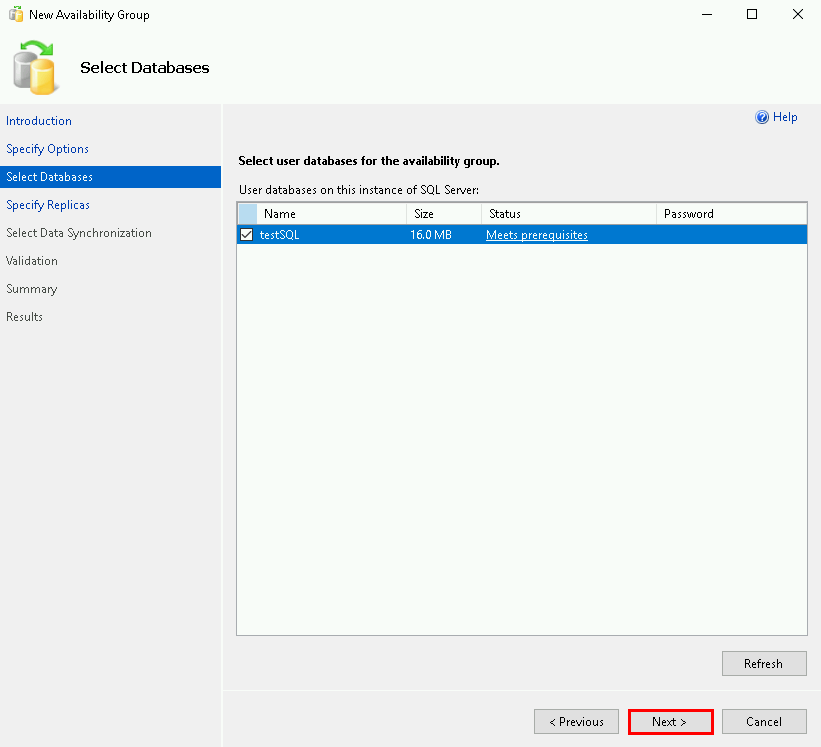
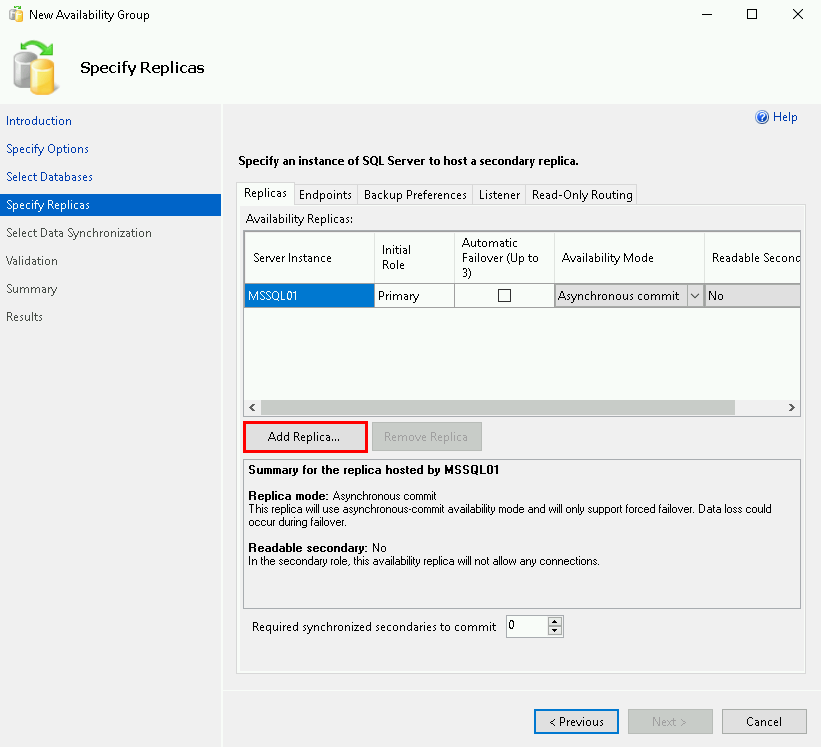
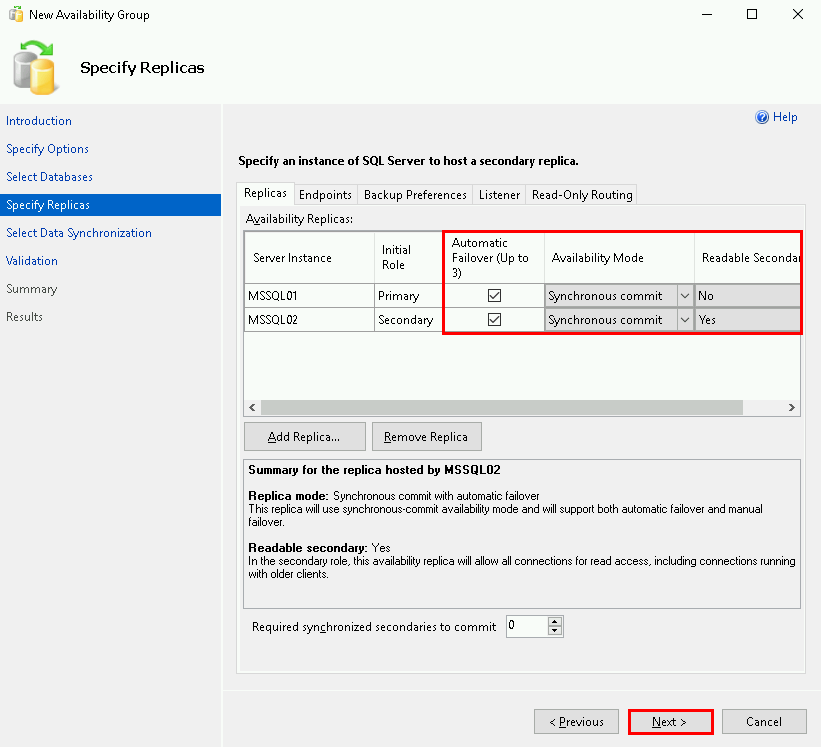
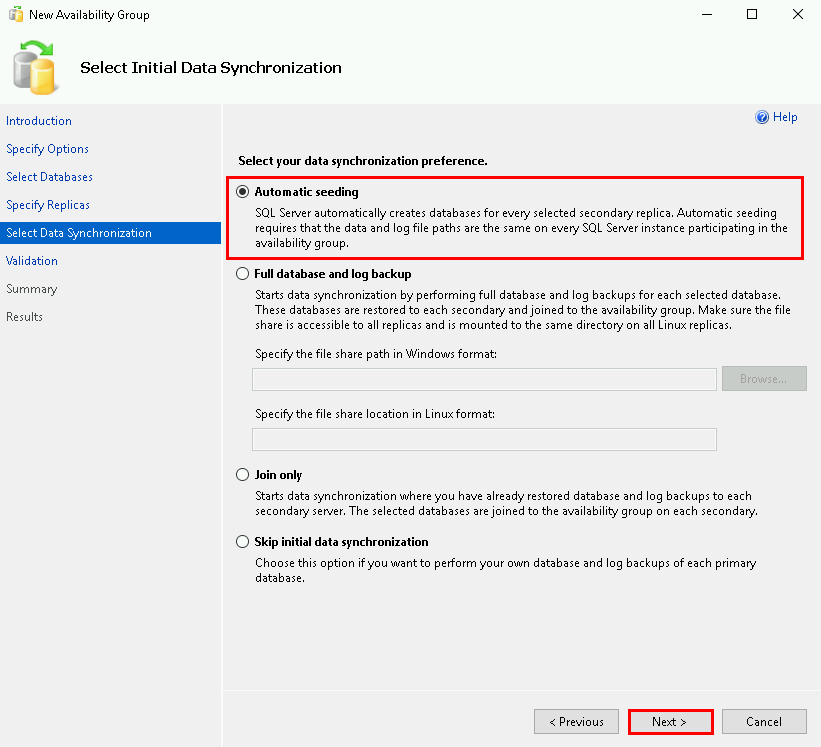
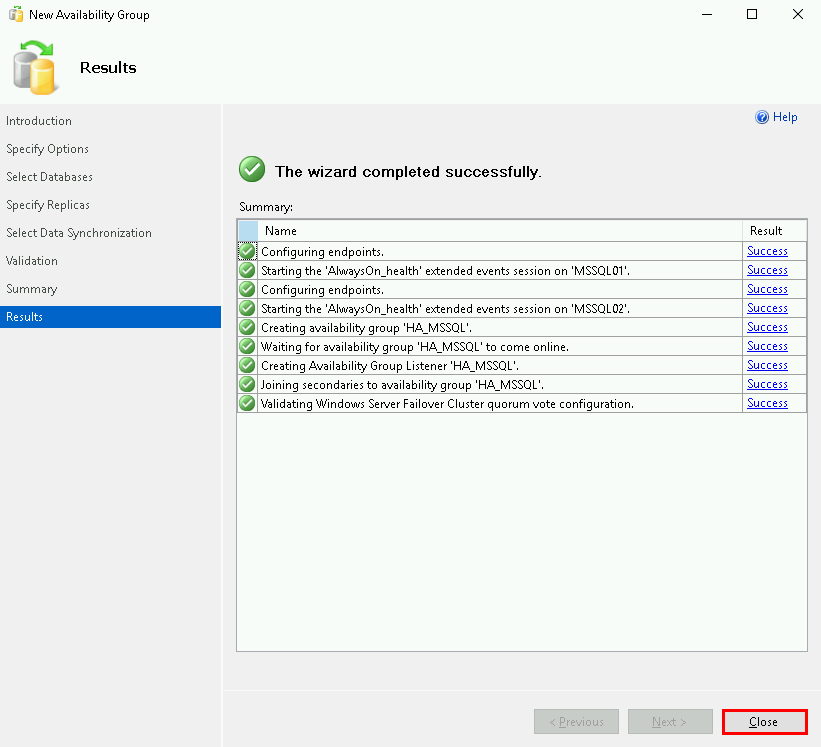
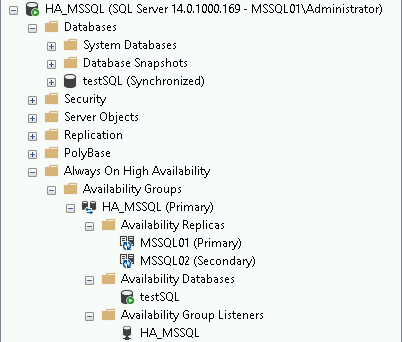
In Microsoft SQL Server we need to enable the AlwaysOn Availability feature.

  • Open the SQL Server Configuration Manager
  • Enable AlwaysOn Availability
  • Change Log On Account
  • Use the mssqlservice account previously created
  • Set the password
  • Restart SQL Server

Microsoft SQL Server Management Studio (MSSQL01 and MSSQL02)

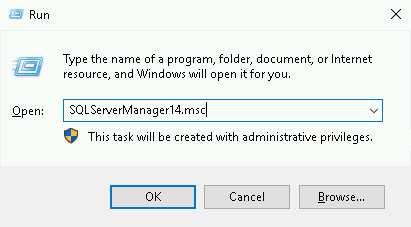
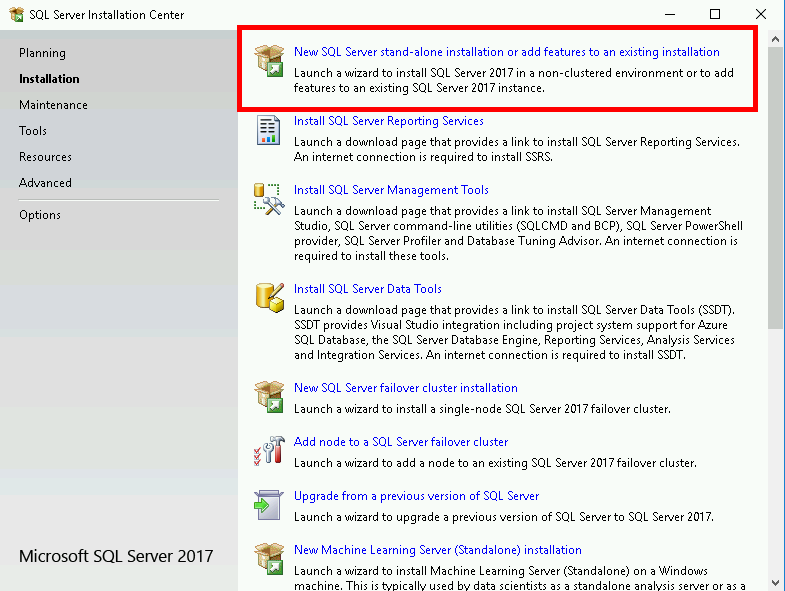
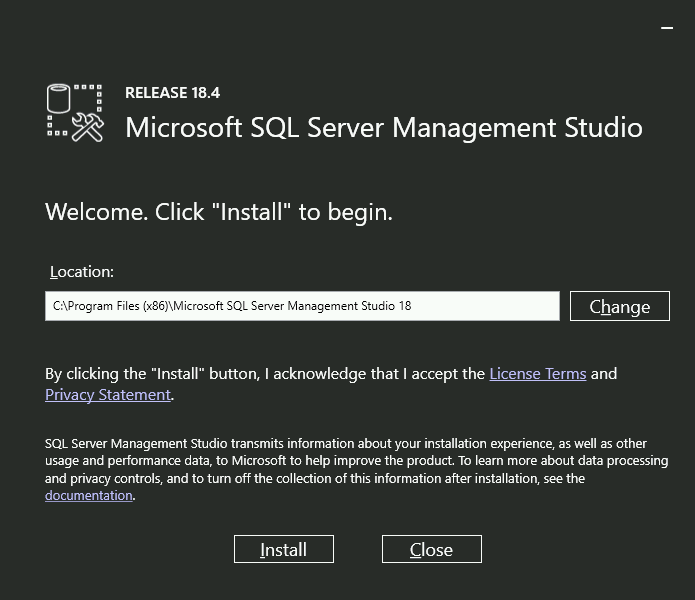
Download and Install Microsoft SQL Server Management Studio wherever you want

  • Restart the computer

Configure mssqlservice security (MSSQL01 and MSSQL02)

  • Open Microsoft SQL Server Management Studio and connect to MSSQL01 server
  • Add mssqlservice account into Security > Logins
  • Configure mssqlservice account
  • Do the same on MSSQL02 server

Set up SQL Server AlwaysOn feature

  • First process a database Backup
  • Then right click on Always On High Availability and click New Availability Group Wizard
  • Set Availability group name and click Next
  • Select database and click Next
  • Add MSSQL02 server
  • Set listener informations
  • Ask for immediate synchronization
  • Connect to the High Available Instance and check everything is fine

References

Creative Commons License
This work is licensed under a Creative Commons Attribution-NonCommercial-ShareAlike 4.0 International License.

Contact :

contact mail address