How to Set Up a Windows RDS Farm
- Last updated: Jan 13, 2026

Nowadays, it is common to encounter RDS environments in enterprise infrastructures. In most cases, for small organizations (fewer than 30 users), a single server may be sufficient. However, as the number of users increases, performance issues can arise, even when scaling up the hardware configuration (CPU and RAM). Furthermore, evolving the architecture quickly becomes complex as the number of concurrent connections continues to grow.
Therefore, in order to implement a scalable solution capable of supporting a large number of simultaneous connections, it is necessary to deploy an RDS farm. This architecture relies on the separation of the various services (broker, licensing server, session hosts, etc.) across multiple servers. This approach makes it possible to create a pool of RD Session Host servers responsible for hosting and distributing user sessions. This is precisely what we will cover in detail in the remainder of this article.
- As a reminder, it is important to clearly describe the role of each component within an RDS architecture:
- RDS Clients: client devices or users from which Remote Desktop sessions are initiated
- Broker: service responsible for managing and directing incoming RDS connections to the appropriate session hosts
- Session Hosts: servers that host and run user Remote Desktop sessions
- RDS User Profiles: file server used to store user profiles and session data (User Profile Disks)
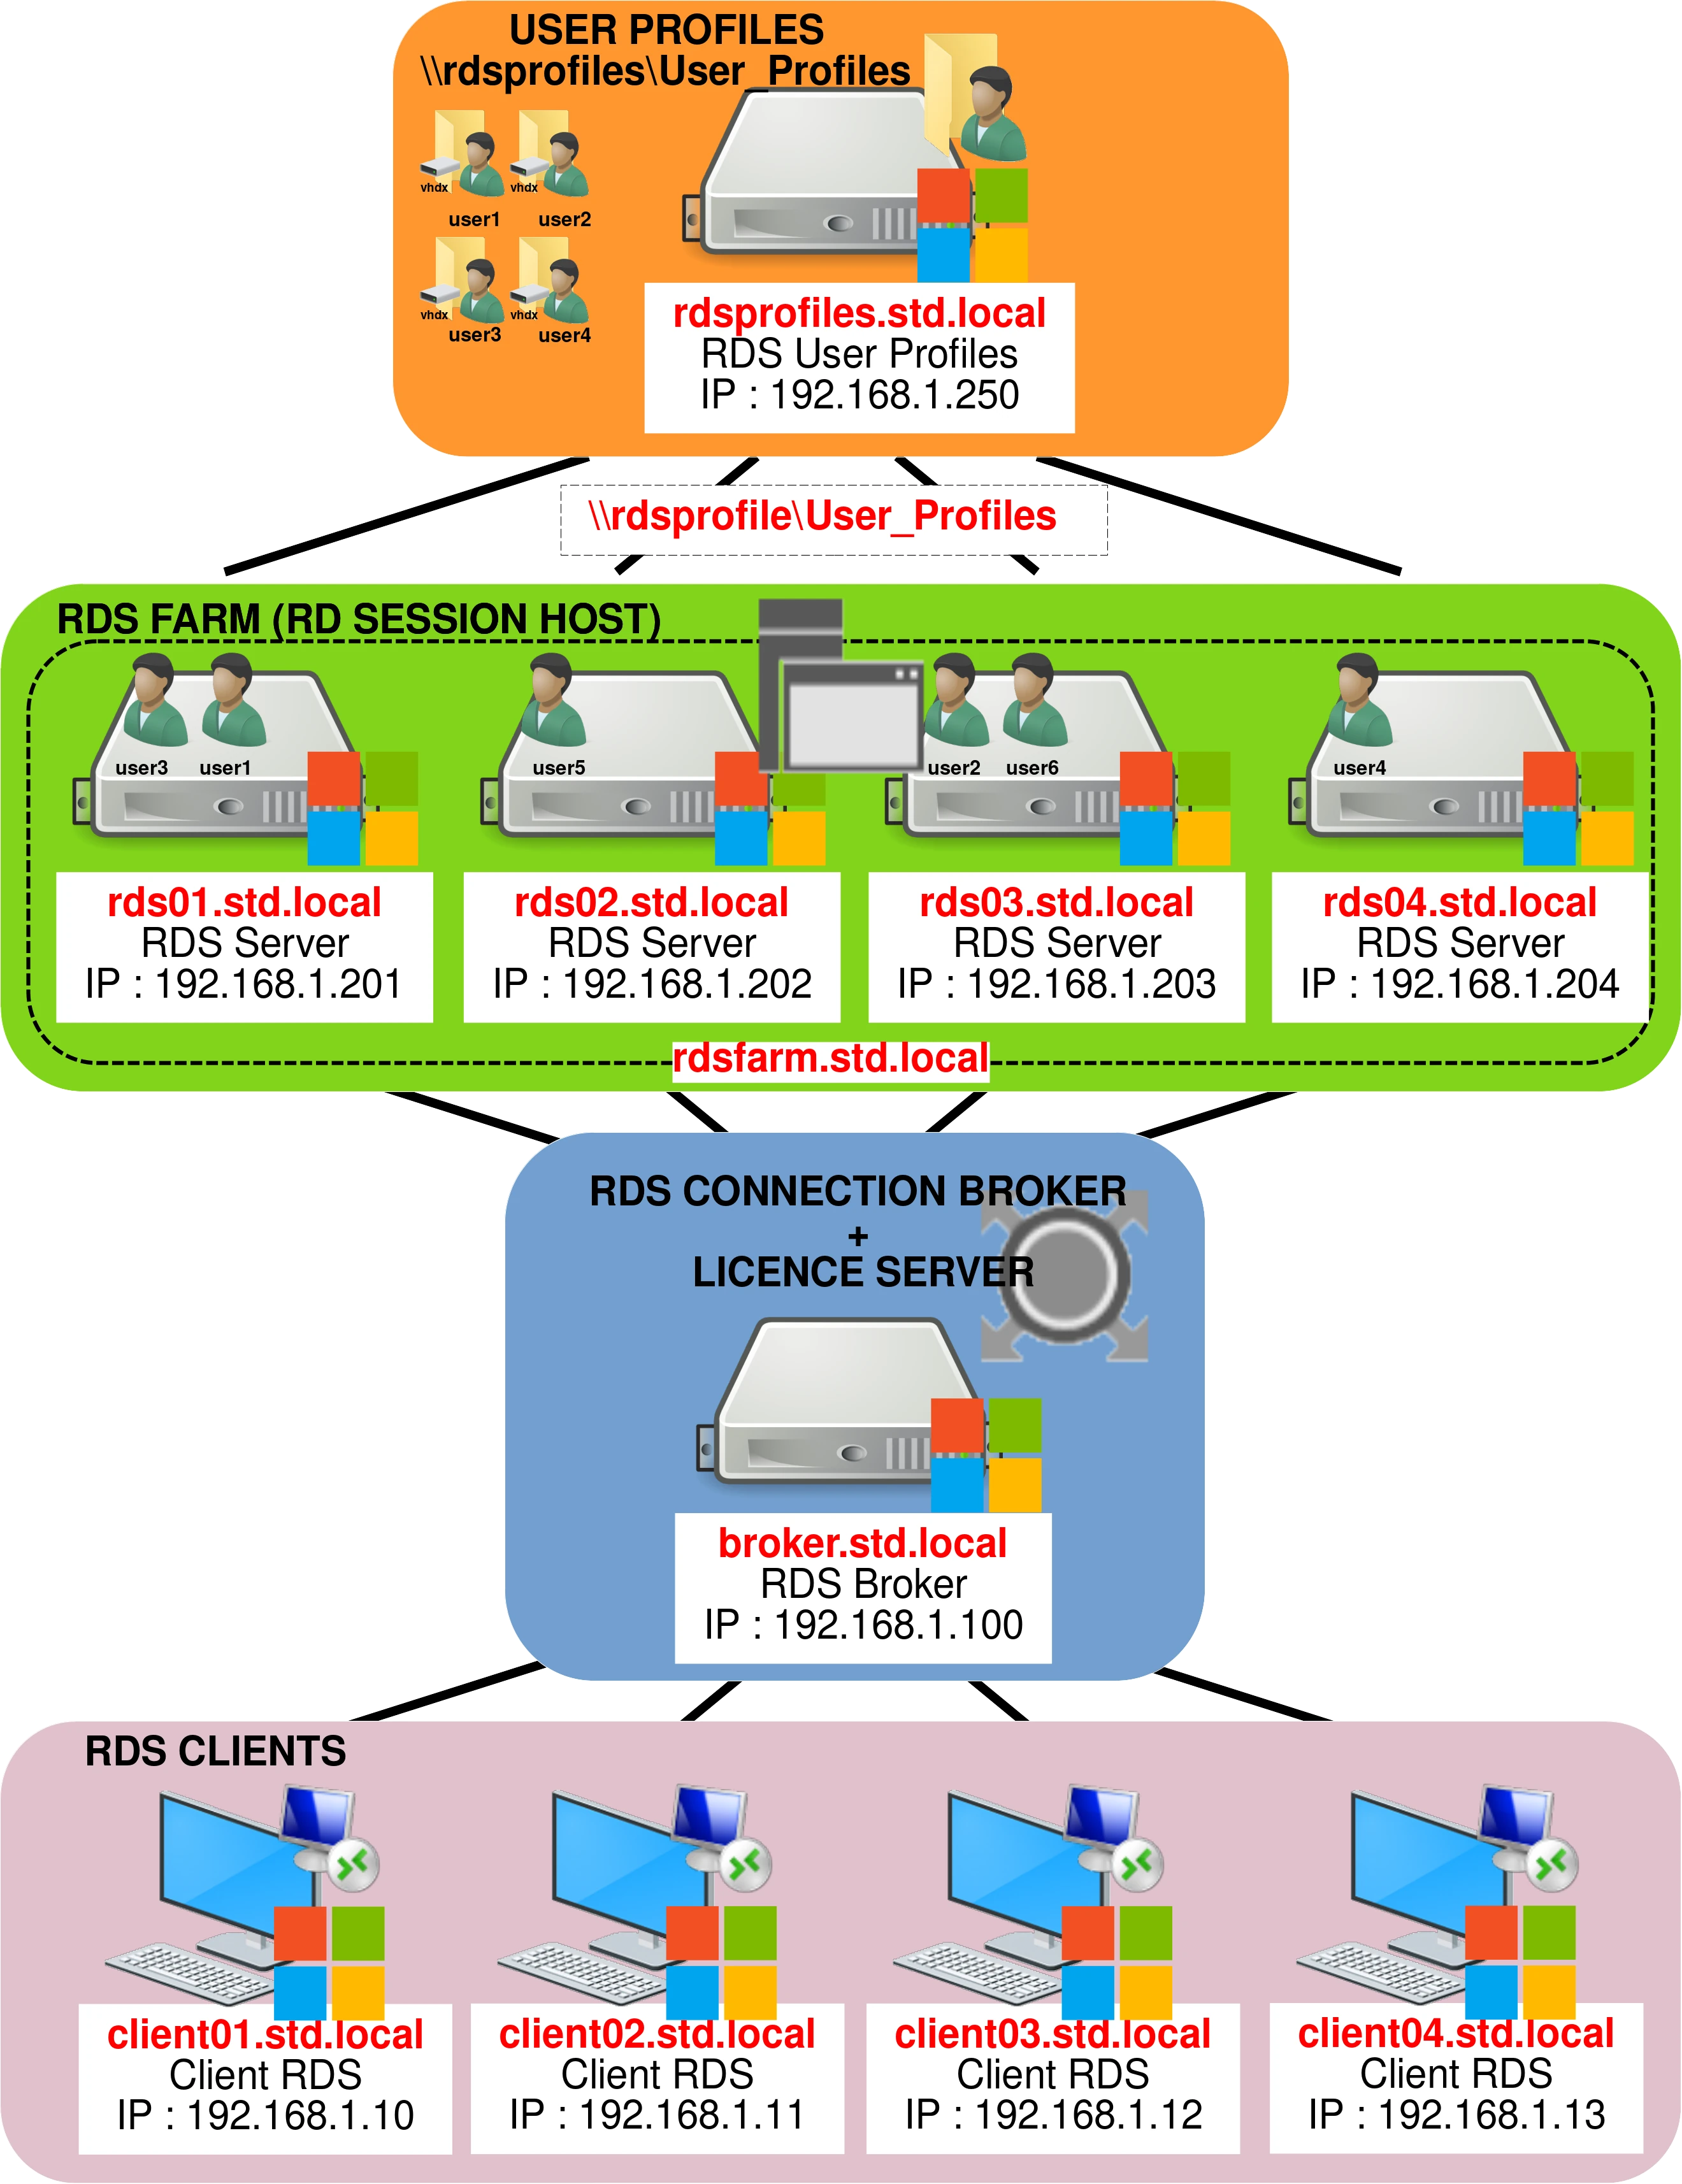
RDS Farm Architecture
The following diagram illustrates the architecture we’ll be setting up.
Installation from broker.std.local
In this tutorial, we assume that the following Windows Server systems — broker.std.local, rds01.std.local, rds02.std.local, rds03.std.local, rds04.std.local, and rdsprofiles.std.local — are freshly installed and already joined to the std.local domain.
All deployment and configuration steps are performed from the broker.std.local server.
The RDS architecture can be deployed either via the PowerShell command line or by using the graphical user interface (GUI). Both methods are covered in this tutorial.
Installation via the Graphical Interface (GUI)
Adding Servers
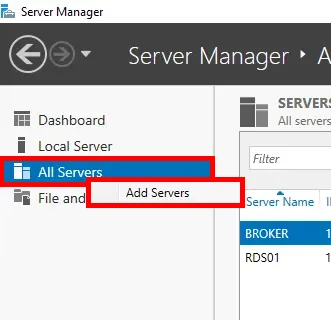
First, we will register our RDS servers in Server Manager.
- From Server Manager, right-click on All Servers > Add Servers:
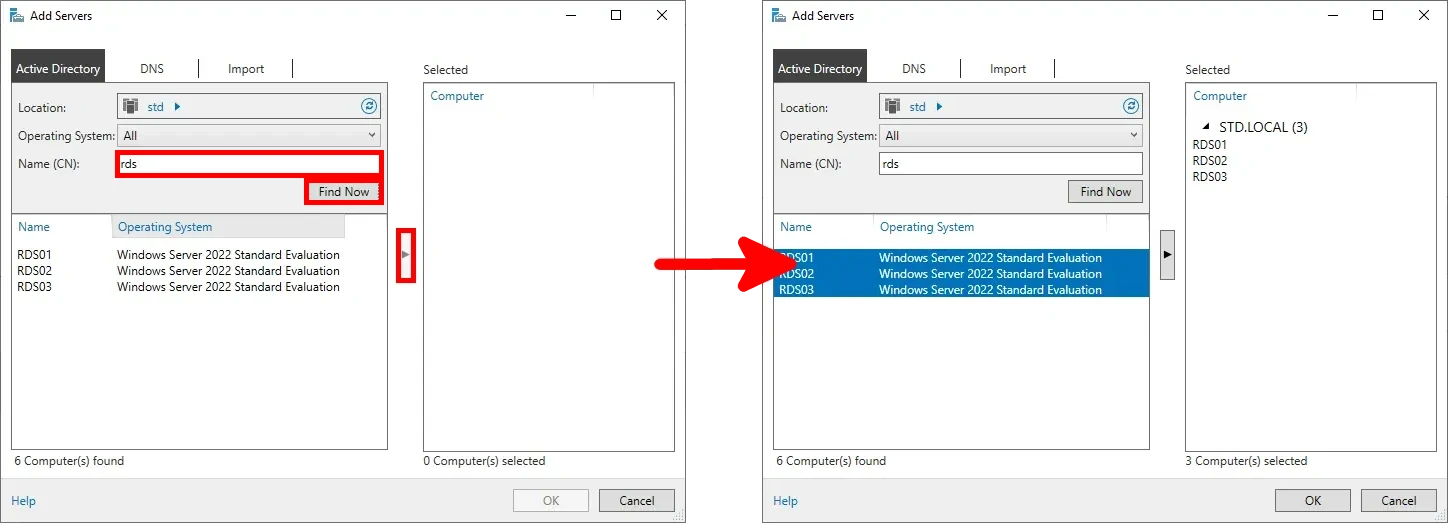
- Select and add the appropriate servers to the management console:
Installation
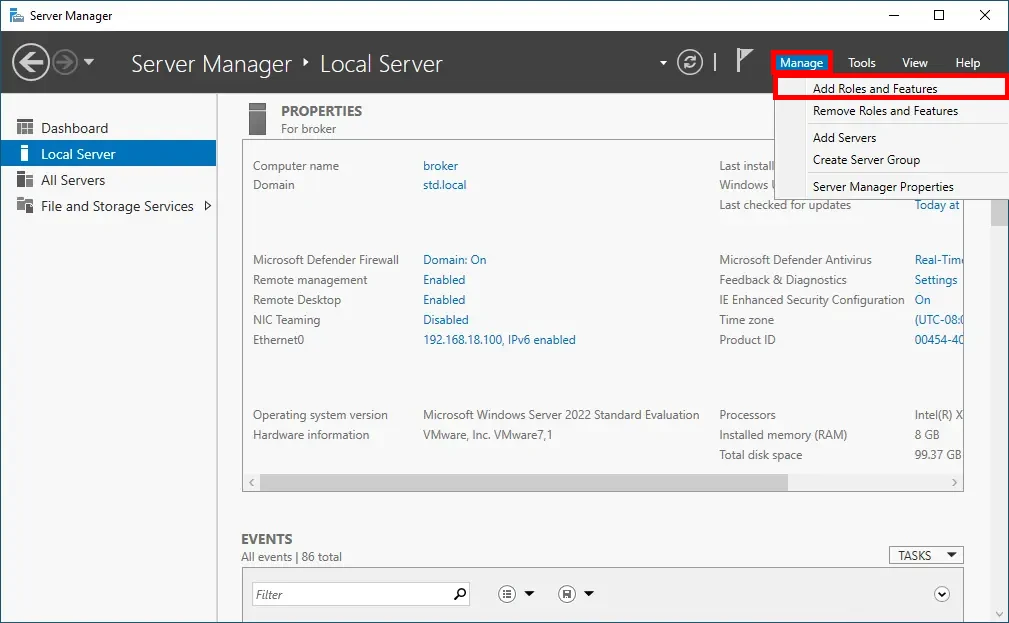
- Still in Server Manager, click on Manage, then select Add Roles and Features:
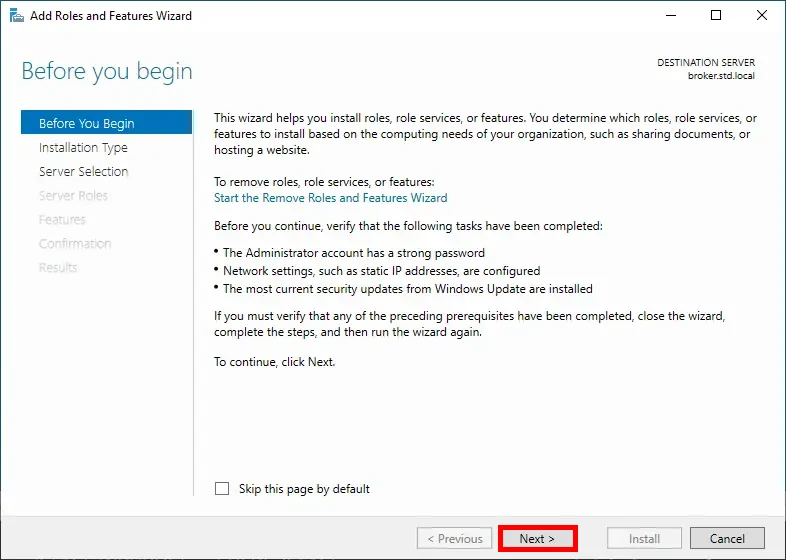
- In the initial window of the wizard, click Next to continue:
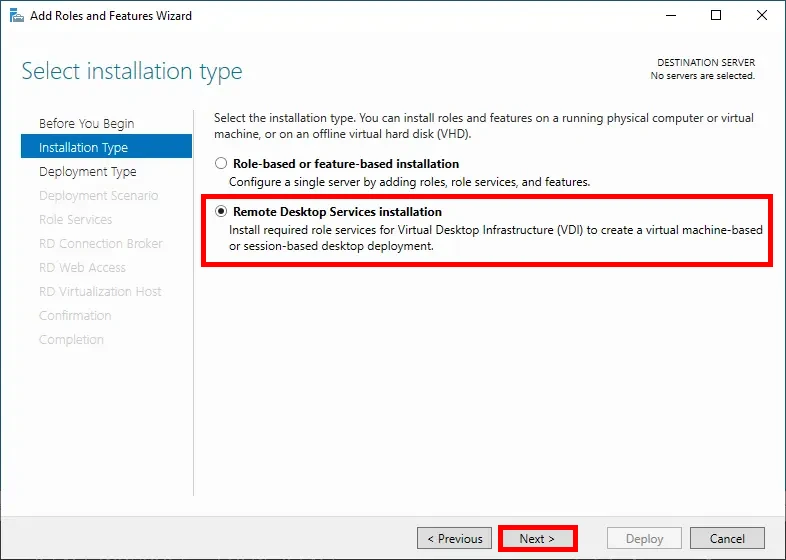
- Select the Remote Desktop Services installation option, then click Next:
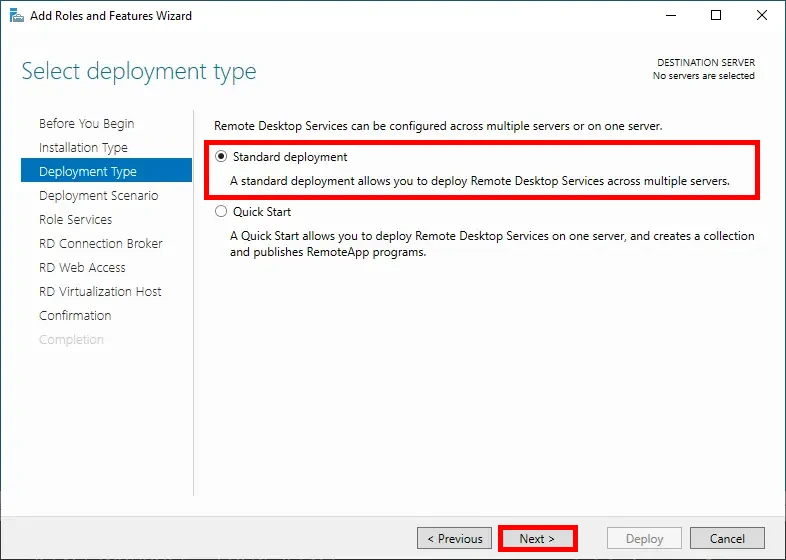
- Choose the Standard deployment option, then click Next:
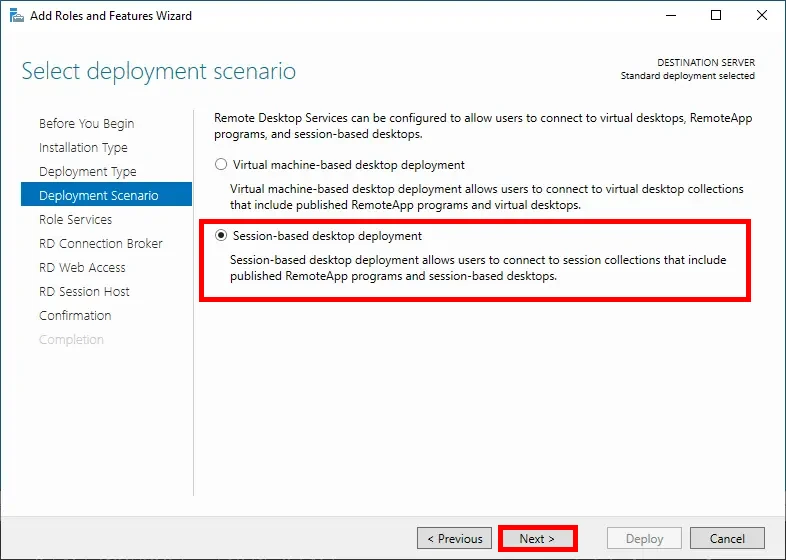
- Select the Session-based desktop deployment option, then click Next:
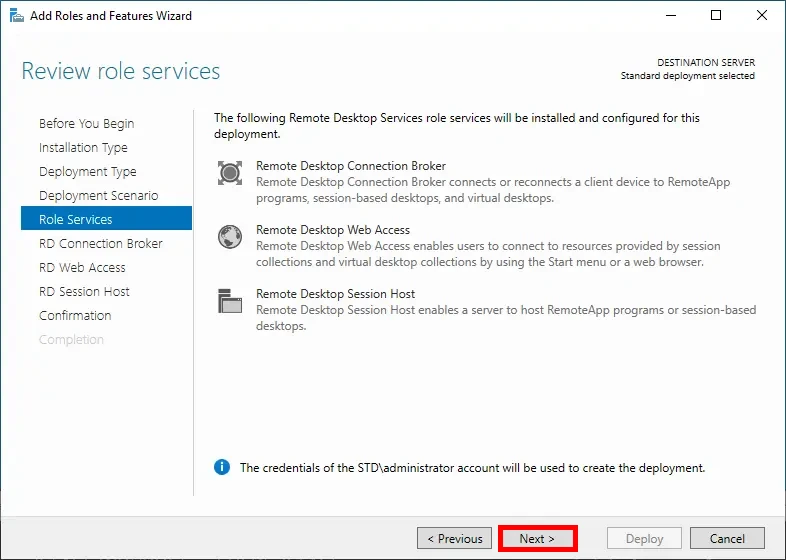
- At the Role Services step, no changes are needed—simply click Next to proceed:
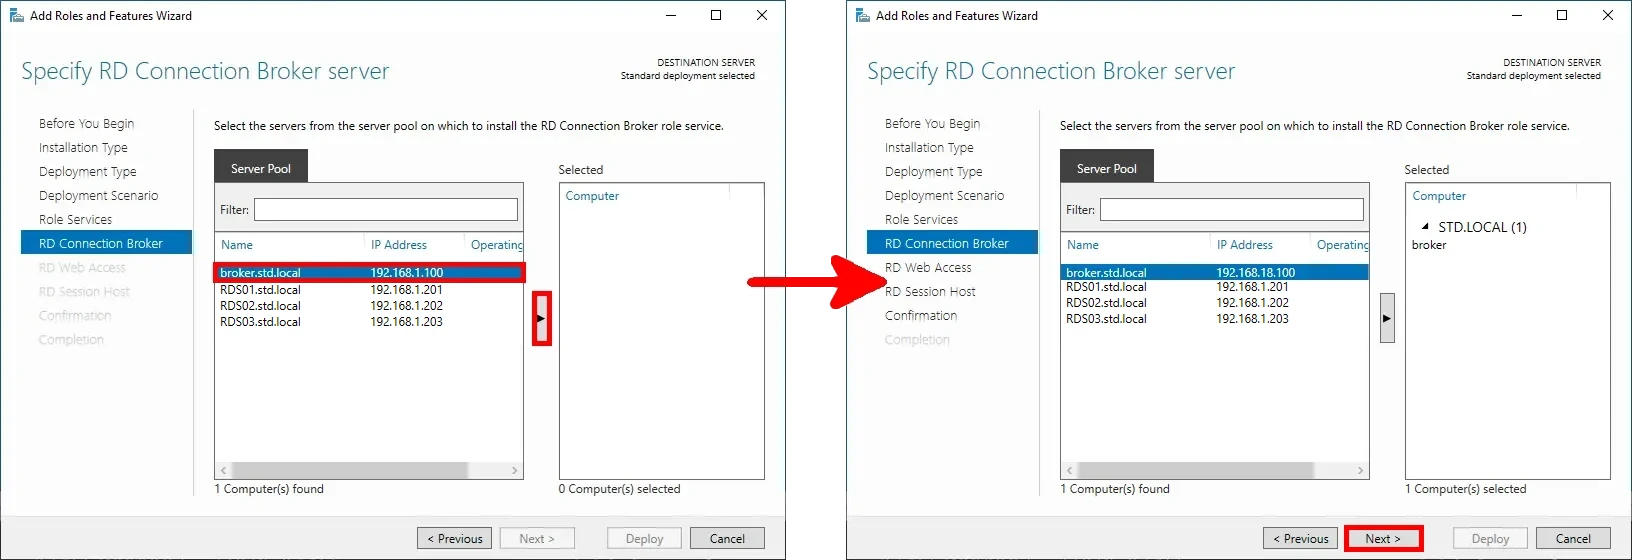
- Add the RD Connection Broker server by selecting it from the server pool, then click Next:
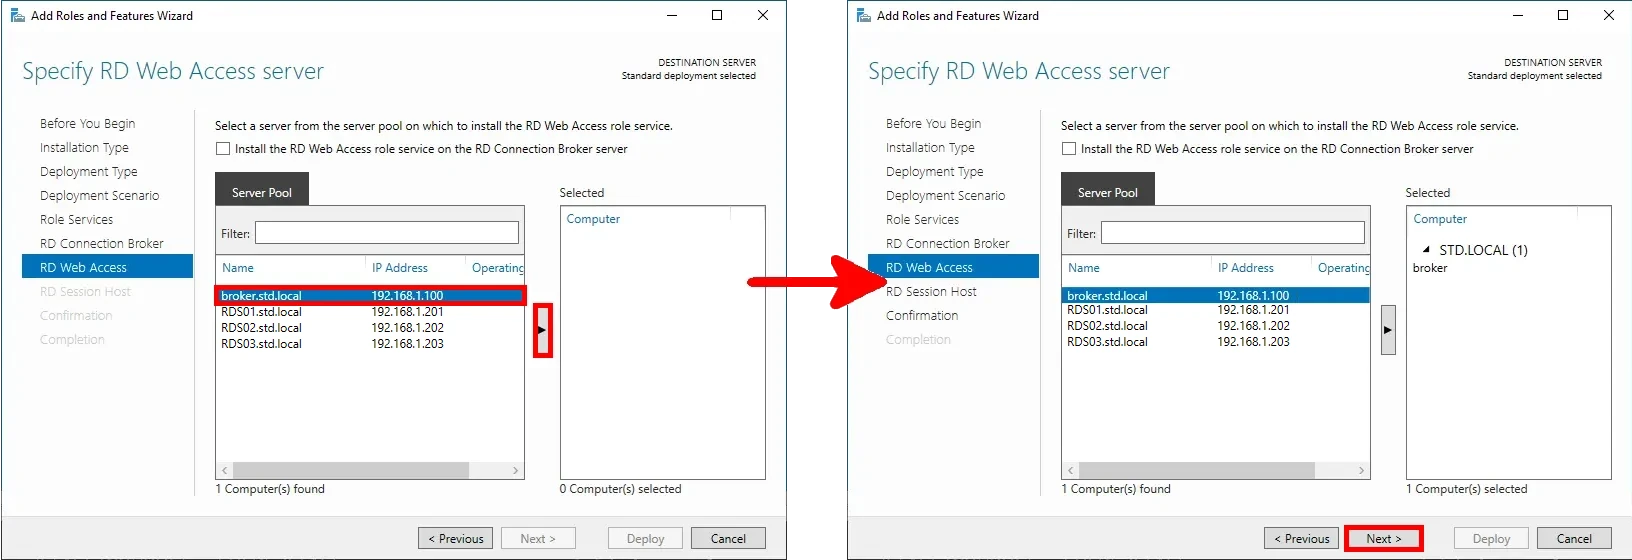
- Also assign the broker server the role of RD Web Access, then click Next:
- Add the RDS servers as RD Session Host servers by selecting them from the server pool, then click Next:

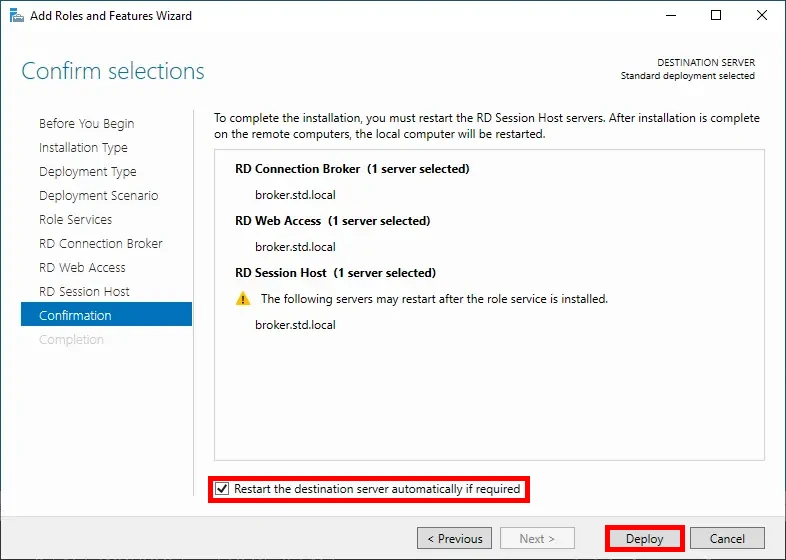
- Check the Restart the destination server automatically if required option, then click Deploy to begin the installation:
Installation via PowerShell
- Install the required RDS roles using the following PowerShell command:
PS C:\> Add-WindowsFeature -Name RDS-Connection-Broker,RDS-Licensing,RDS-RD-Server -IncludeManagementTools -Restart- Next, initiate the deployment using PowerShell:
PS C:\> Import-Module RemoteDesktopPS C:\> New-RDSessionDeployment -ConnectionBroker broker.std.local -WebAccessServer broker.std.local -SessionHost rds01.std.localPost-Installation Configuration
Once the installation is complete, you’ll need to configure the RDS farm to make it fully operational.
RD Licensing (broker.std.local)
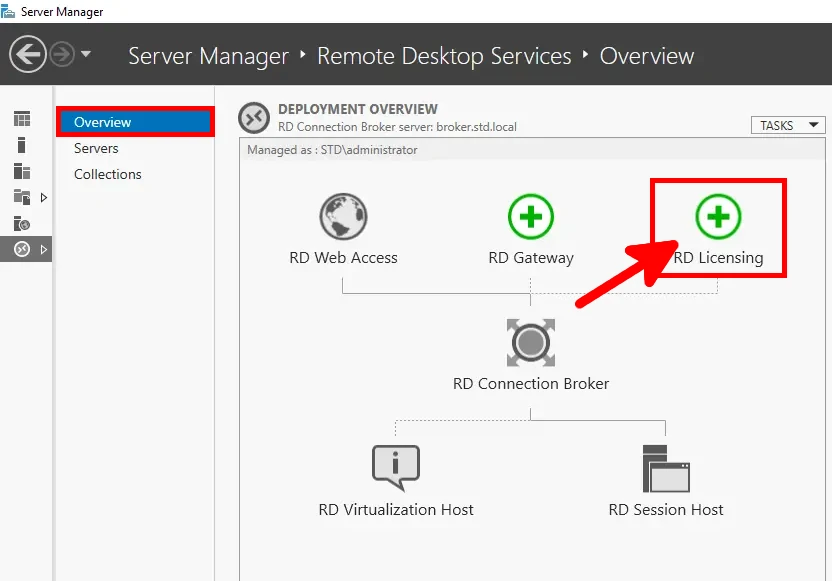
- In Server Manager, navigate to Remote Desktop Services > Overview, then click the RD Licensing icon to add a Licensing Server:
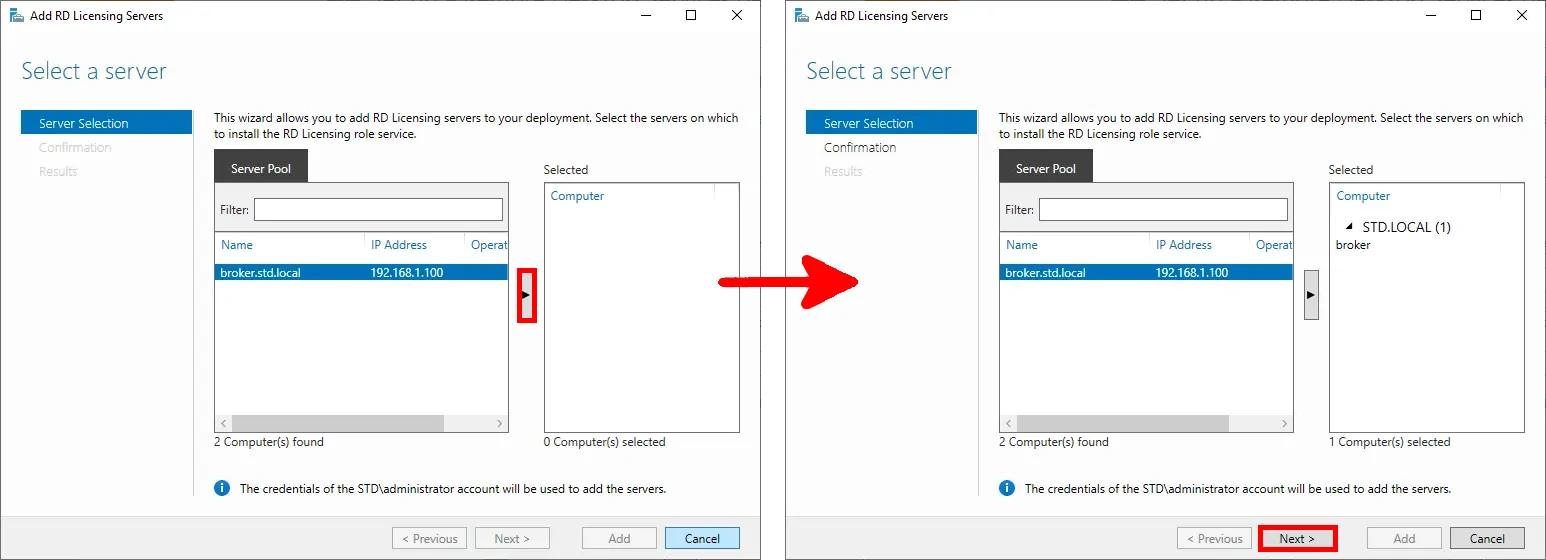
- Select the broker server to act as the RD Licensing server, then click Next to continue:
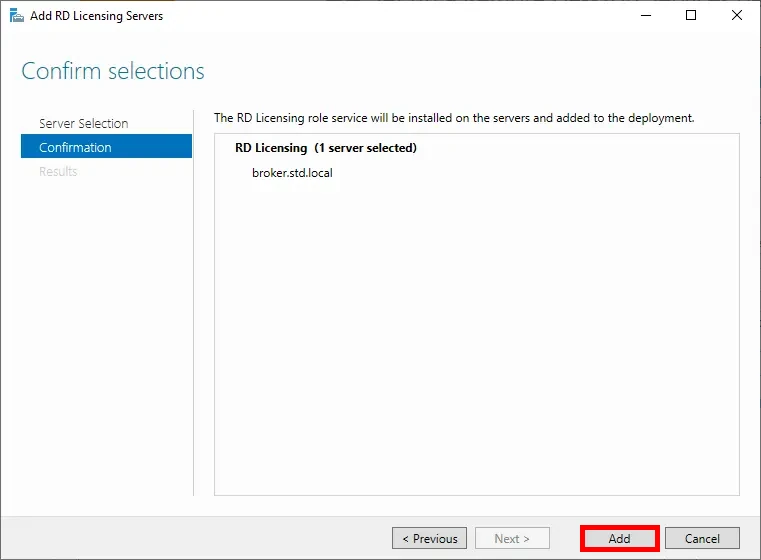
- Review the selections, then click Add to proceed:
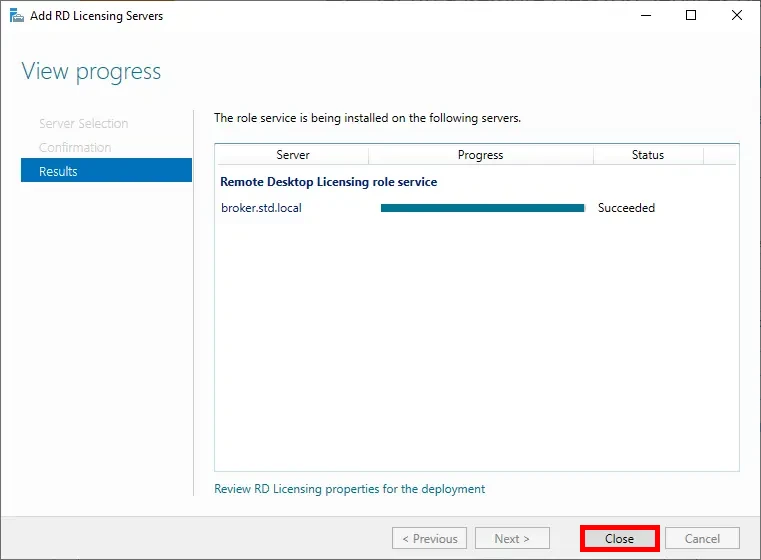
- Once the installation completes, click Close to exit the wizard:
Adding RD Session Host Servers
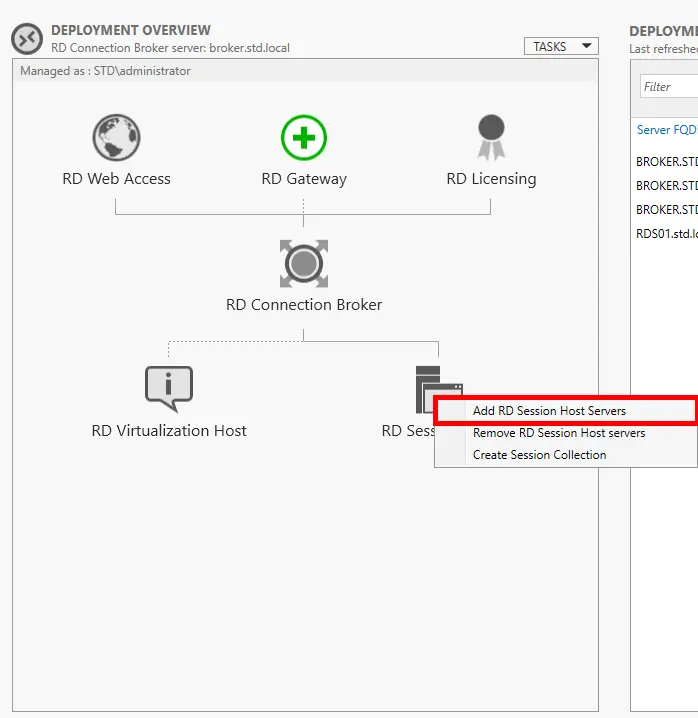
- In the Deployment Overview pane, right-click RD Session Host and select Add RD Session Host Servers:
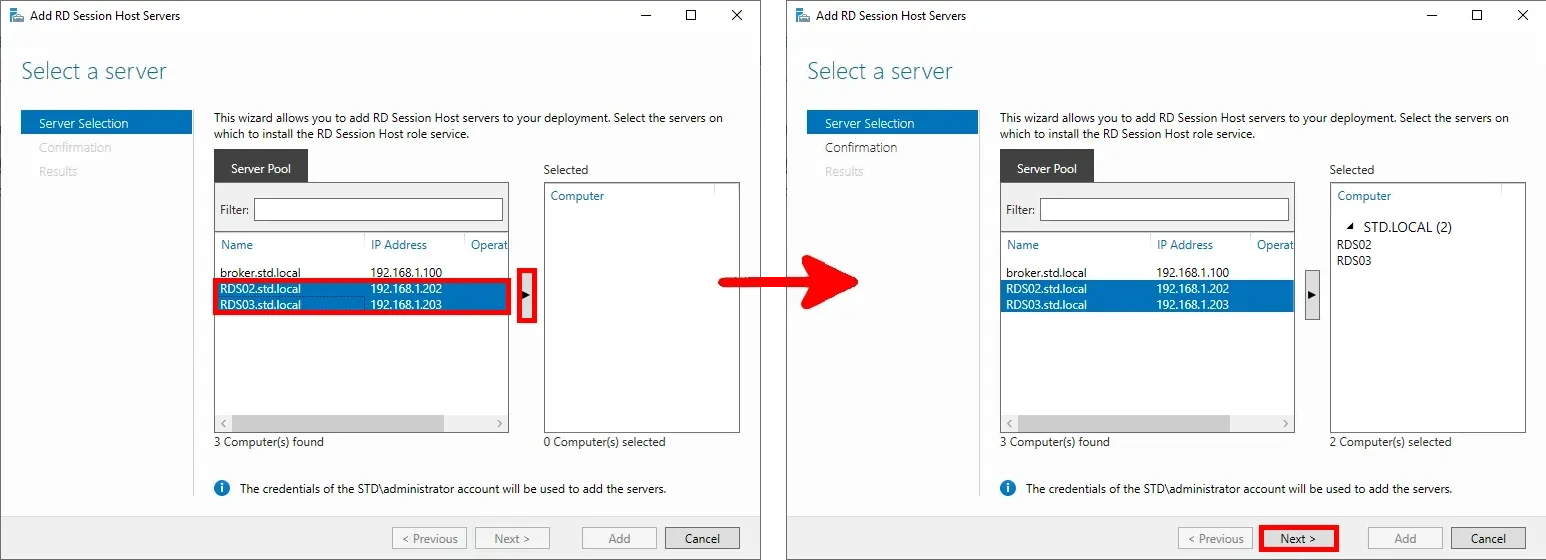
- Select the additional RDS servers (e.g.,
RDS02andRDS03) from the server pool, then click Next:
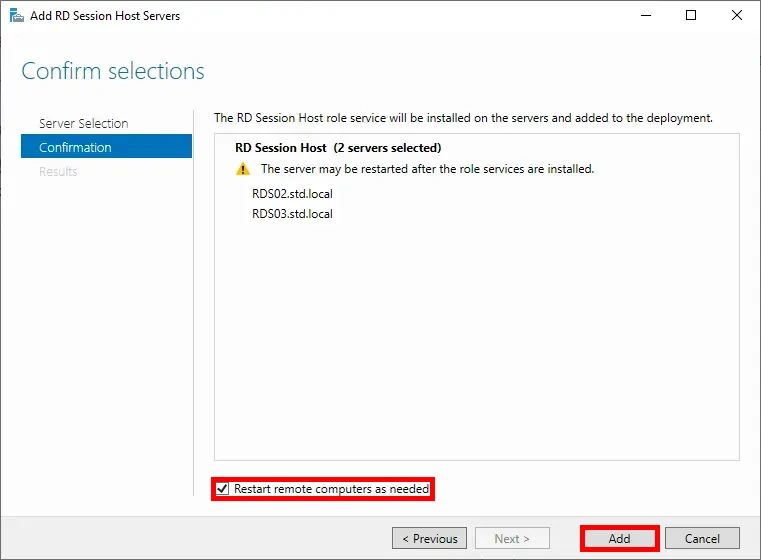
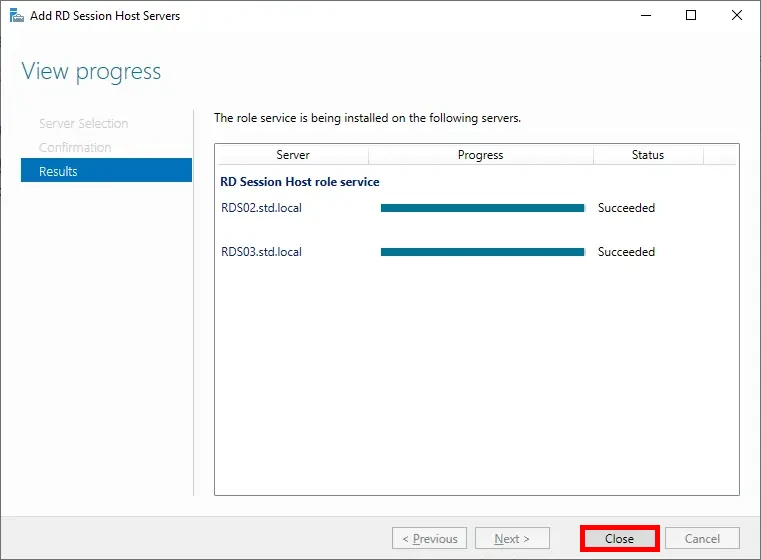
- Check the option Restart the destination server automatically if required, then click Add to begin the deployment:
- After the deployment completes successfully, click Close to exit the wizard:
Setting Up the User Profile Share (rdsprofiles.std.local)
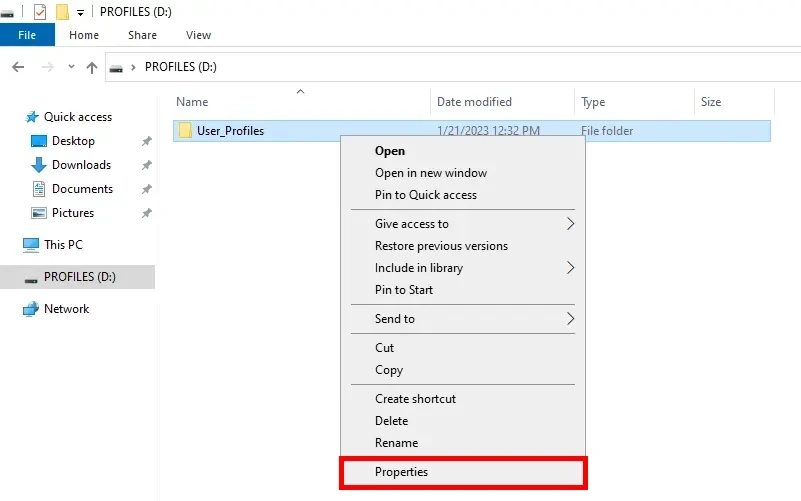
- Right-click the
User_Profilesfolder and select Properties:
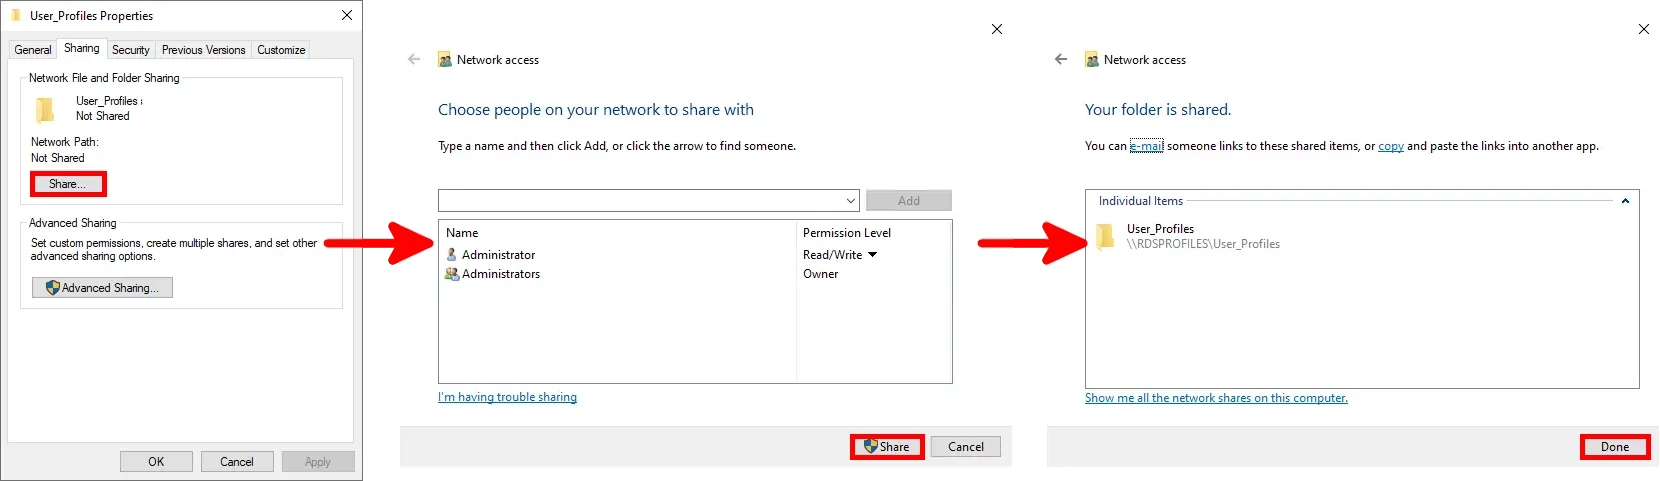
- In the Sharing tab, configure the share settings as shown below:
Creating a Session Collection
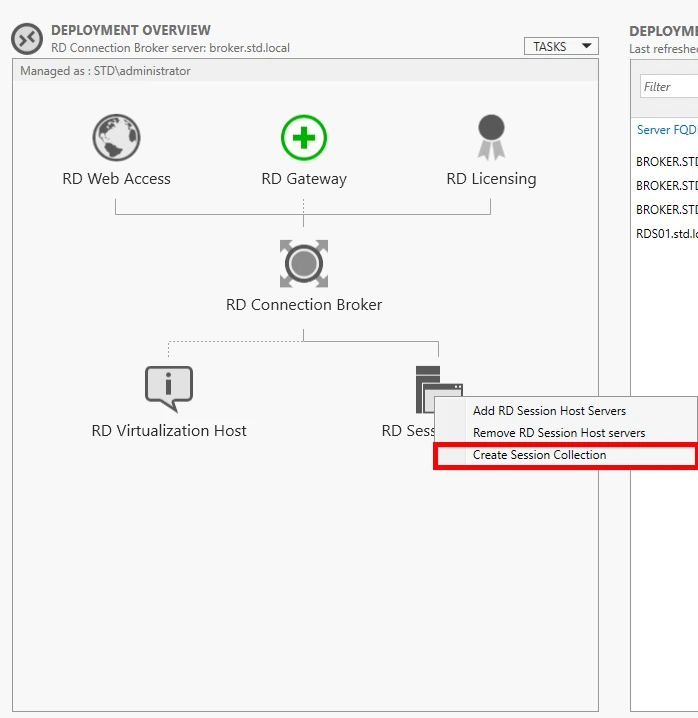
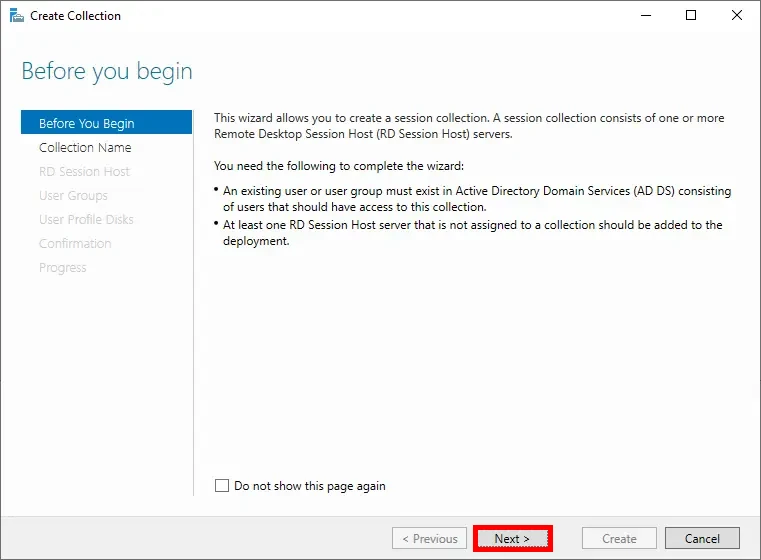
- In the Deployment Overview, right-click RD Session Host and select Create Session Collection:
- On the Before You Begin page, click Next:
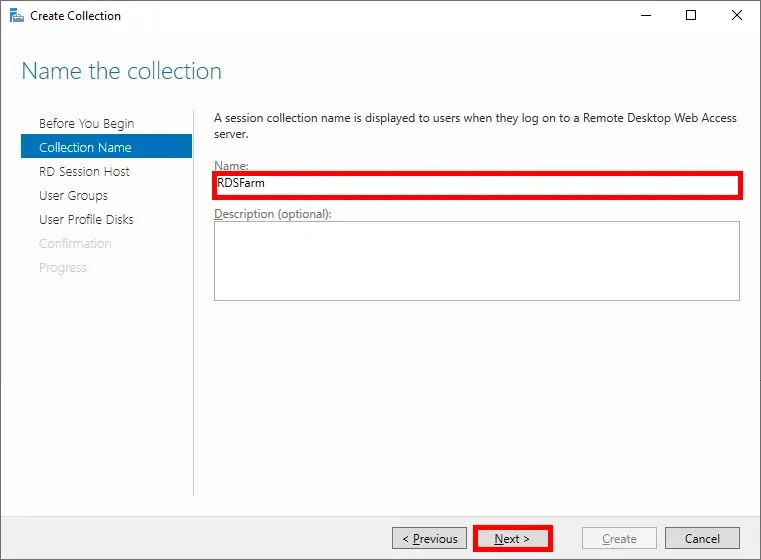
- Enter a name for the session collection (e.g.,
RDSFarm), then click Next:
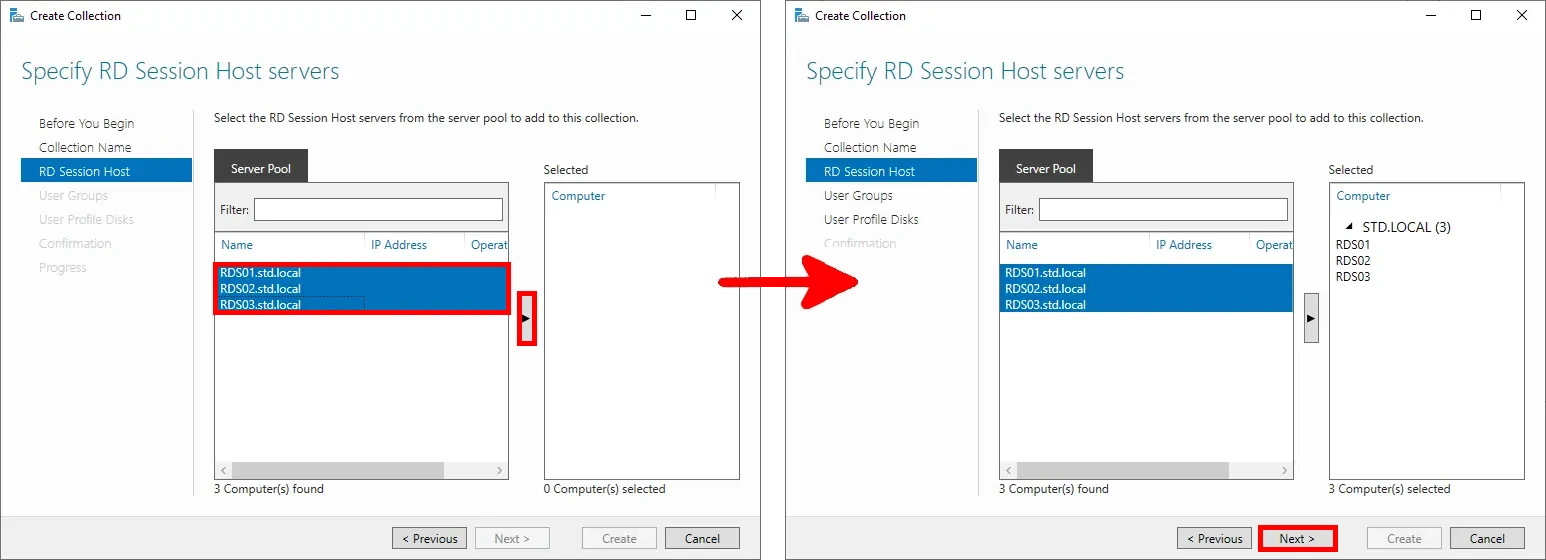
- Select the RD Session Host servers to include in the collection, then click Next:
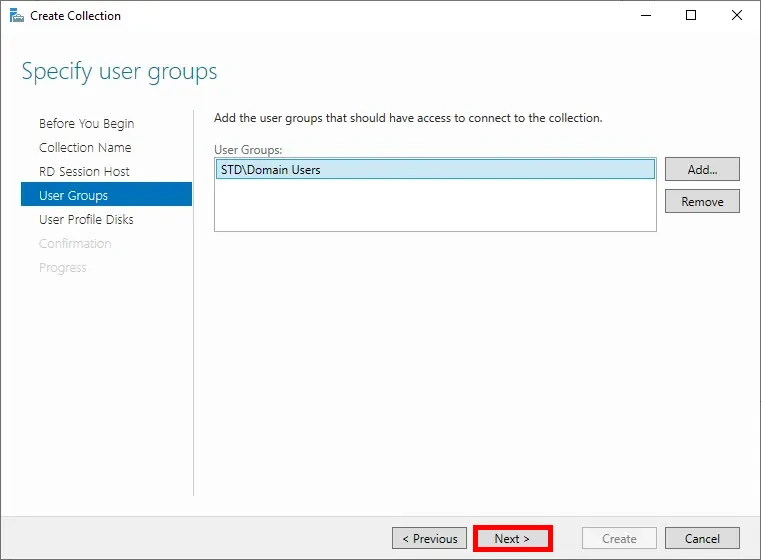
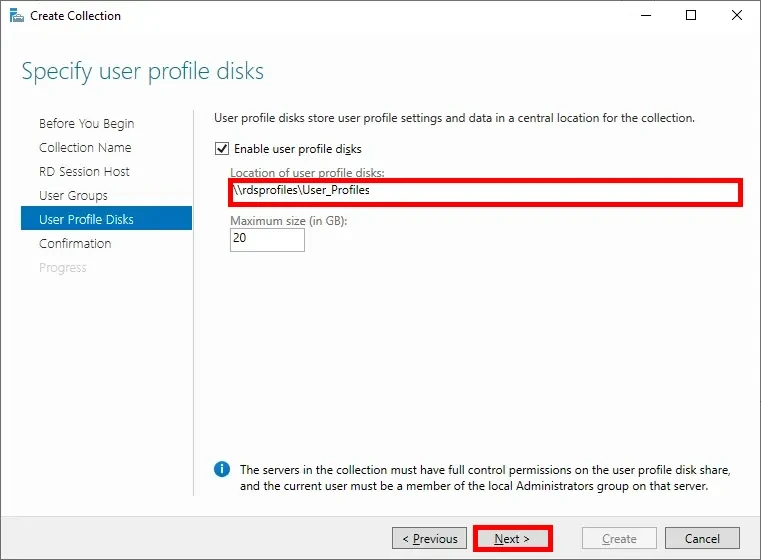
- Specify the user groups that should have access to the RDS farm, then click Next:
- Define the user profile disk location using the shared folder configured earlier on
rdsprofiles.std.local, then click Next:
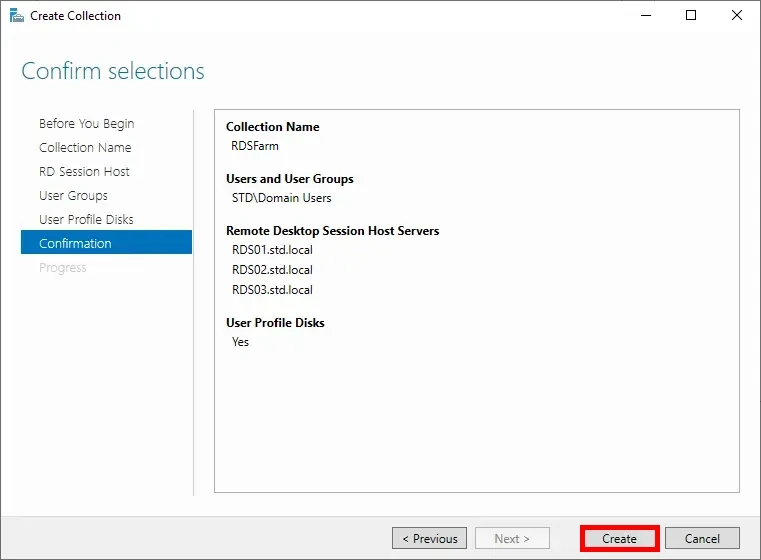
- Review the summary, then click Create to confirm and begin the deployment:
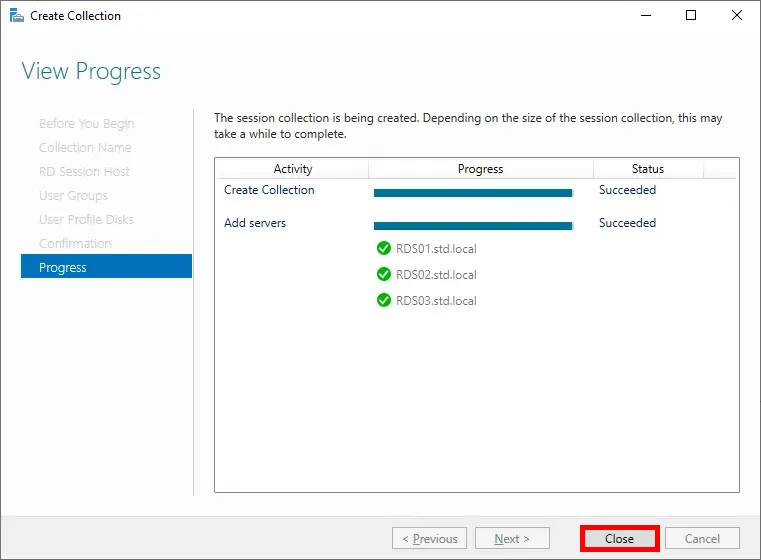
- Once the process completes successfully, click Close to exit the wizard:
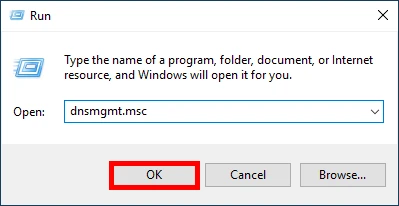
Adding a DNS Entry (on the AD Server)
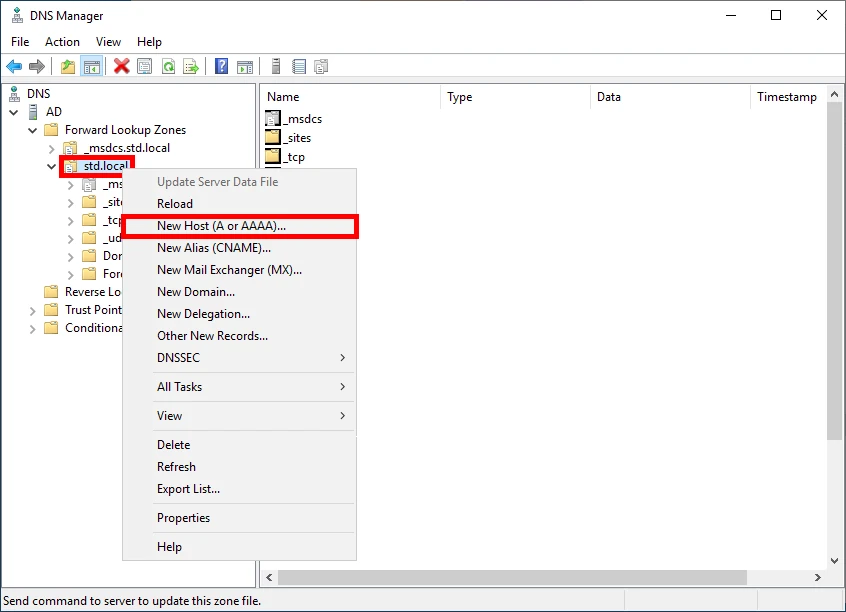
- Open the DNS Manager console from an Active Directory server:
- In the domain zone (e.g.,
std.local), right-click and select New Host (A or AAAA) to add DNS records:
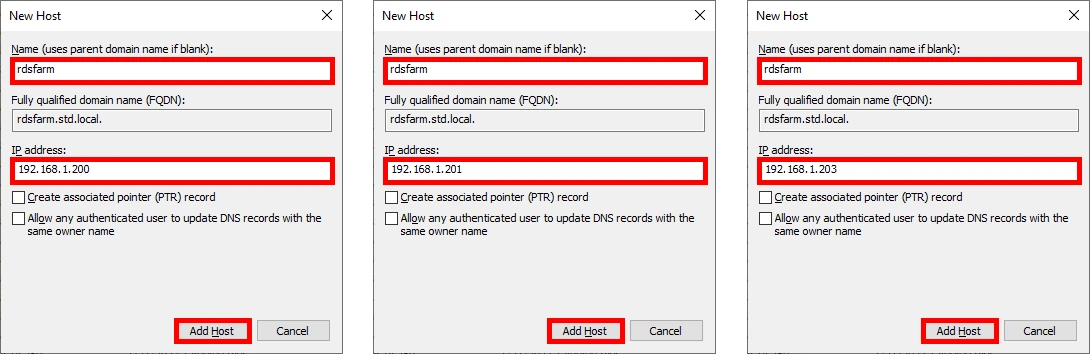
- Repeat this step to associate the hostname (e.g.,
rdsfarm.std.local) with the IP addresses of each RD Session Host server:
Alternative to DNS Entry: Configuring the RDP File (Client-side)
As an alternative to using a DNS entry, you can manually specify the session collection by customizing an RDP file. The simplest way to do this is by editing the RDP shortcut in Notepad.
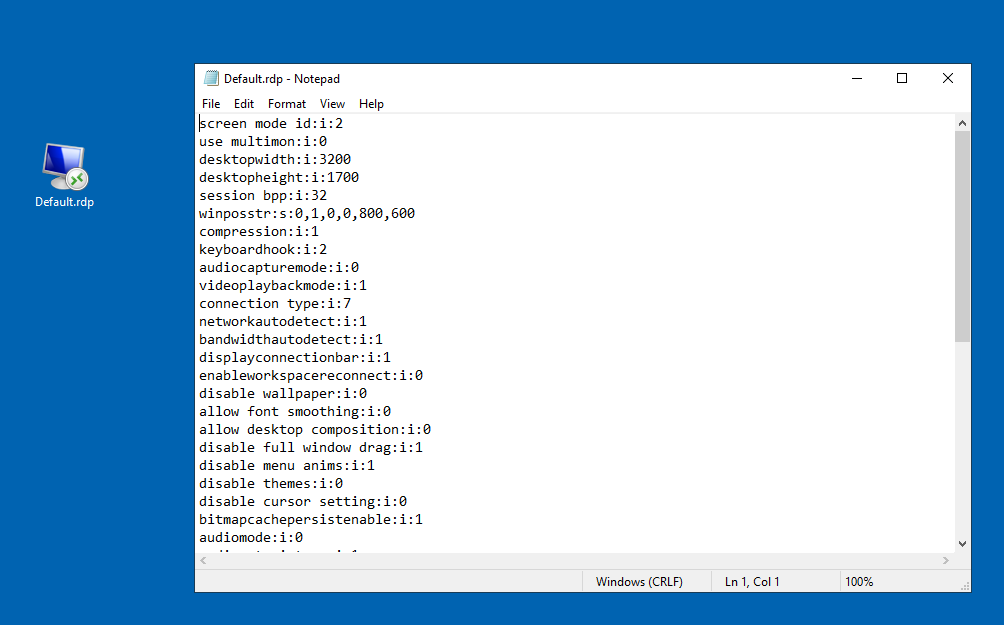
Once the file is open, check whether it already contains any of the following lines: loadbalanceinfo, full address, gatewayhostname, use redirection server name, or alternate full address. If they are present, delete them to avoid conflicts.
- Then, add the following lines—replacing the highlighted values with your own collection and broker hostnames:
loadbalanceinfo:s:tsv://MS Terminal Services Plugin.1.RDSFarm
full address:s:broker.std.local
gatewayhostname:s:broker.std.local
use redirection server name:i:1
alternate full address:s:broker.std.local
Save the file and launch the RDP connection using the modified shortcut.
Client Connection
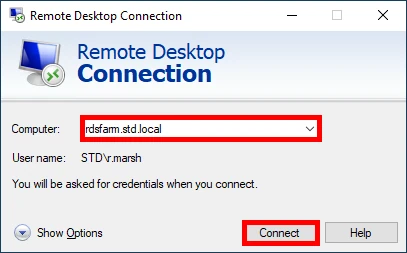
Using the DNS Entry
- The client connects using the DNS alias rdsfarm, which points to the RDS farm. The broker will redirect the session to one of the available RD Session Host servers:
Alternative (without DNS Entry)
- The client connects using the custom RDP file created earlier. This file specifies the collection and broker address manually:

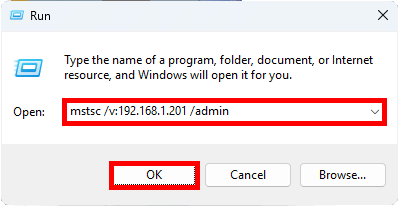
Forcing a Connection to a Specific RD Session Host
By default, the RD Connection Broker manages and distributes user connections across the available RD Session Host servers, ensuring session reconnection and load balancing. However, as an administrator—for example, when installing or testing software—it may be useful to connect directly to a specific host.
- To connect directly to
RDS02(IP address:192.168.1.201), open the Run dialog on a Windows machine and enter the following command:
mstsc /v:192.168.1.201 /admin