Run a PowerShell Script Using Windows Task Scheduler – Complete Guide
- Last updated: Nov 24, 2024


For several years now, PowerShell has been the go-to scripting language for Windows. Knowing how to run a PowerShell script through the Windows Task Scheduler can greatly enhance your ability to automate tasks. In this guide, I'll walk you through the process of scheduling and running a PowerShell script using the Windows Task Scheduler.
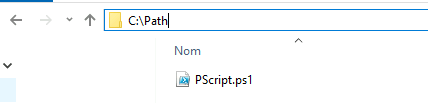
Create a PowerShell script
- For our example:
c:\Path\PScript.ps1.
Create a task
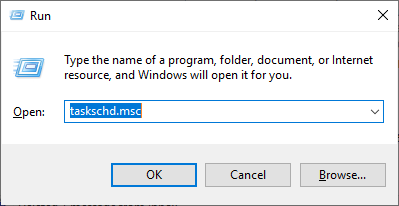
- Open Windows Task Scheduler:
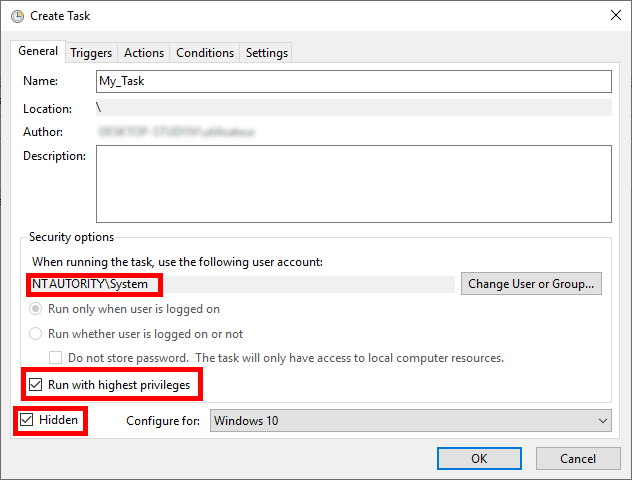
- Right-click on the Task Scheduler Library and select Create Task… to create a new task:

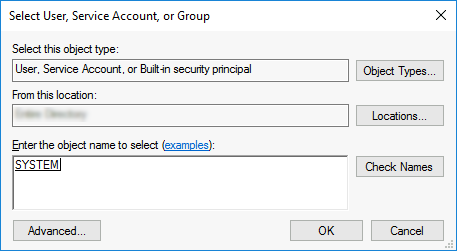
- Give the task a name (e.g.
My_Task), select the user under which the task will run (e.g.NT AUTORITY\SYSTEM) and check the box to hide the task:
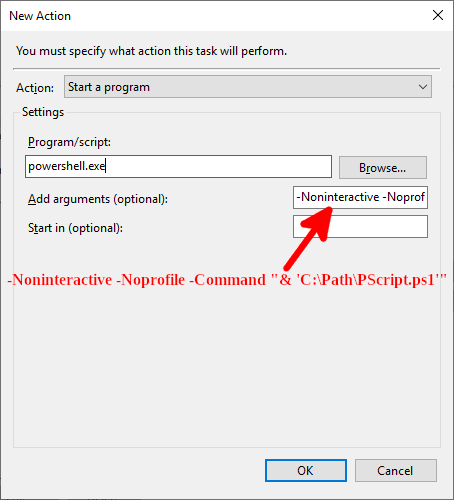
- In the Actions tab, click on New…:
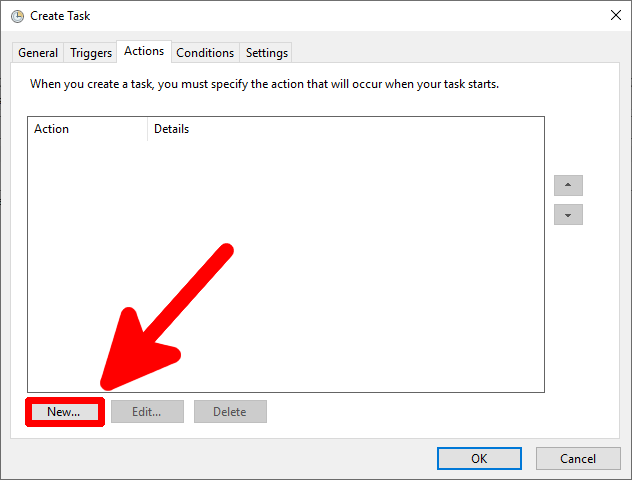
- Set the New Action as follows:
- Program/script:
powershell.exe - Add arguments:
-Noninteractive -Noprofile -ExecutionPolicy bypass -Command "& 'C:\Path\PScript.ps1'"
- Program/script: