How to Secure Roundcube Webmail with Fail2ban, 2FA and HTTPS
- Last updated: Jan 25, 2026

This article focuses on improving Roundcube webmail security. It explains how to configure Fail2ban to protect against brute-force attacks, and how to integrate a 2FA (Two-Factor Authentication) plugin, developed by alexandregz, to strengthen user authentication.
Although HTTPS configuration in Roundcube has already been covered here, this guide also reviews the required steps to enable HTTPS and add an extra layer of transport security.
- Configuration:
- debian: 13 trixie
- php: 8.4
- roundcube: 1.6.12
Enable Fail2ban Protection
Fail2ban is a powerful security tool designed to monitor authentication errors in log files and temporarily block IP addresses responsible for repeated failed attempts. It can be used to protect various services such as sshd, Apache, and Dovecot against brute-force attacks.
Install and Configure Fail2ban
- Install
fail2ban:
root@host:~# apt update && apt install fail2ban- Start and enable the
nftablesservice:
root@host:~# systemctl start nftablesroot@host:~# systemctl enable nftables- Edit the
/etc/fail2ban/jail.conffile:
banaction = nftables-multiport
banaction_allports = nftables-allports- Edit the
/etc/fail2ban/jail.d/defaults-debian.conffile:
[DEFAULT]
banaction = nftables
banaction_allports = nftables[type=allports]
maxretry = 10
findtime = 60m
bantime  = 5m
# Optional: enable email reporting
#destemail = fail2ban@std.rocks
#sender    = fail2ban@std.rocks
#mta       = sendmail
#action = %(action_mwl)s

[sshd]
enabled = true
backend = systemd

[roundcube-auth]
enabled = true
logpath = /var/log/roundcube/errors.log- Restart the
fail2banservice to take the changes into account:
root@host:~# systemctl restart fail2ban- Check the status of the roundcube-auth jail:
root@host:~# fail2ban-client status roundcube-auth
Status for the jail: roundcube-auth
|- Filter
|  |- Currently failed:	0
|  |- Total failed:	0
|  `- File list:	/var/log/roundcube/errors.log
`- Actions
   |- Currently banned:	0
   |- Total banned:	0
   `- Banned IP list:
Unblock an IP Address in Fail2ban
- List blocked IP addresses:
root@host:~# nft -a list ruleset
table inet filter { # handle 1
        chain input { # handle 1
                type filter hook input priority filter; policy accept;
        }

        chain forward { # handle 2
                type filter hook forward priority filter; policy accept;
        }

        chain output { # handle 3
                type filter hook output priority filter; policy accept;
        }
}
table inet f2b-table { # handle 2
        set addr-set-roundcube-auth { # handle 2
                type ipv4_addr
                elements = { 192.168.10.36 }
        }

        chain f2b-chain { # handle 1
                type filter hook input priority filter - 1; policy accept;
                tcp dport { 80, 443 } ip saddr @addr-set-roundcube-auth reject with icmp port-unreachable # handle 6
        }
}- If necessary, temporarily unblock a blocked IP address:
root@host:~# fail2ban-client set roundcube-auth unbanip 192.168.10.36- To permanently whitelist IP addresses, edit
/etc/fail2ban/jail.conf:
ignoreip = 127.0.0.1/8 ::1 192.168.10.36- Restart the
fail2banservice to apply the changes:
root@host:~# systemctl restart fail2banAdd a Two-Factor Authentication (2FA) Plugin to Roundcube
A smartphone application compatible with Google Authenticator is required to generate one-time passwords. I personally use FreeOTP. It is an open-source authentication application developed by Red Hat.
The official GitHub repository for the twofactor_gauthenticator plugin is available here: https://github.com/alexandregz/twofactor_gauthenticator
Enable the 2FA Plugin in Roundcube
- Install Git and download the 2FA plugin:
root@host:~# apt update && apt install gitroot@host:~# git clone https://github.com/alexandregz/twofactor_gauthenticator.git- Move the
twofactor_gauthenticatordirectory to the Roundcube plugins directory (/var/lib/roundcube/plugins):
root@host:~# mv twofactor_gauthenticator /var/lib/roundcube/plugins/- Edit
/etc/roundcube/config.inc.phpto activate the 2FA plugin:
$config['plugins'] = [
        'twofactor_gauthenticator',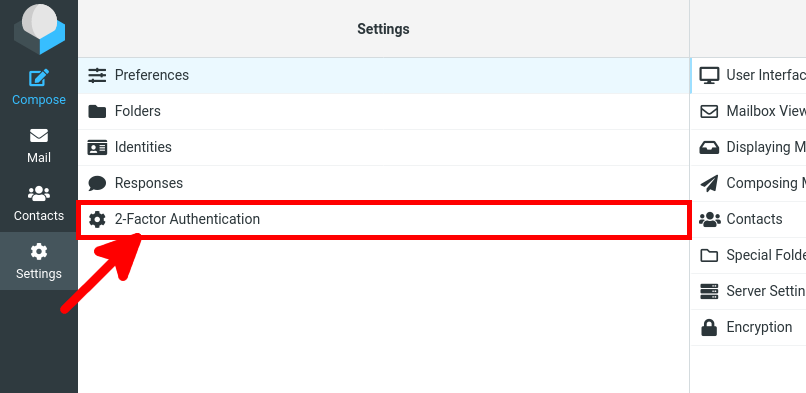
];- From the Roundcube web interface, navigate to Settings > 2-Factor Authentication:
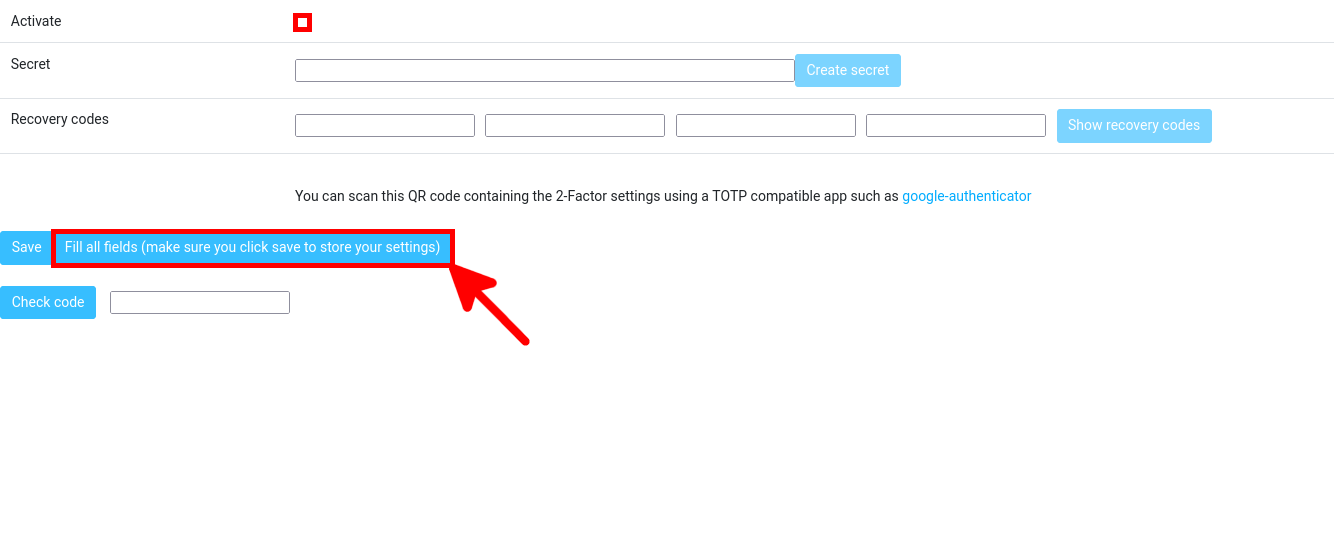
- Enable the Activate option and click Fill all fields:
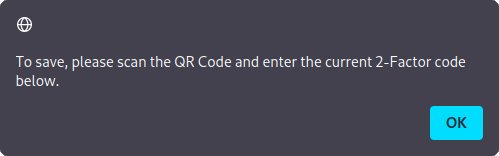
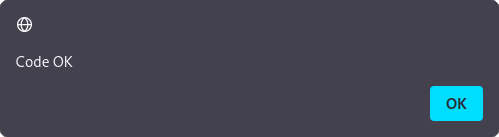
- A pop-up window appears; click OK to continue:
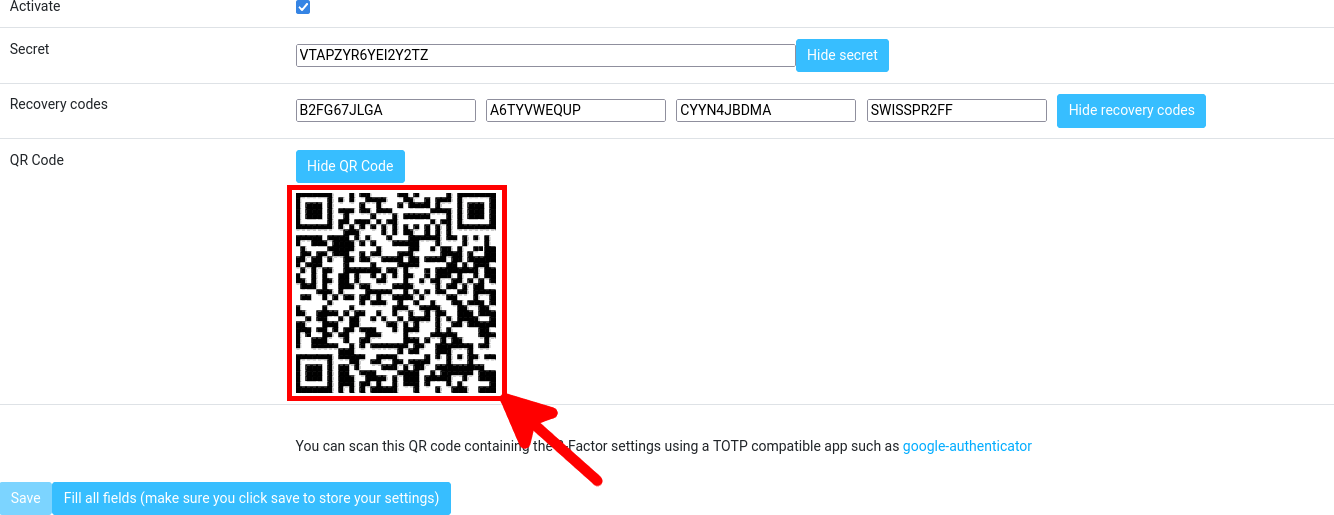
- Write down the secret and recovery codes in case you lose your 2FA device, then scan the QR code using your 2FA application on your smartphone:
- From your smartphone, retrieve the current one-time password, enter it in the input field, then click Check code to verify the configuration:

- Finally, click Save to apply the settings:

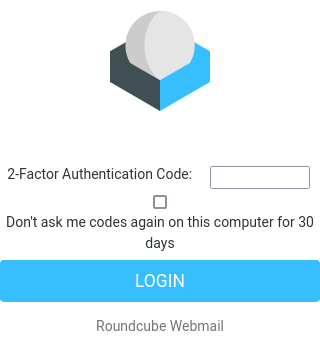
- At the next login, the 2FA authentication prompt should appear:
Reset 2FA Authentication for a User
If you have lost your 2FA device, you will no longer be able to log in to Roundcube. To recover a user’s 2FA recovery codes or disable 2FA authentication, several actions must be performed directly on the Roundcube server. This procedure applies to installations using a SQLite database.
- Connect to the SQLite database:
root@host:~# sqlite3 /var/lib/dbconfig-common/sqlite3/roundcube/roundcube- Identify the user account to reset and retrieve the 2FA recovery codes:
SELECT * FROM users ;
1|john@std.rocks|std.rocks||2024-02-09 15:02:30|2024-02-24 12:31:00|2024-02-24 11:43:03|1|en_US|a:2:{s:11:"client_hash";s:16:"Tzl9oKiP5cifLfVO";s:24:"twofactor_gauthenticator";a:3:{s:6:"secret";s:16:"VTAPZI2PZVUIR45Q";s:8:"activate";b:1;s:14:"recovery_codes";a:4:{i:0;s:10:"B2FDEYC5J7";i:1;s:10:"A6TY7H5XD6";i:2;s:10:"CYYNSZ22UB";i:3;s:10:"SWISSDWBZ7N";}}}- Alternatively, reset 2FA settings by setting preferences to NULL:
UPDATE users SET preferences = NULL WHERE user_id = 1;Whitelist IPs for 2FA Bypass
You may not want to enable 2FA authentication when connecting from trusted networks, such as your local network or specific public IP addresses. It is possible to add these IPs to /var/lib/roundcube/plugins/twofactor_gauthenticator/config.inc.php. For example, the following configuration disables 2FA authentication for the 192.168.1.0/24 network and the 203.0.113.1 IP address.
- Edit
/var/lib/roundcube/plugins/twofactor_gauthenticator/config.inc.phpand add the IP addresses you want to exclude:
// A Whitelist of IPs which are allowed to bypass the 2FA, CIDR format available.
// NOTE: We need to use .0 IP to define LAN because the class CIDR have a issue about that (we can't use 129.168.1.2/24, for example)
// NOTE2: To create a empty whitelist, make sure it looks like this: `$rcmail_config['whitelist'] = array();` <- There are NO QUOTES inside the parentheses.
$rcmail_config['whitelist'] = array('192.168.1.0/24','203.0.113.1');
Enable HTTPS for Roundcube
For security reasons, enabling HTTPS for the Roundcube web interface is strongly recommended. This can be achieved using Let’s Encrypt certificates or self-signed certificates. The following sections describe how to implement both solutions.
- First, enable the Apache SSL module:
root@host:~# a2enmod sslLet's Encrypt
A Let’s Encrypt certificate can be requested to secure the connection. Its main advantage is that it is trusted by web browsers and does not trigger any security warning when accessing the service.
- Install the
certbotutility:
root@host:~# apt update && apt install certbot- Stop the Apache service:
root@host:~# systemctl stop apache2- Run the
certbottool. Ports 80 and 443 must be accessible on the Roundcube server, and the DNS record roundcube.std.rocks must point to this server:
root@host:~# certbot certonly --email letsencrypt@std.rocks --standalone -d roundcube.std.rocks- Modify the configuration file
/etc/apache2/sites-available/default-ssl.confand add:
SSLCertificateFile /etc/letsencrypt/roundcube.std.rocks/fullchain.pem
SSLCertificateKeyFile /etc/letsencrypt/roundcube.std.rocks/privkey.pem
SSLCertificateChainFile /etc/letsencrypt/roundcube.std.rocks/chain.pem- Enable the SSL site and restart the Apache service:
root@host:~# a2ensite default-sslroot@host:~# systemctl start apache2Self-Signed Certificates
- Alternatively, create a self-signed certificate:
root@host:~# mkdir /etc/apache2/ssl/root@host:~# openssl req -x509 -nodes -days 3650 -newkey rsa:4096 -keyout /etc/apache2/ssl/selfsigned.key -out /etc/apache2/ssl/selsigned.crt
-----
You are about to be asked to enter information that will be incorporated
into your certificate request.
What you are about to enter is what is called a Distinguished Name or a DN.
There are quite a few fields but you can leave some blank
For some fields there will be a default value,
If you enter '.', the field will be left blank.
-----
Country Name (2 letter code) [AU]:FR
State or Province Name (full name) [Some-State]:STD
Locality Name (eg, city) []:stdcity
Organization Name (eg, company) [Internet Widgits Pty Ltd]:std
Organizational Unit Name (eg, section) []:std
Common Name (e.g. server FQDN or YOUR name) []:roundcube.std.rocks
Email Address []:email@std.rocksroot@host:~# cat /etc/apache2/ssl/selfsigned.key /etc/apache2/ssl/selsigned.crt > /etc/apache2/ssl/cert.pem- Edit the
/etc/apache2/sites-available/default-ssl.conffile:
DocumentRoot /var/lib/roundcube/public_html/
#AUTOGENERATE CERTIFICATES
SSLCertificateFile    /etc/apache2/ssl/cert.pem
SSLCertificateKeyFile /etc/apache2/ssl/selfsigned.key- Edit the
/etc/apache2/ports.conffile and disable HTTP:
#Listen 80- Enable the SSL site and restart the Apache service:
root@host:~# a2ensite default-sslroot@host:~# systemctl restart apache2