How to Set Up OpenVPN Server with Routing on Windows Server 2019
- Last updated: Oct 27, 2024

Here we'll look at how to set up an OpenVPN server on Microsoft Windows Server.
This is a continuation of the previous "How To" I wrote, see here, but with Windows 2019 (which doesn't change much). However, I'd also mention the possibility of enabling routing to be able to access LAN machines from our remote clients.
OpenVPN is a very powerful VPN with several advantages: it's free, compatible with most operating systems, easy to implement and highly configurable.
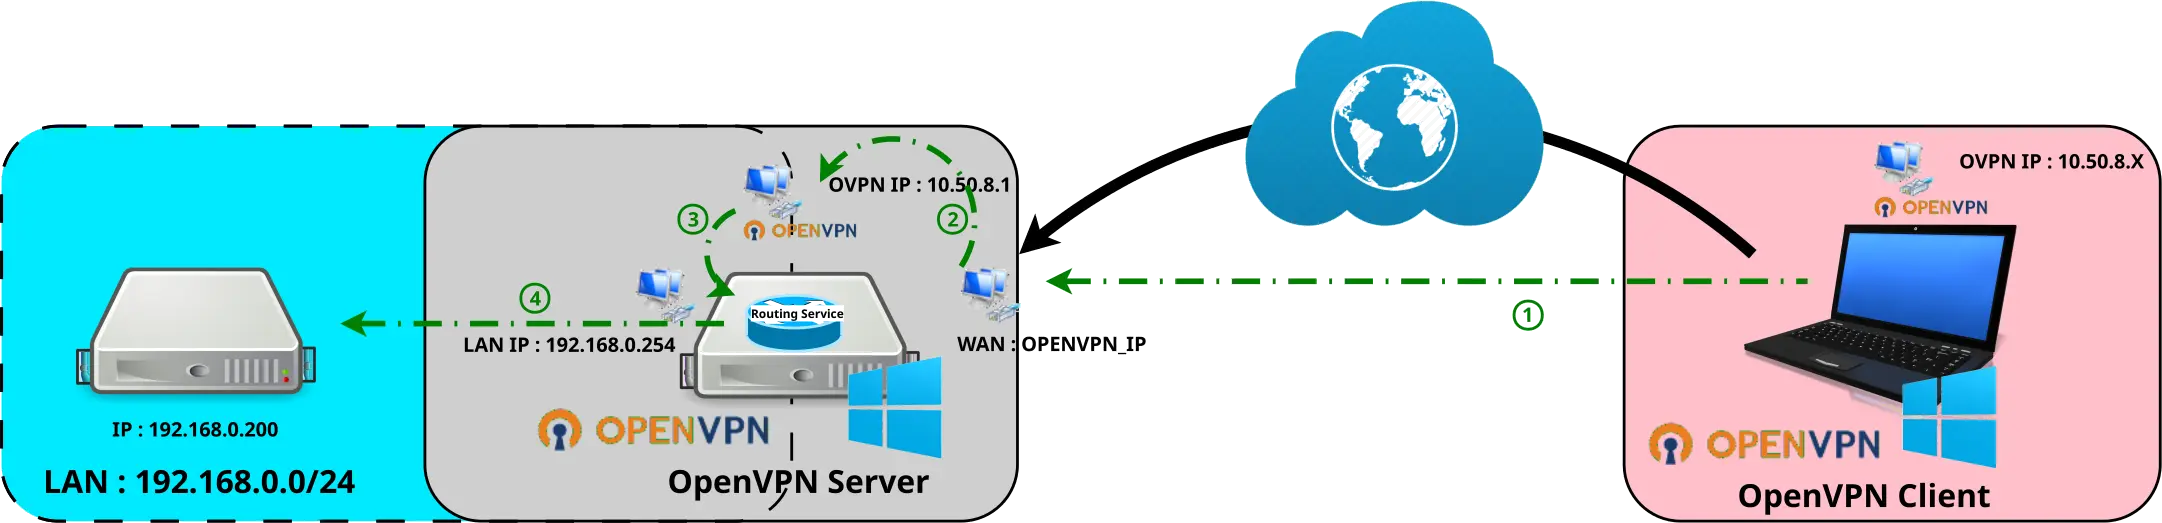
Network diagram

OpenVPN Server
- OpenVPN Server Properties:
- OS: Windows Server 2019
- Role: OpenVPN Server
- IP: 192.168.0.254
Prerequisites
OpenSSL

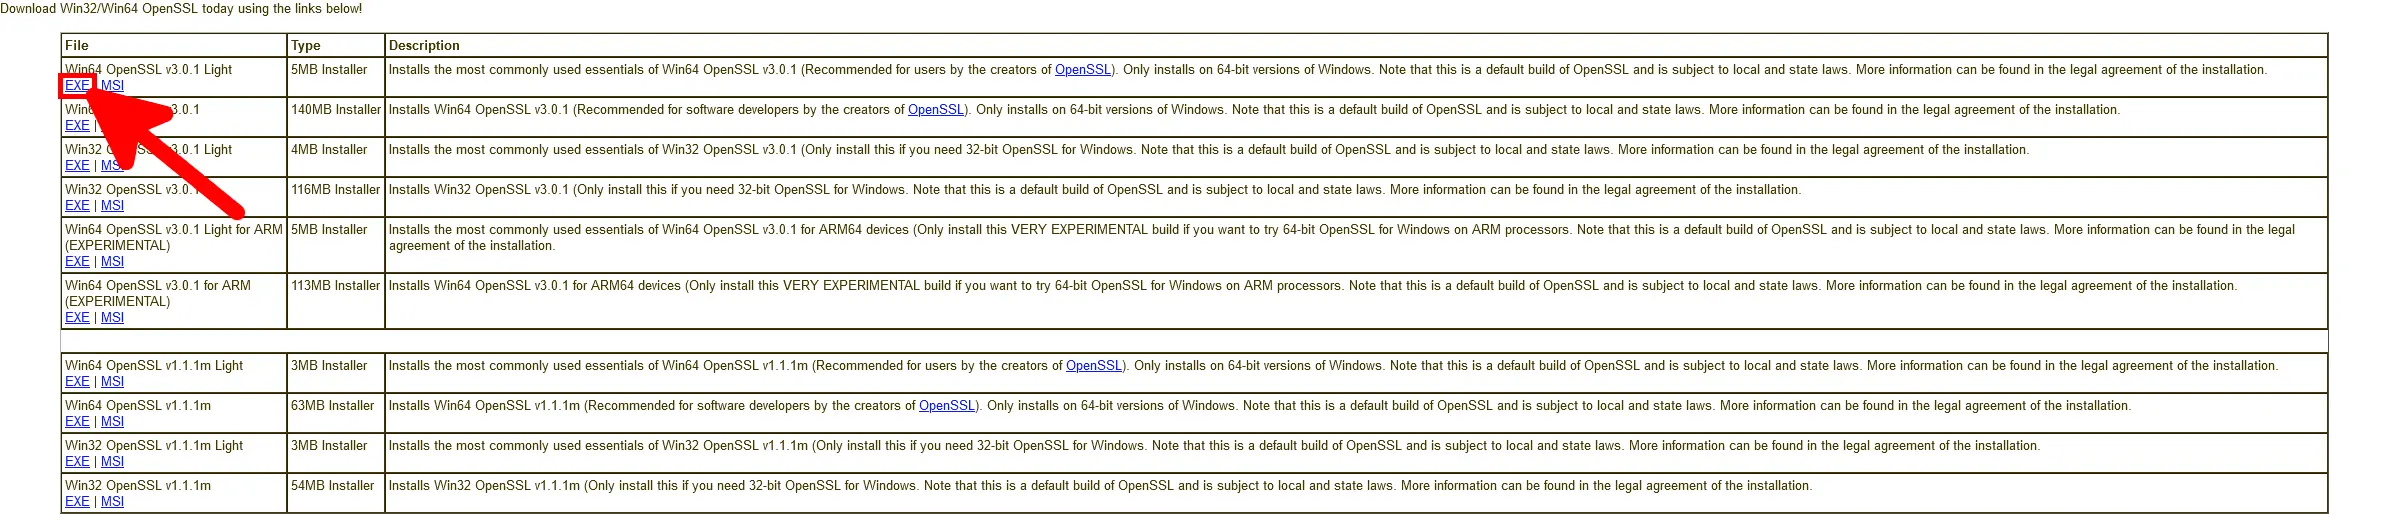
In order to create connection certificates, we need to install the OpenSSL software library. I personally use the https://slproweb.com packages.
Download OpenSSL
Download the latest OpenSSL Light version.
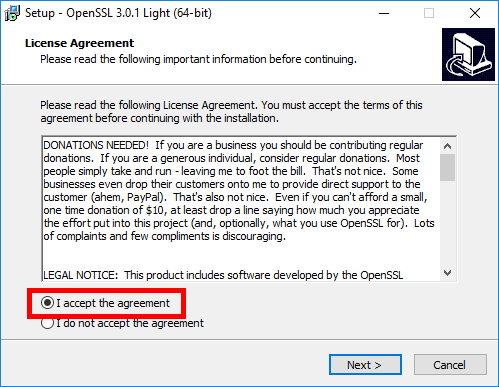
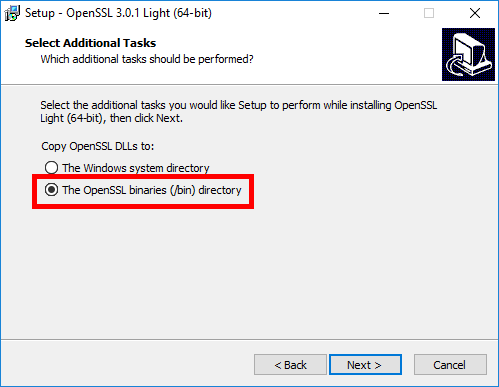
Install OpenSSL
- Accept the agreement:
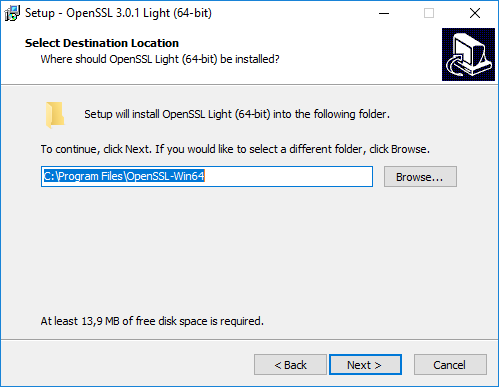
- Select destination location:
- Select start menu folder:

- Select the OpenSSL binaries directory:
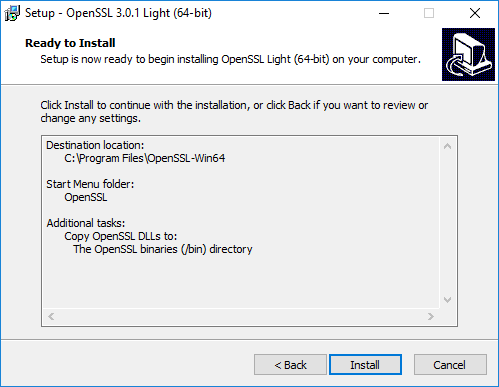
- Click to install:
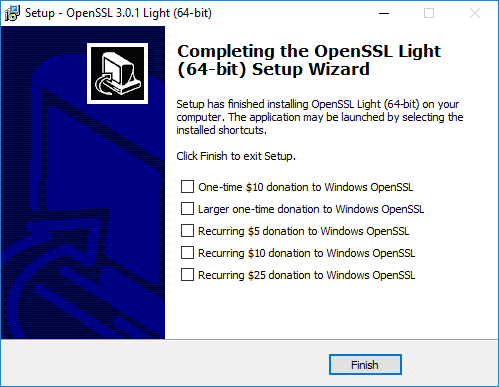
- Click Finish to exit (and make a donation if you can to support the project 😊):
Add OpenSSL in Environment Variables
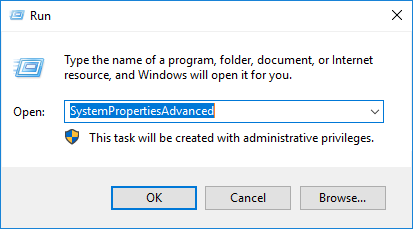
We need to add the OpenSSL path to the environment variables.
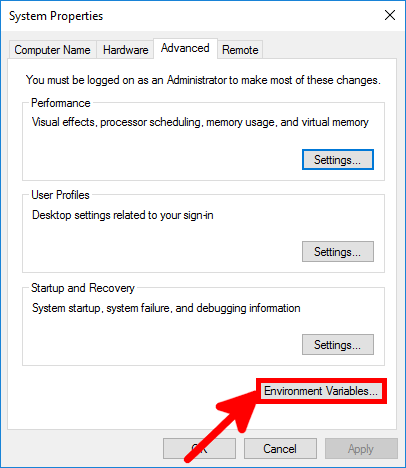
- Run SystemPropertiesAdvanced to open System Properties:
- Click on Environment Variables…:
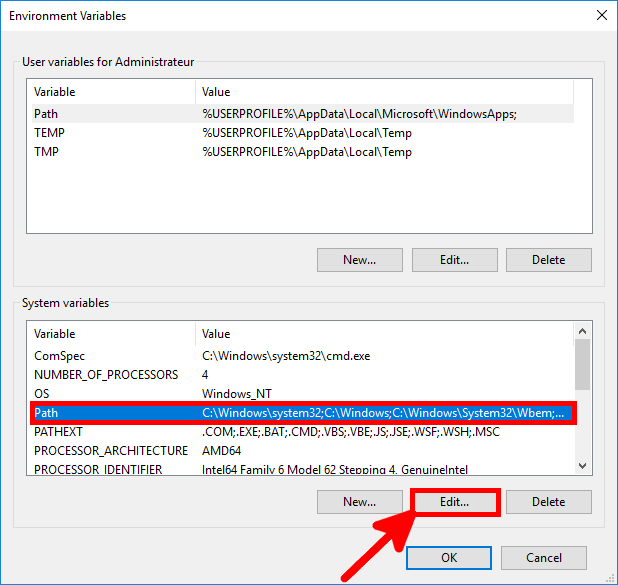
- Edit Path system variable:
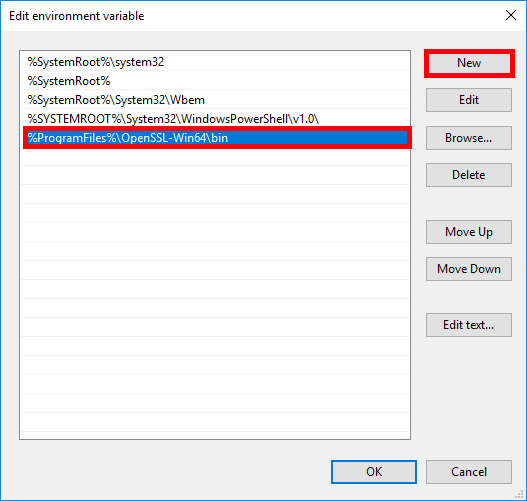
- Click on New and add
%ProgramFiles%\OpenSSL-Win64\bin:
- Open a new Windows command and check that you can run this openssl command:

Windows Firewall

We need to open port 1194 udp to allow OpenVPN client connections.
- To do this, use the Windows Firewall Management Console or this command in an Administrator command-line console.
C:\Windows\system32>netsh advfirewall firewall add rule name="OpenVPN" dir=in localport=1194 remoteport=0-65535 protocol=UDP action=allow remoteip=any localip=any- Or with PowerShell:
PS C:\ > New-NetFirewallRule -DisplayName "OpenVPN" -Direction Inbound -Protocol UDP -LocalPort 1194 -Action AllowInstalling OpenVPN
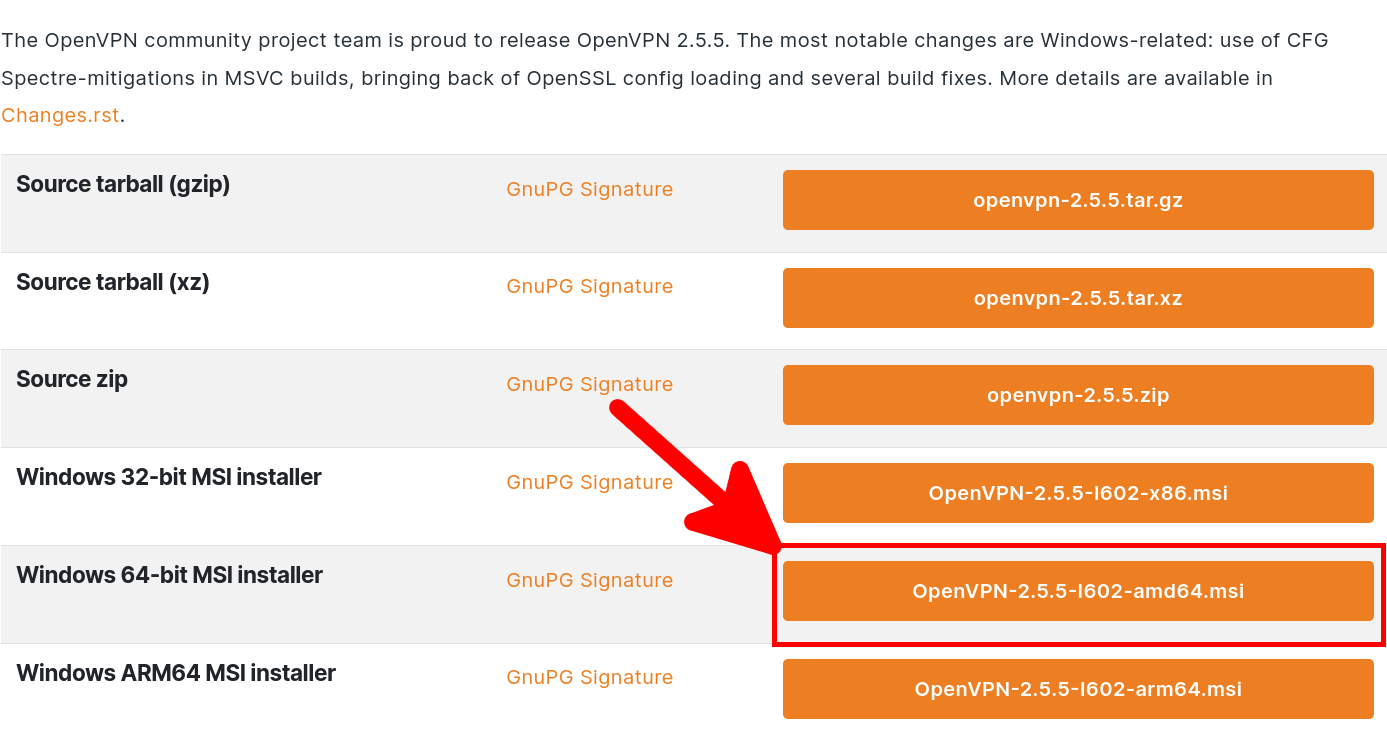
Go to the official OpenVPN website here: https://openvpn.net and download the latest installer.
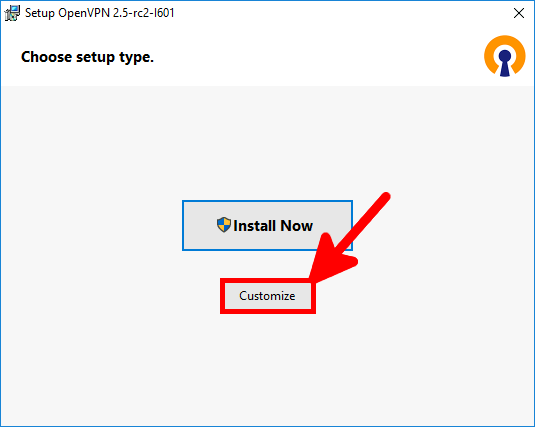
- As we want to install OpenVPN as a server, we will choose Customize:
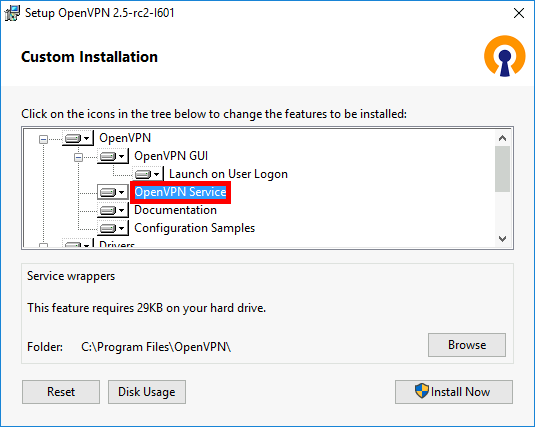
- We enable the OpenVPN Service to run on startup:
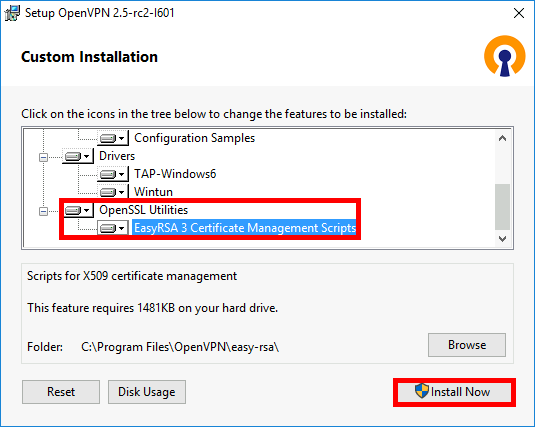
- We install EasyRsa to create certificates for the server and clients:
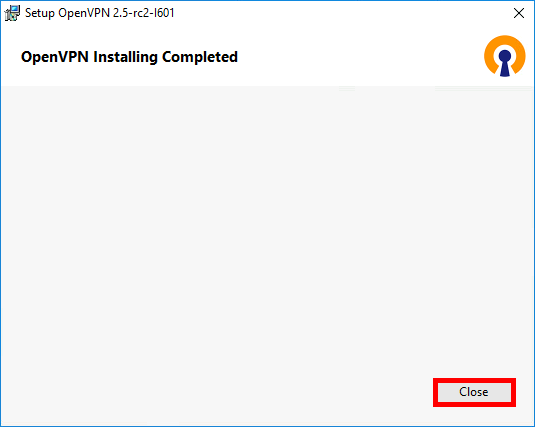
- Finally, click on Close:
Certificates
Set up a Certificate Authority (CA) and generate certificates and keys for server and clients
Here, we're going to set up a pki to create our server and client certificates.
- Open a Command Prompt:
- Then type the following commands to enter the EasyRSA shell:
C:\Windows\system32> cd "C:\Program Files\OpenVPN\easy-rsa"C:\Program Files\OpenVPN\easy-rsa> .\EasyRSA-Start.bat- Remove the existing configuration, just in case:
# ./easyrsa clean-all- Initialize the pki, and enter yes to confirm:
# ./easyrsa init-pki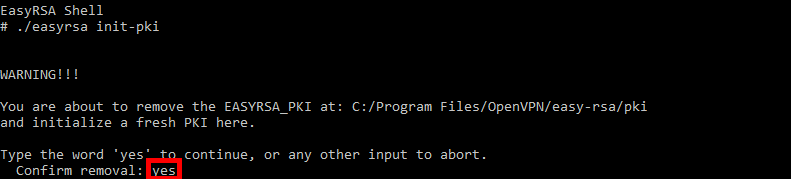
- Build the certificate authority:
# ./easyrsa build-ca nopass
[…]
Enter PEM pass phrase:MyPassW0rd
Verifying - Enter PEM pass phrase:MyPassW0rd
[…]
Common Name (eg: your user, host, or server name) [Easy-RSA CA]:ovpn- Generate server certificate and key:
# ./easyrsa build-server-full server nopass
[…]
Enter pass phrase for c:\Program Files\OpenVPN\easy-rsa\pki\private\ca.key:MyPassW0rd- Generate Diffie Hellman parameters:
# ./easyrsa gen-dh- Generate client certificates:
# ./easyrsa build-client-full client01 nopass
[…]
Enter pass phrase for c:\Program Files\OpenVPN\easy-rsa\pki\private\ca.key:MyPassW0rd
Copy certificates to the right folders
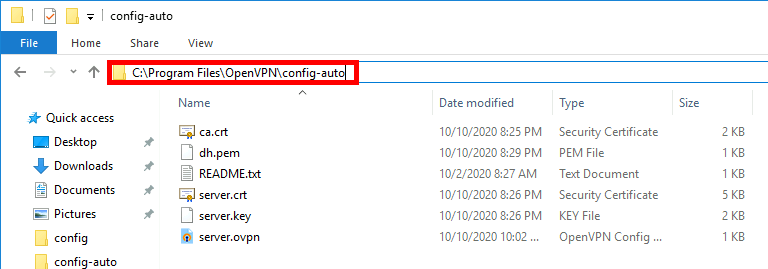
- Copy the following files (from the
C:\Program Files\OpenVPN\easy-rsa\pki,C:\Program Files\OpenVPN\easy-rsa\pki\issuedandC:\Program Files\OpenVPN\easy-rsa\pki\privatefolders):- ca.crt
- dh.pem
- server.crt
- server.key
- To the
C:\Program Files\OpenVPN\config-autoandC:\Program Files\OpenVPN\configfolders.
Configuration File
- As administrator, edit the file
C:\Program Files\OpenVPN\config-auto\server.ovpn:
port 1194
proto udp
dev tun

ca ca.crt
cert server.crt
key server.key
dh dh.pem

server 10.50.8.0 255.255.255.0
ifconfig-pool-persist ipp.txt

keepalive 10 120

#comp-lzo

persist-key
persist-tun

status openvpn-status.log

verb 3
Restart the OpenVPN Service
The OpenVPN service must be restarted for the configuration file to take effect.
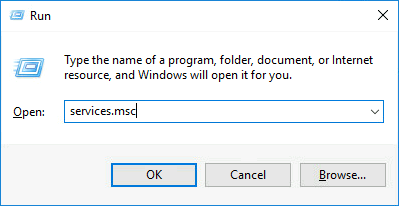
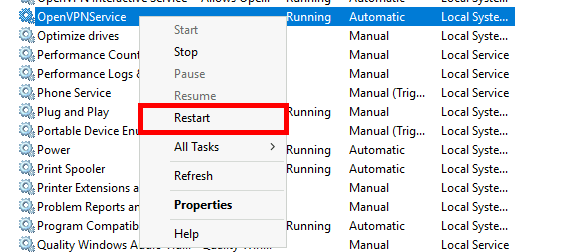
- From the services management console:
- Right click on OpenVPNService, then restart:
- Or from an administrator's command prompt:
C:\Windows\system32>net stop openvpnserviceC:\Windows\system32>net start openvpnservice- Or with PowerShell:
PS C:> Restart-Service OpenVPNService -PassThruOpenVPN Client
- OpenVPN Client:
- OS: Windows 10
- Role: OpenVPN Client
Installing OpenVPN
We're going to download the same package, and here install it with the default settings.
Copy certificates from the Server
- Copy from the Server the following files (from the folders
C:\Program Files\OpenVPN\easy-rsa\pki,C:\Program Files\OpenVPN\easy-rsa\pki\issuedandC:\Program Files\OpenVPN\easy-rsa\pki\private) :- ca.crt
- client01.crt
- client01.key
- In the folder
C:\Program Files\OpenVPN\config.

Configuration File
- Edit the file
C:\Program Files\OpenVPN\config\client.ovpnwith administrator rights:
client

dev tun

proto udp

remote OPENVPN_IP 1194

resolv-retry infinite
nobind
persist-key
persist-tun

ca ca.crt
cert client01.crt
key client01.key

#comp-lzo

verb 3
Establishing the connection
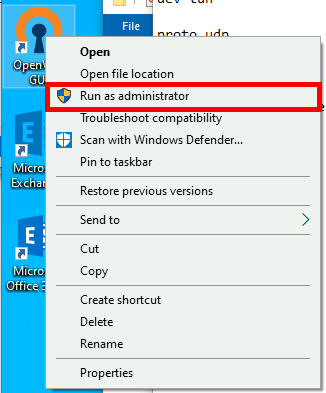
- Run the OpenVPN client as administrator:
- Establish connection:
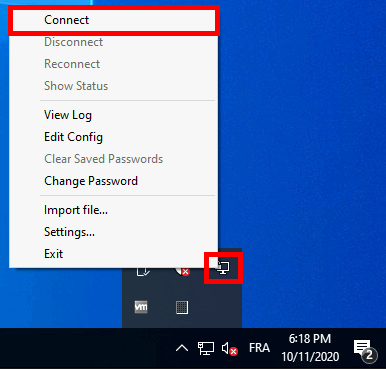
- A pop-up window will confim that we are connected:

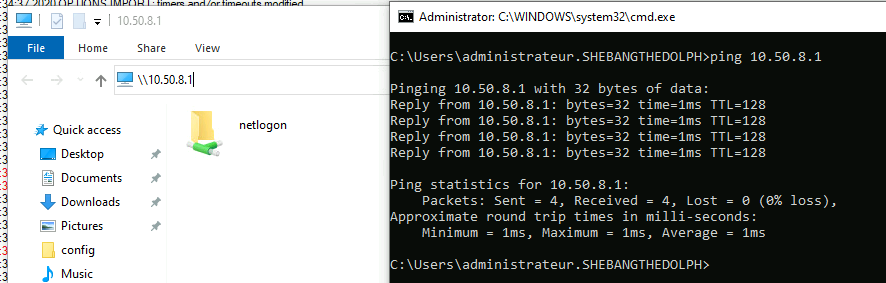
Server Access
To access the server, we'll use the IP address 10.50.8.1.
⚠️Troubleshooting: After a Windows update, I no longer had access to the server share (OpenVPN could connect, however). For this to work again, I had to repair (available by relaunching the installer) the OpenVPN program on the server side.
Enabling Routing
At this stage, we have an operational OpenVPN server that is reachable from our remote client. But do we reach the server on its private ip (192.168.0.254) or other computers on the local network? That's what we're going to find out here, by enabling routing on our OpenVPN Windows server.
OpenVPN Server
Configuration File
- As administrator, edit the file
C:\Program Files\OpenVPN\config-auto\server.ovpnand add the linepush "route add 192.168.0.0 255.255.255.0"to announce the network to the remote clients:
port 1194
proto udp
dev tun

ca ca.crt
cert server.crt
key server.key
dh dh.pem

server 10.50.8.0 255.255.255.0
ifconfig-pool-persist ipp.txt

push "route 192.168.0.0 255.255.255.0"
push "dhcp-option DNS 192.168.0.200"

keepalive 10 120

#comp-lzo

persist-key
persist-tun

status openvpn-status.log

verb 3- Restart OpenVPNService, example here with PowerShell:
PS C:> Restart-Service OpenVPNService -PassThruInstalling Routing Feature
- As administrator, open a PowerShell prompt and type this command to install the routing feature:
PS C:> Install-WindowsFeature -Name Routing -IncludeManagementToolsRouting configuration
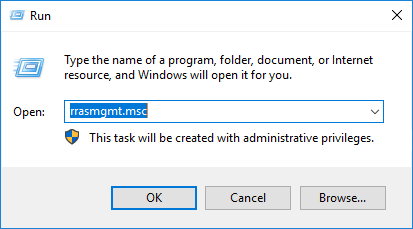
- Open the Routing and Remote Access Console by running the rrasmgmt.msc command:
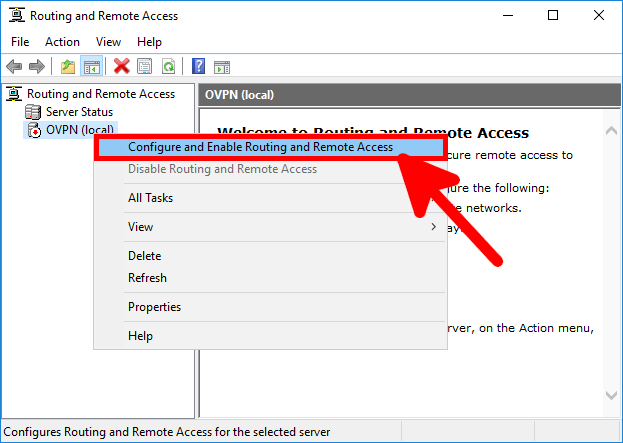
- Right-click on your server name and select Configure and Enable Routing and Remote Access:
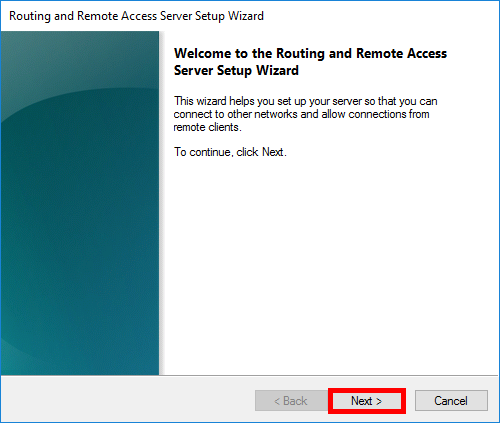
- Click on Next:
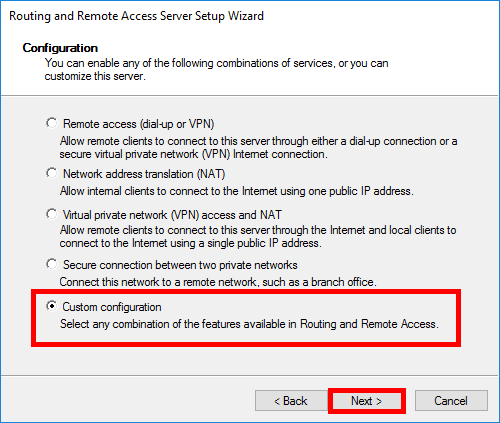
- Select Custom configuration and click Next:
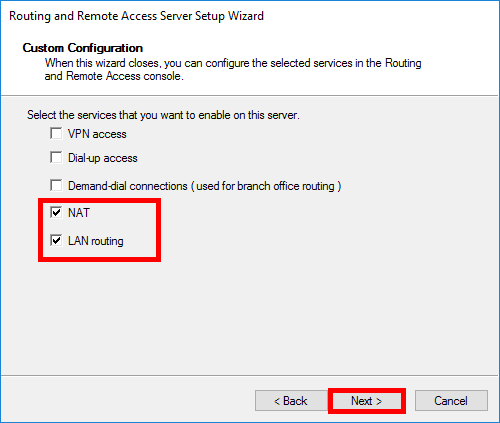
- Select NAT and LAN routing services:
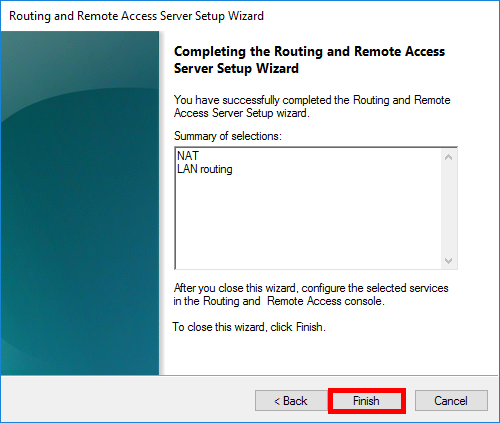
- Finally, click on Finish:
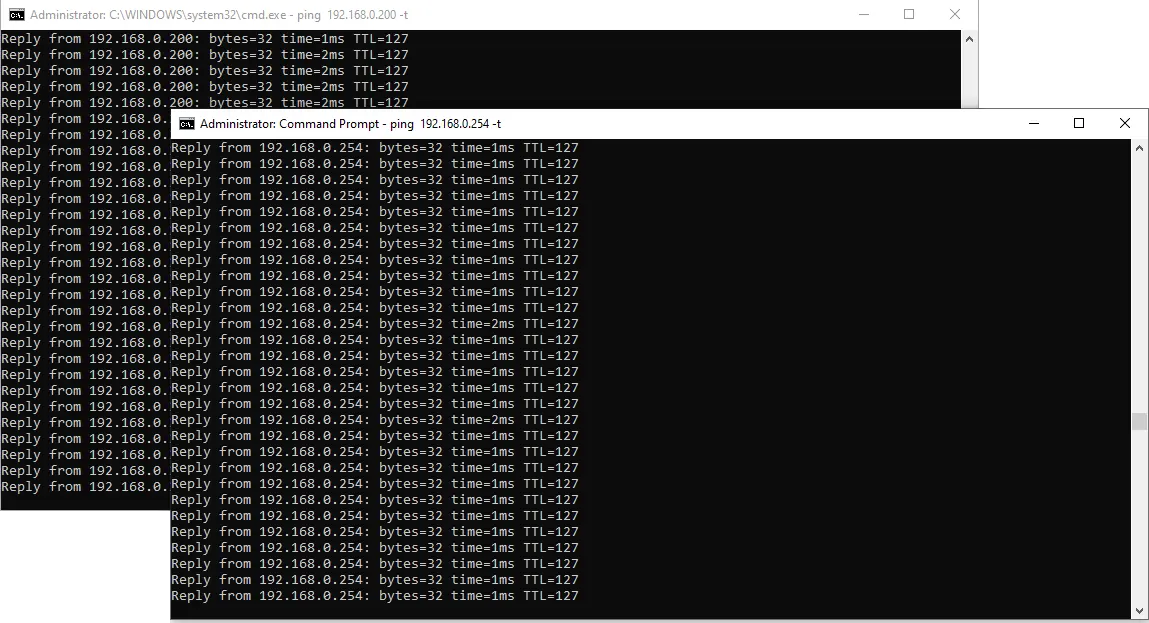
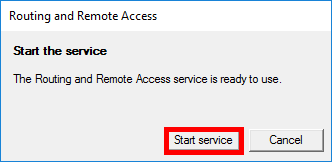
- Then Start the service. At this point, the remote client should be able to ping the LAN interface (here 192.168.0.254):
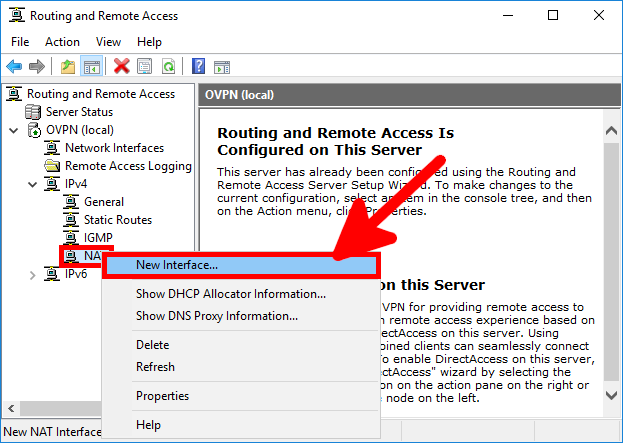
- To be able to access our entire local network, we need to create a NAT rule:
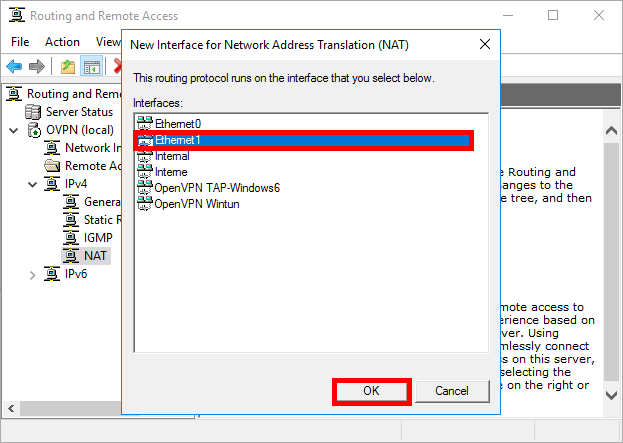
- Select the LAN Network Interface (here 192.168.0.254) and click OK:
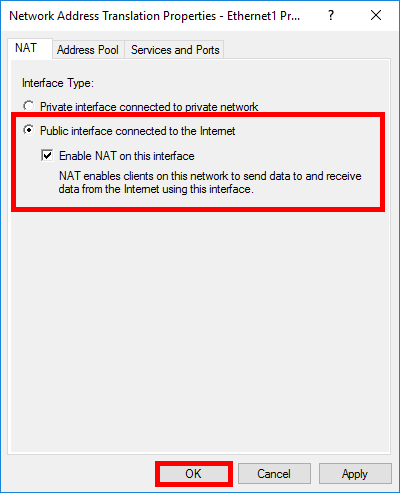
- Select Public interface connected to the internet and check the Enable NAT on this interface option before confirming by clicking on OK:
OpenVPN Client
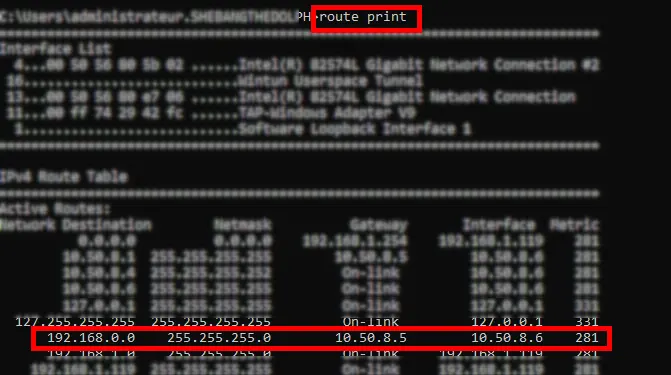
- As administrator, open a command prompt and run the route print command to check that route
192.168.0.0has been pushed correctly:
- Check that you can reach your network: