AD CS: Setting Up Computer Certificate Authentication
- Last updated: Mar 10, 2025
I have shown how to set up a WPA Enterprise architecture with EAP-TLS using a user certificate. You can find the tutorial here. This works quite well, but in some situations it may not be appropriate since the network connection is only established once the user session is opened.
- This causes the following problems:
- GPO scripts that run at startup will not execute
- Remote access to these computers will not be possible if the user session is closed
To remedy this, we need to use computer authentication. With this method, the computer establishes a connection at system startup, i.e., from the Lock Screen.
In this guide, I'll describe the steps involved in deploying computer certificates in an AD CS architecture, so that you can authenticate with them.
This guide assumes that AD CS is already installed and operational. For a detailed explanation of how to set it up, follow this link: Implementing WPA Enterprise (802.1X and RADIUS) with EAP-TLS on UniFi WiFi Access Points.
Adding the Authentication Template for Workstations
From the AD CS server, we'll create a certificate template for our workstations, which will enable us to generate the certificates used for computer authentication.
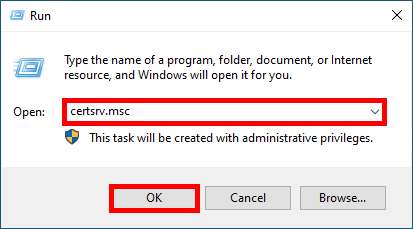
- Open the Certification Authority management console:
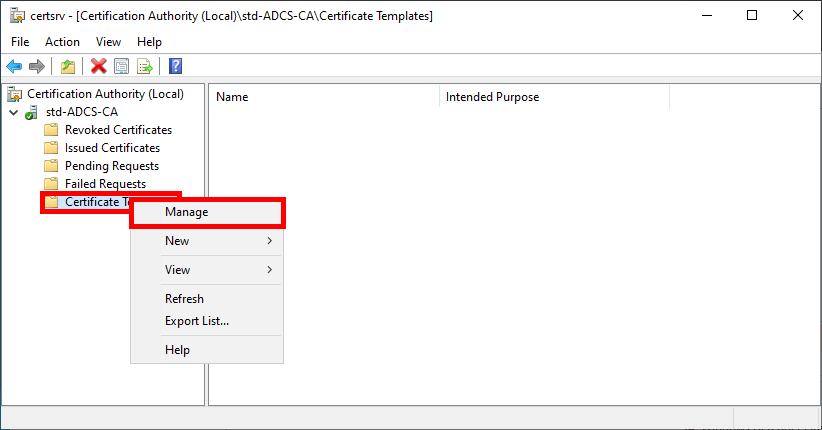
- Open the Certificate Templates Console by right-clicking on the Certificate Templates folder and selecting Manage:
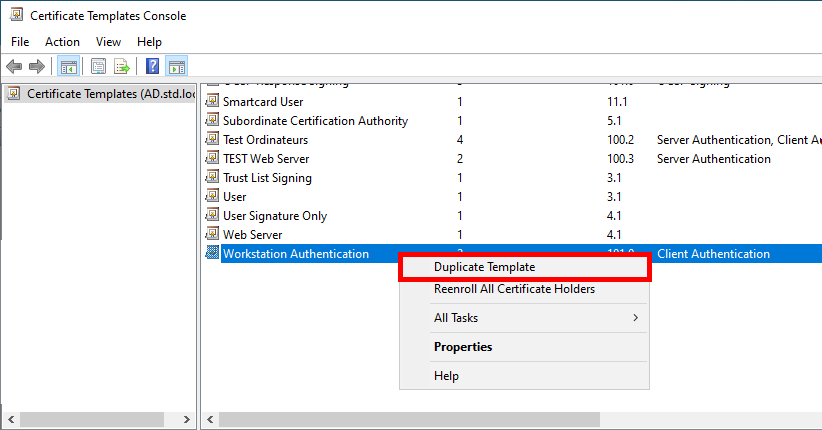
- Right-click on the Workstation Authentication template and select Duplicate Template:
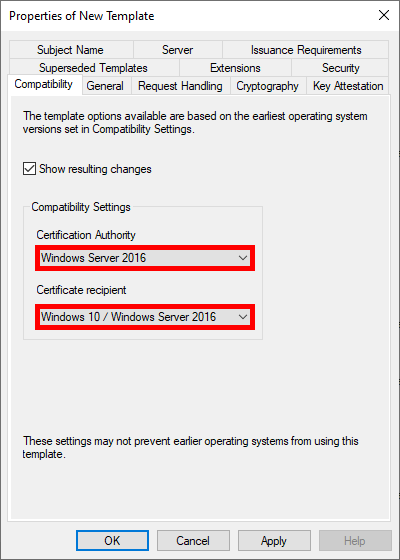
- Optional, but if you have a recent architecture, set the Compatibility Settings to the most recent systems:
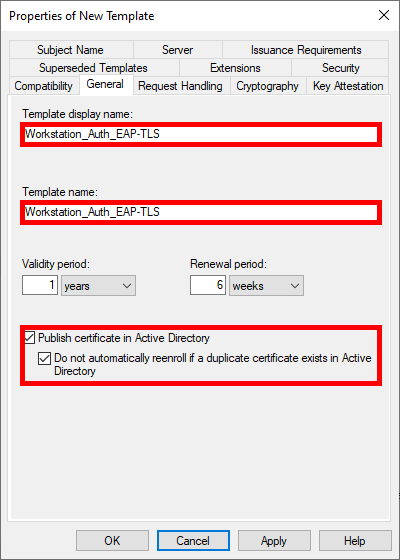
- Give the Template a name:
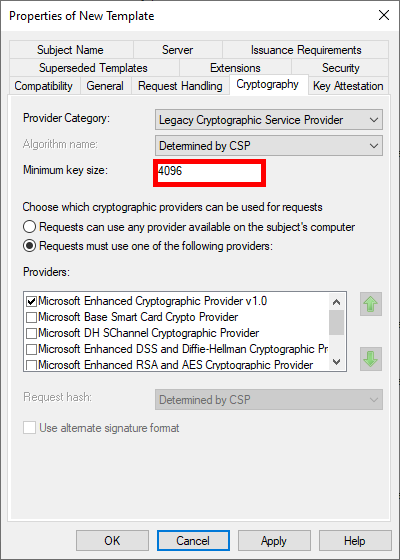
- Increase key size for greater security:
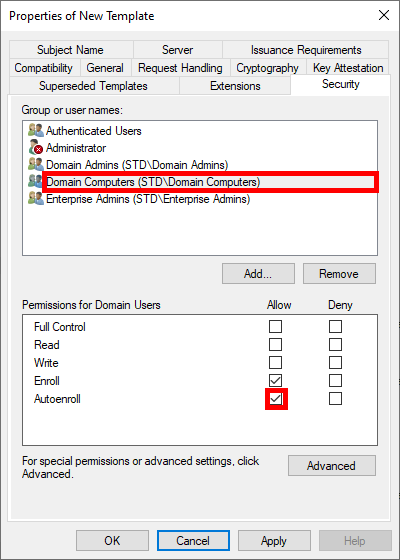
- To enable automatic deployment of certificates via GPO, check the Autoenroll box for Domain Computers:
Finally, click OK to create the template.
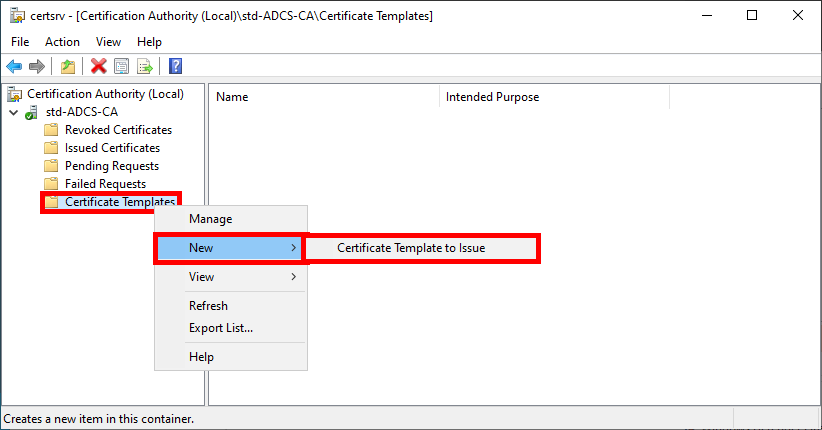
- From the Certification Authority management console, right-click on Certificate Templates and select Certificate Template to Issue:
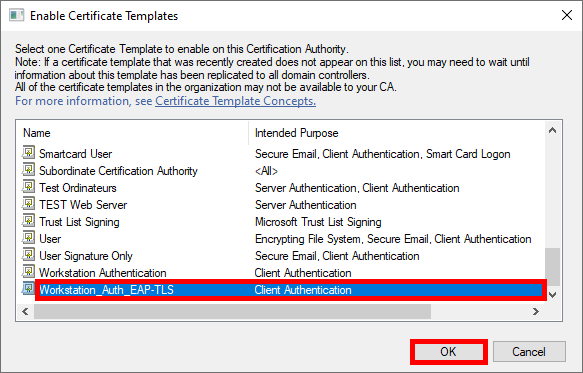
- Select the
Workstation_Auth_EAP-TLStemplate created earlier:
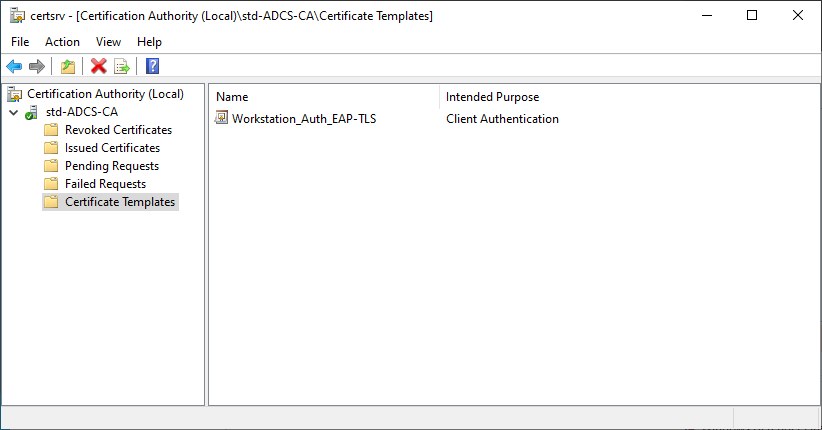
- The
Workstation_Auth_EAP-TLStemplate should appear in the Certificate Templates folder:
Configure NPS
We need to configure our NPS server (which is the RADIUS server in the Microsoft ecosystem) to accept authentication for a group of computers. I will not go into the complete installation process here, because I have already explained it: here.
I'll describe below how to create a Network Policy in which we define the group of computers that can connect to the network and the protocols used.
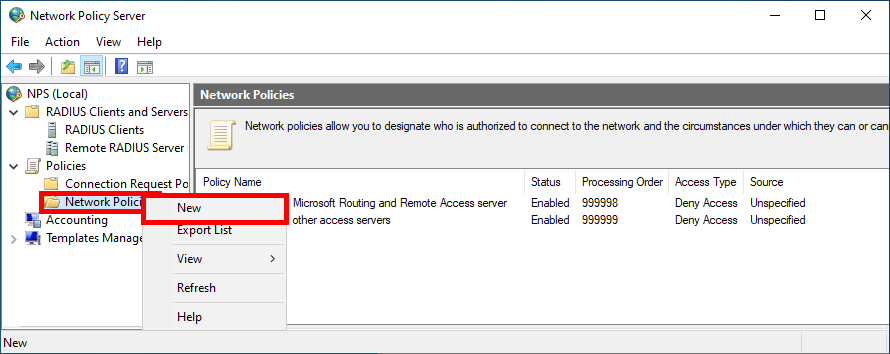
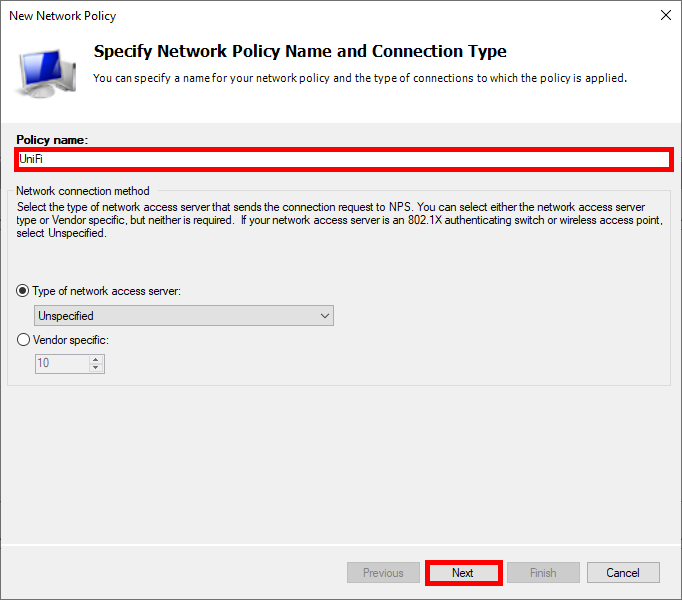
- From the Network Policy Server console, click New in the Network Policies folder:
- Give Policy a name:
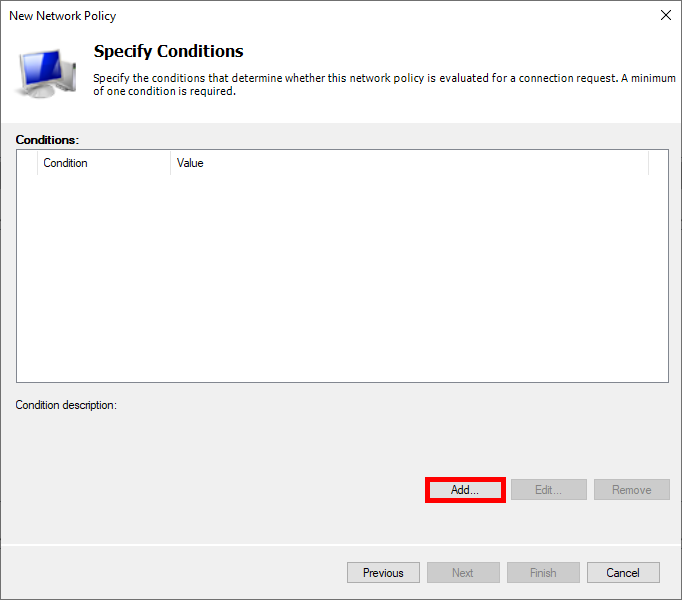
- Click on Add to specify the condition:
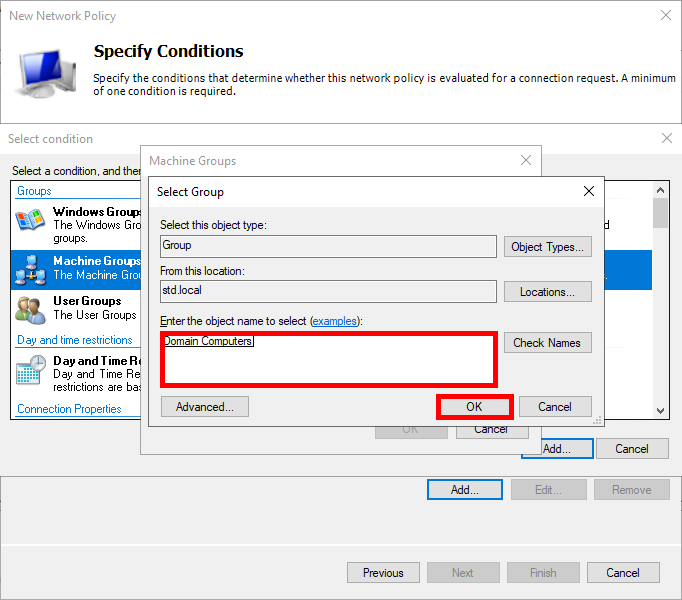
- Select Machine Groups, then click on Add Groups…:

- Add an Active Directory computer group, such as Domain Computers:
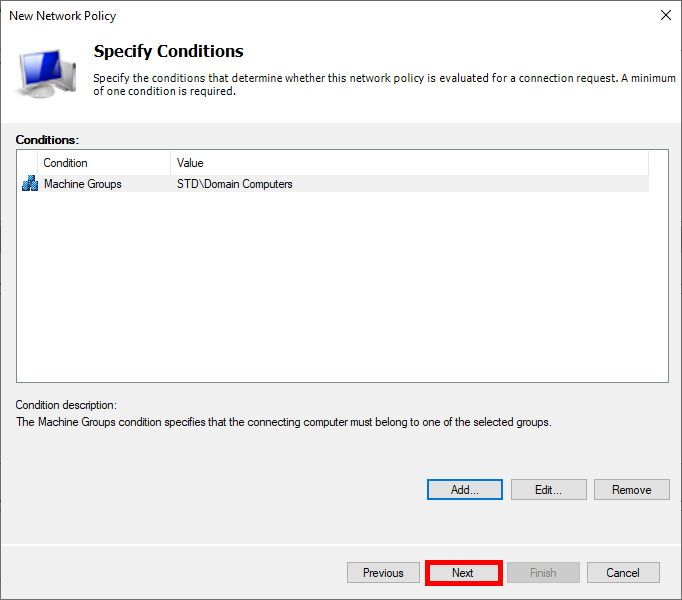
- Click on Next:
- Select Access granted:

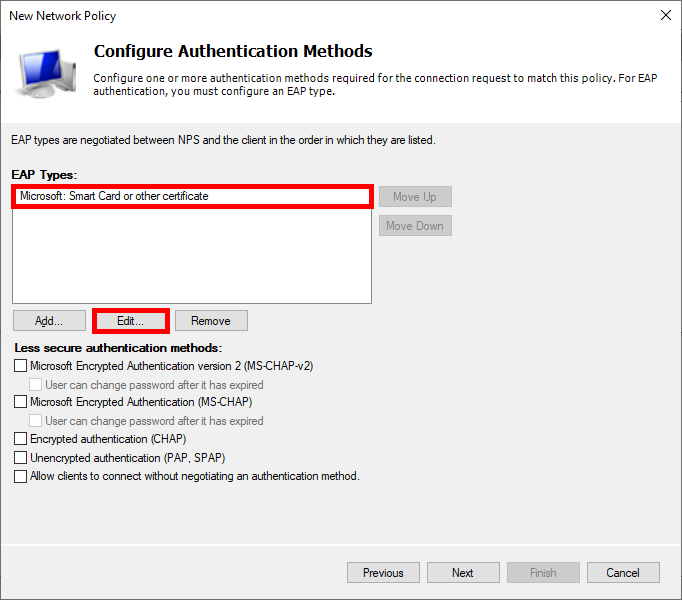
- Choose Microsoft: Smart Card or other certificate as the EAP type and edit the configuration:
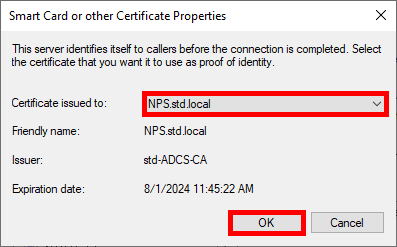
- Select the certificate previously issued:
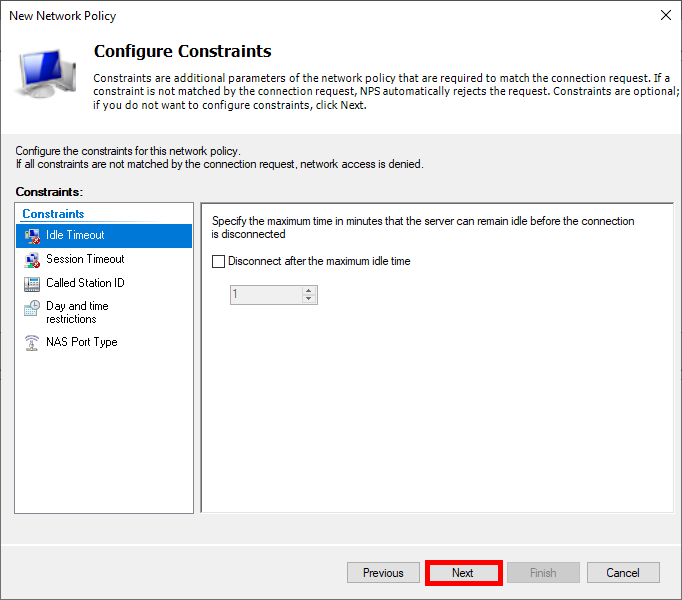
- Click on Next:
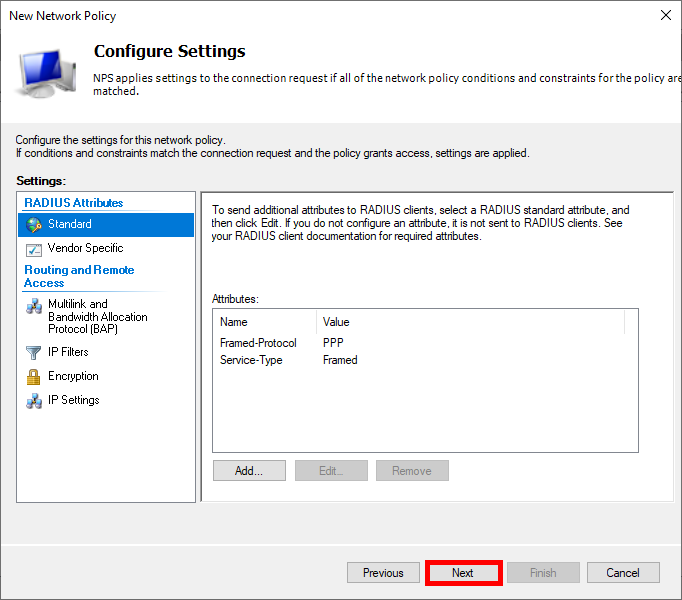
- Click on Next again:
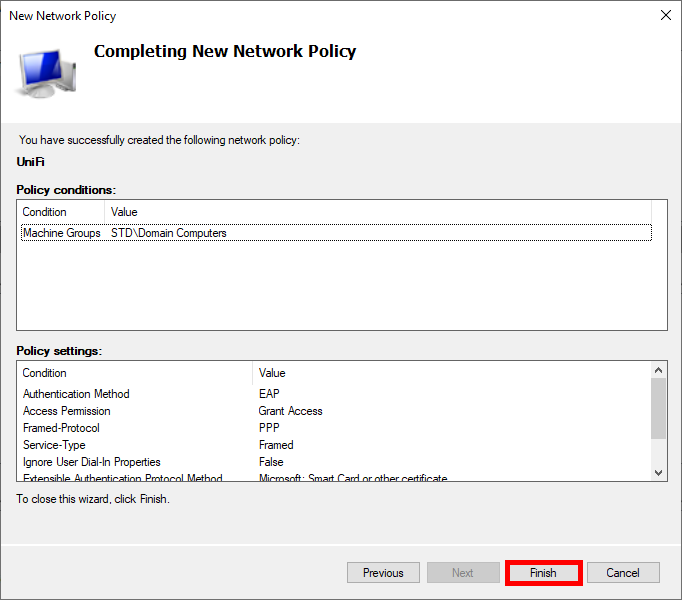
- Finally, click on Finish to create the Policy:
Deploying Certificates
Once AD CS is properly configured, we can request a Workstation certificate from any domain-joined computer.
Manually from the Certificate Management Console
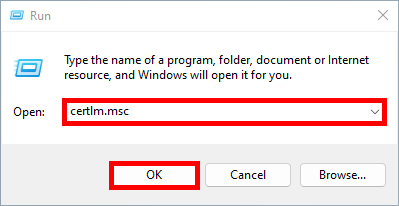
- From a user computer, open the Certificate Management Console for the current computer:
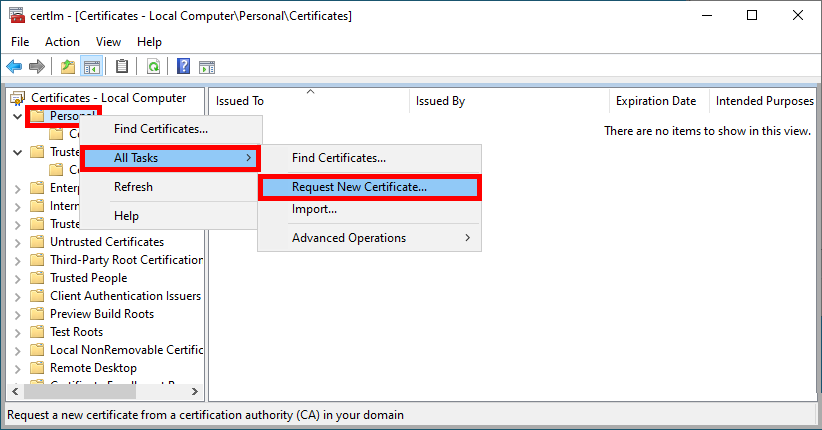
- Right-click on the Personal folder and select Request New Certificate…:
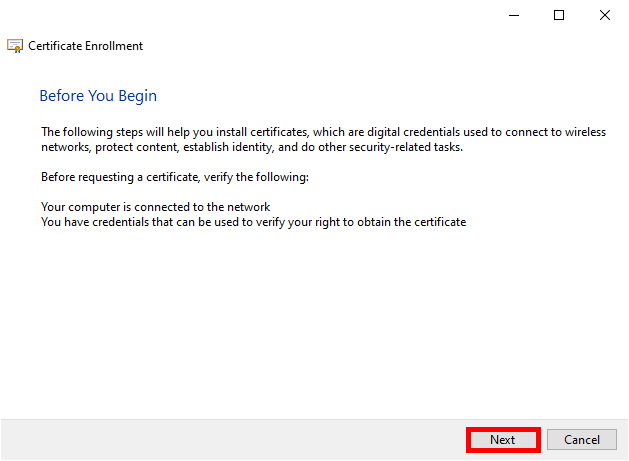
- Click Next to start the certificate enrollment process:
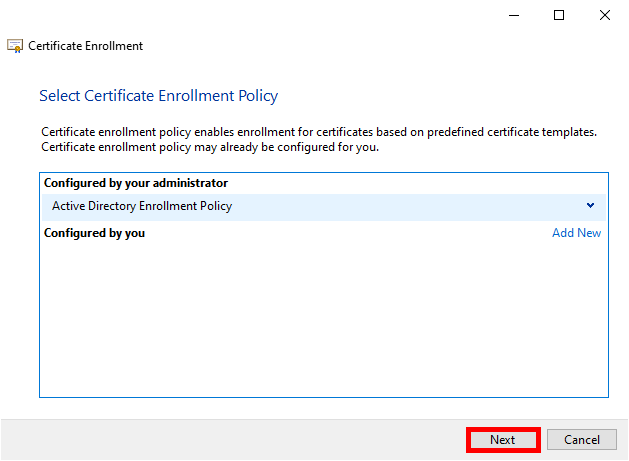
- Select the Active Directory Enrollment Policy and click Next to continue:
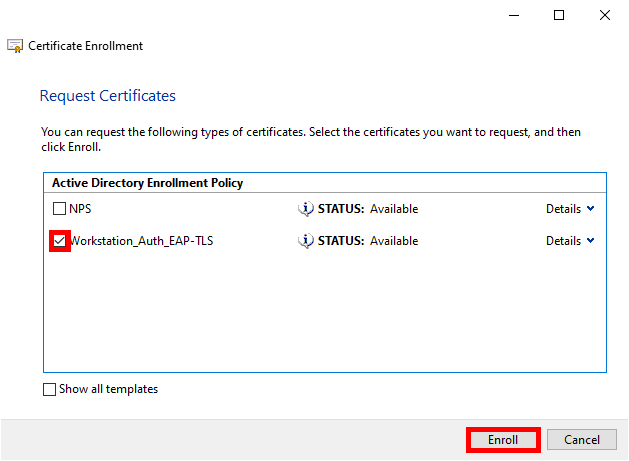
- Select the previously defined Workstation policy and click Enroll:
- Simply click on Finish when the enrollment process is complete:

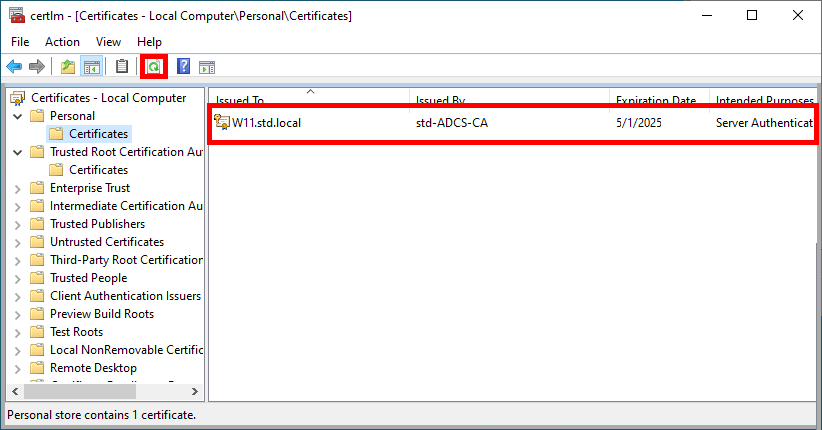
- After clicking Refresh, your computer's certificate appear:
Automatically with a Group Policy (GPO)
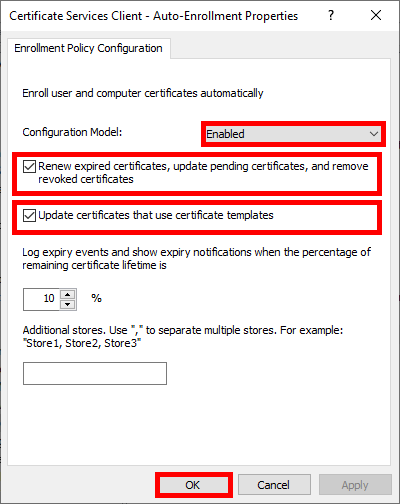
To automate certificate renewal, we can create a GPO and apply it to all domain-joined computers.
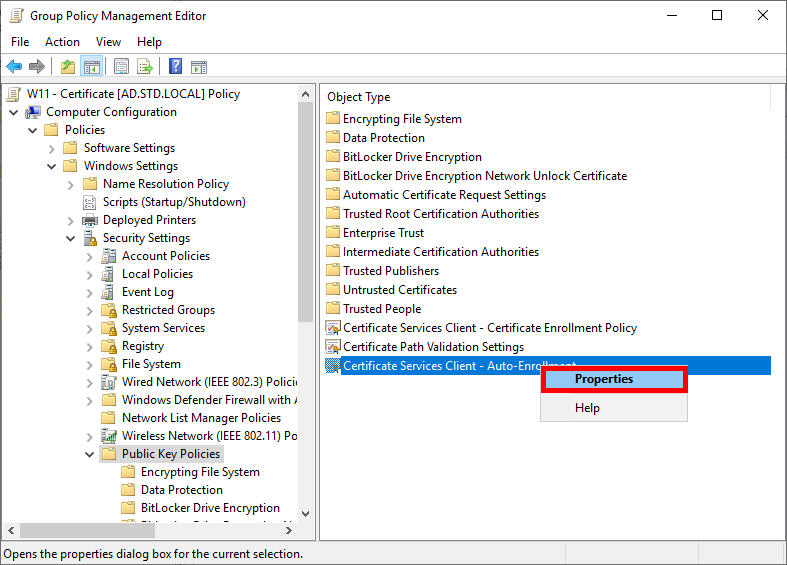
- Go to Computer Configuration > Policies > Windows Settings > Security Settings > Public Key Policies and edit the Certificate Services Client - Auto-Enrollment policy:
- Enable the Configuration Model and check the boxes to enable automatic certificate renewal:
- Run gpupdate to obtain a certificate:
C:\> gpupdate