How to Deploy WPA Enterprise EAP-TLS on UniFi WiFi
- Last updated: Mar 3, 2026

I've shown how to set up a WPA Enterprise architecture with PEAP-MSCHAPv2. You can find the tutorial here. However, as mentioned in the article, although it's relatively simple to set up, it may not be the most secure way to protect your WiFi. If security is a priority for you or your company, I strongly recommend using EAP-TLS instead. And the good news is that's exactly what I'm going to talk about here!
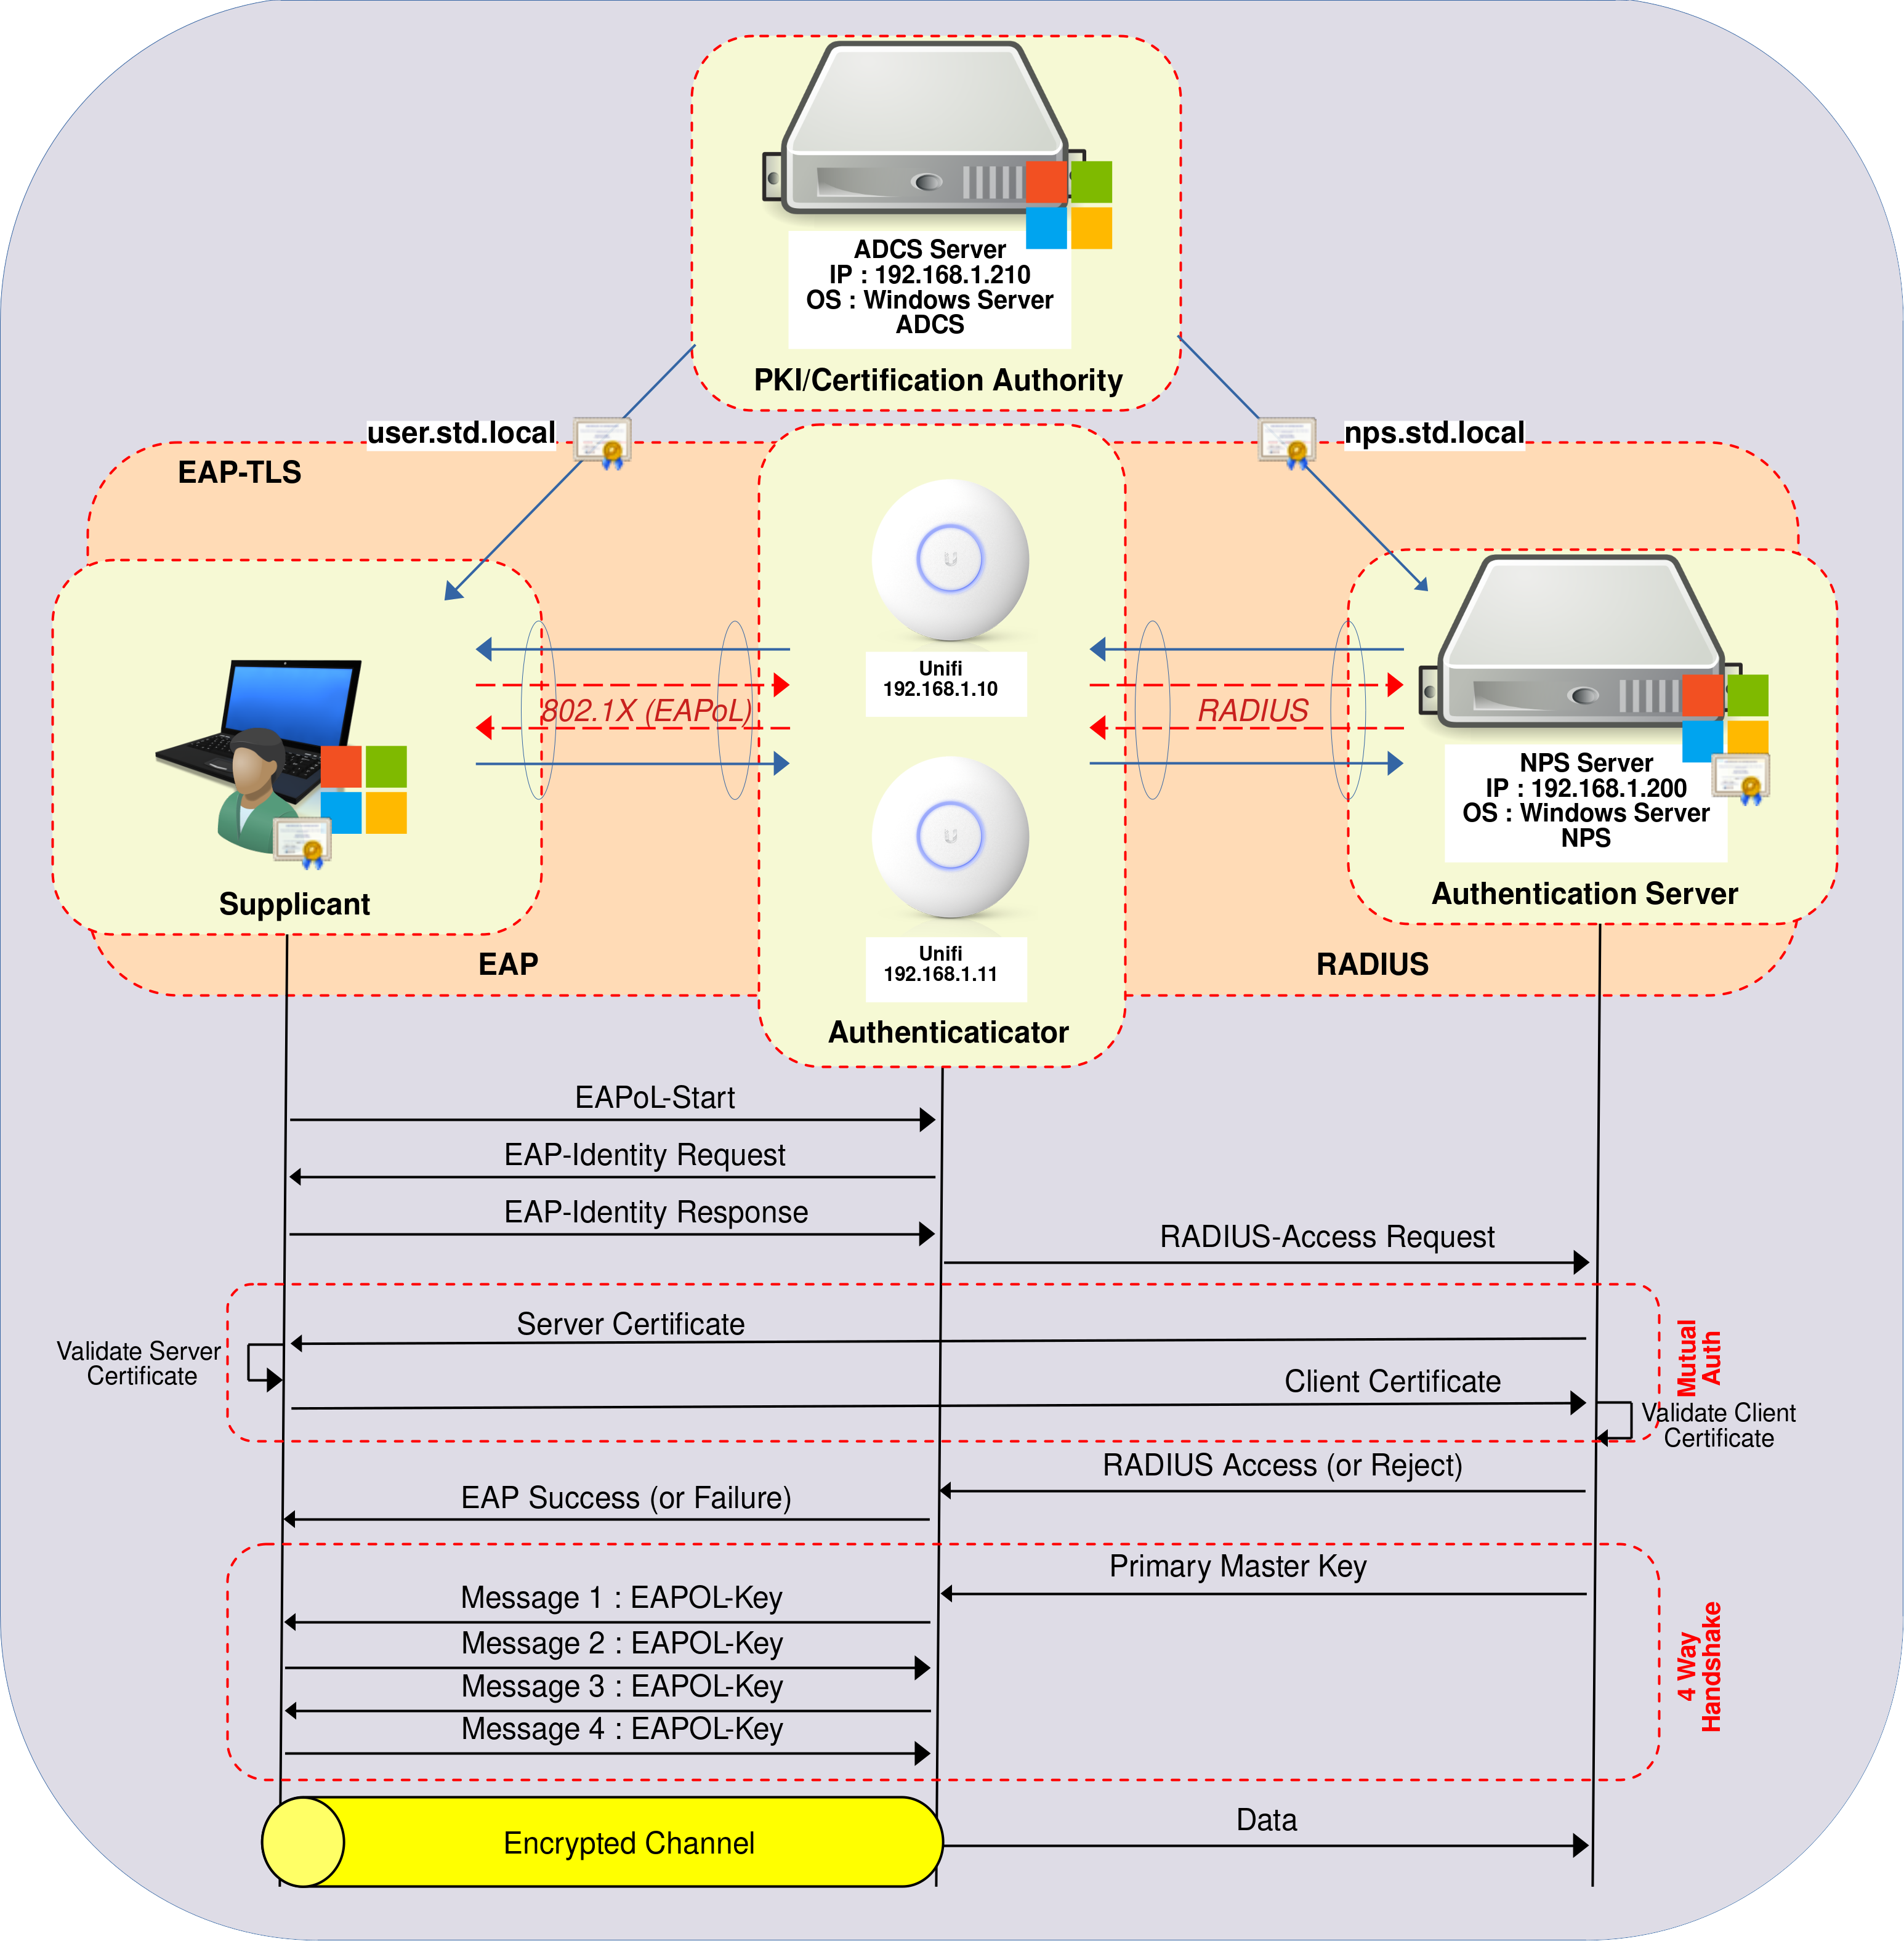
In this guide, we'll learn how to implement WPA Enterprise access using the most secure protocol for WiFi connections: EAP-TLS.
This lab was conducted using Ubiquiti WiFi equipment, but it can be reproduced on any WPA Enterprise-compatible WiFi hardware. As EAP-TLS is a PKI based, it requires a Certificate Authority (CA). Consequently, we will also configure Active Directory Certificate Services (AD CS) to distribute certificates to Supplicants and to the Authentication Server, which will be an NPS server (Microsoft's RADIUS server).
- The enhancements and benefits of WPA Enterprise are as follows:
- Enhanced User Authentication compared with standard WPA: using the Extensible Authentication Protocol (EAP)
- Individual User Credentials: each user has their own credentials, in this case a digital certificate.
- Centralized Authentication and Management: for example using the RADIUS protocol.
- Fine control over users access: we can easily add or remove user access.
Active Directory Certificate Services
Active Directory Certificate Services (AD CS) enables the issuance and management of Public Key Infrastructure (PKI) certificates. In this configuration, it will facilitate the provision of certificates that enable every Active Directory user wishing to connect to the company's WiFi to authenticate themselves in complete security.
Installing the AD CS Role
We have two options for installing the AD CS role: using PowerShell or the Graphical User Interface.
PowerShell
- For a quick installation using PowerShell, run the following command:
PS C:\Users\administrator.STD> Add-WindowsFeature Adcs-Cert-Authority -IncludeManagementToolsGraphical User Interface (GUI)
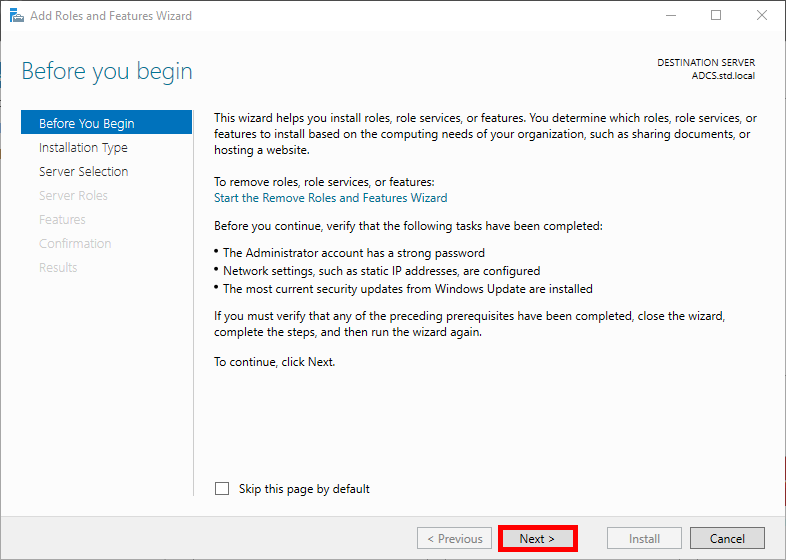
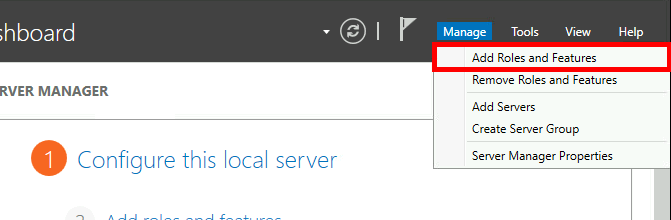
- In the Server Manager dashboard, navigate to Add Roles and Features:

- Click on Next:
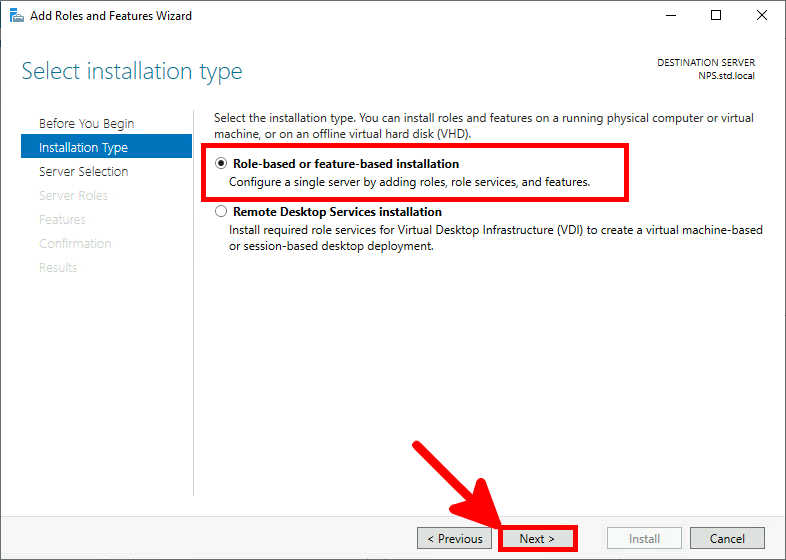
- Select Role-based or feature-based installation in the Installation Type menu, then click Next:

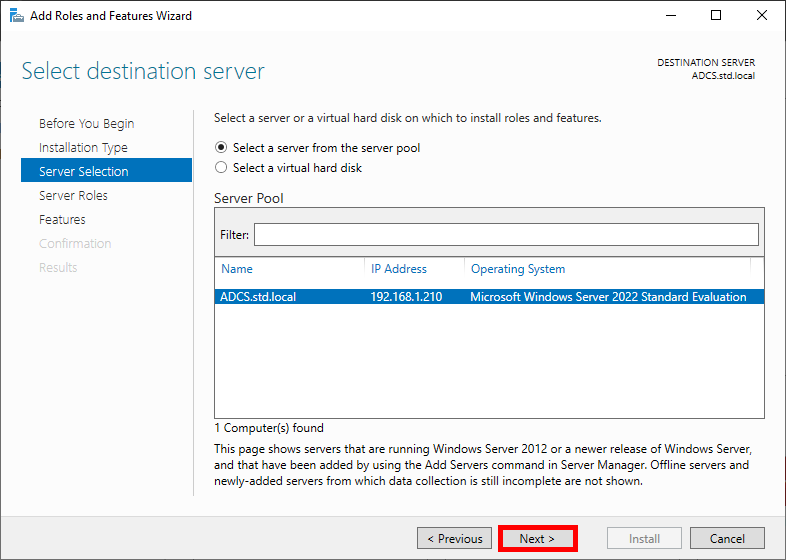
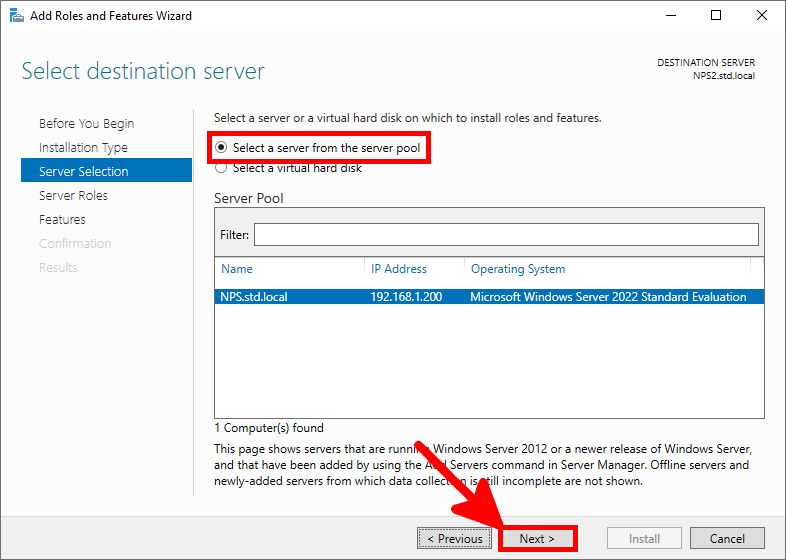
- Select your AD CS server and click Next:
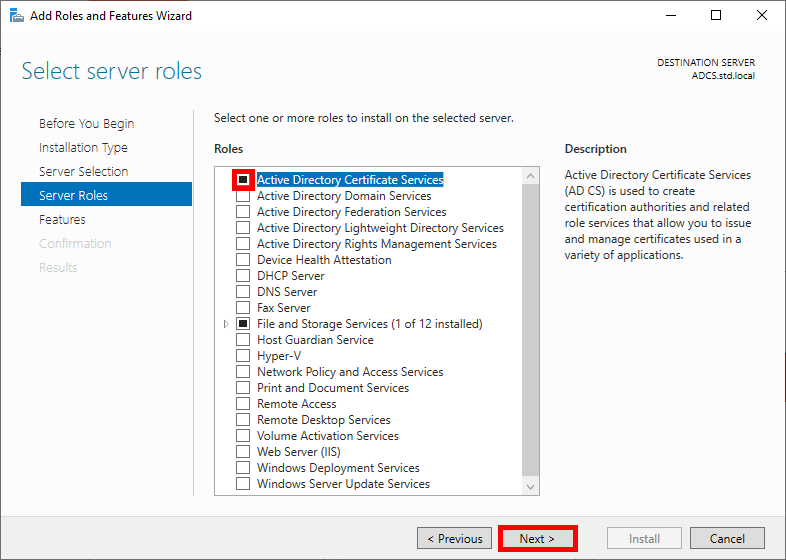
- Check the Active Directory Certificate Services box and click Next:
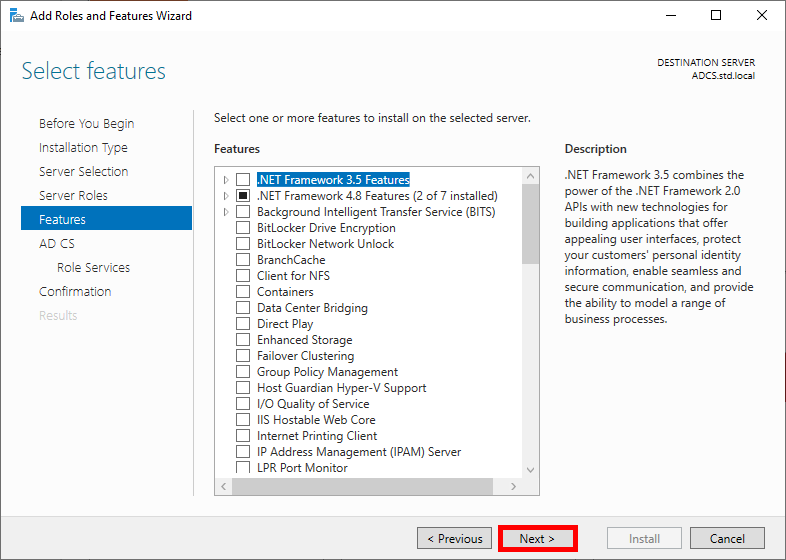
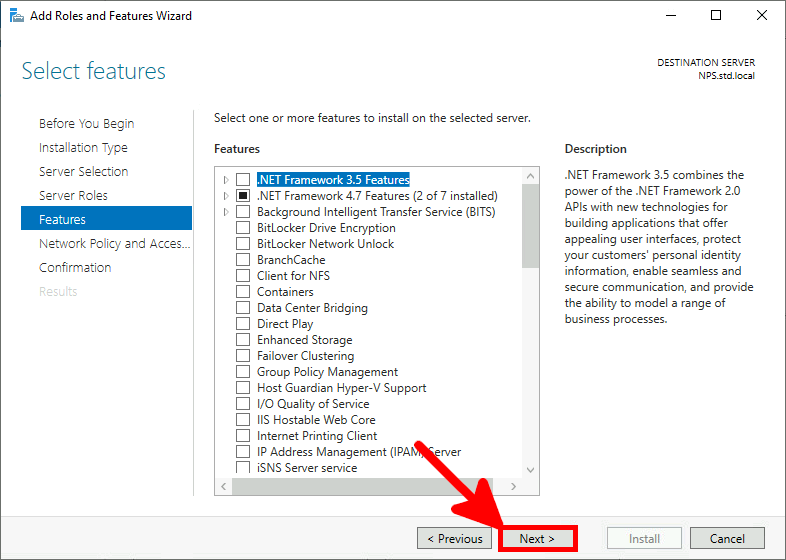
- Click on Next in the Features menu:
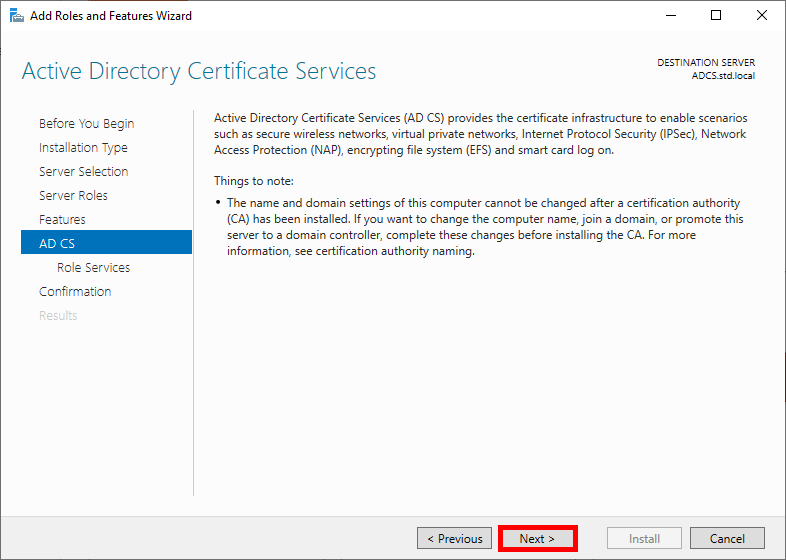
- Read the description of Active Directory Certificate Services if you wish, then click Next:
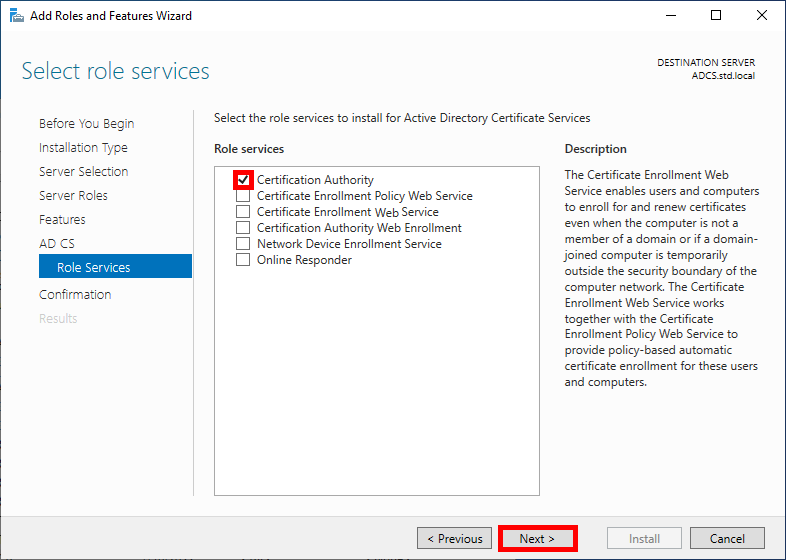
- Check the Certificate Authority box and click Next:
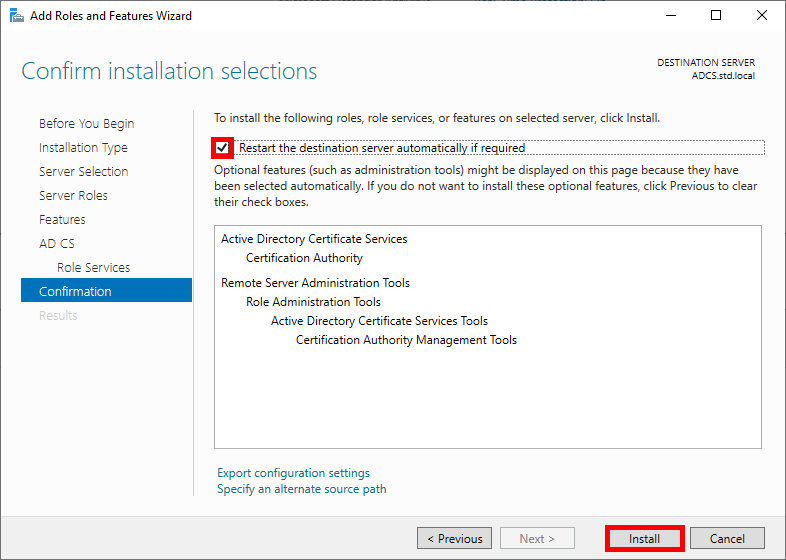
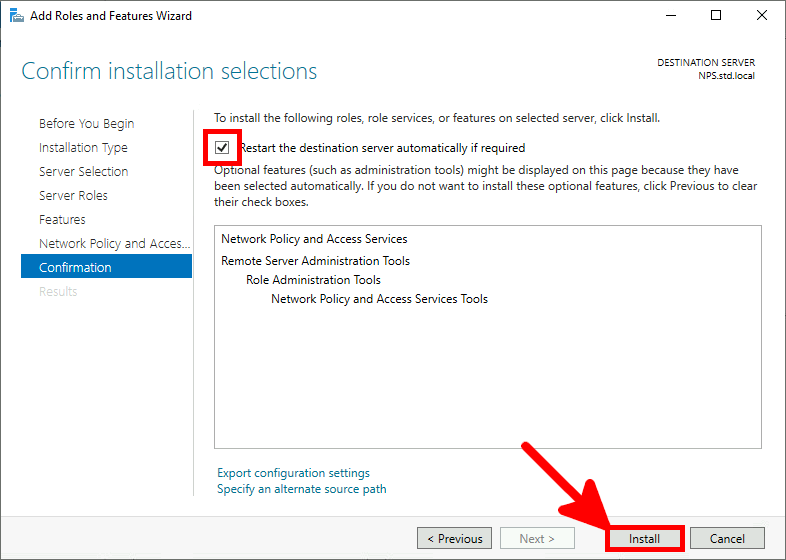
- Check the Restart destination server box to enable it to restart automatically, then click Install:
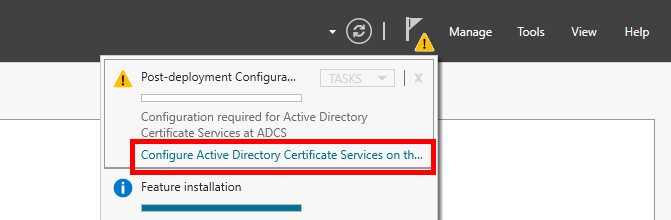
- Open the Server Manager dashboard and navigate to Post-deployment Configuration:
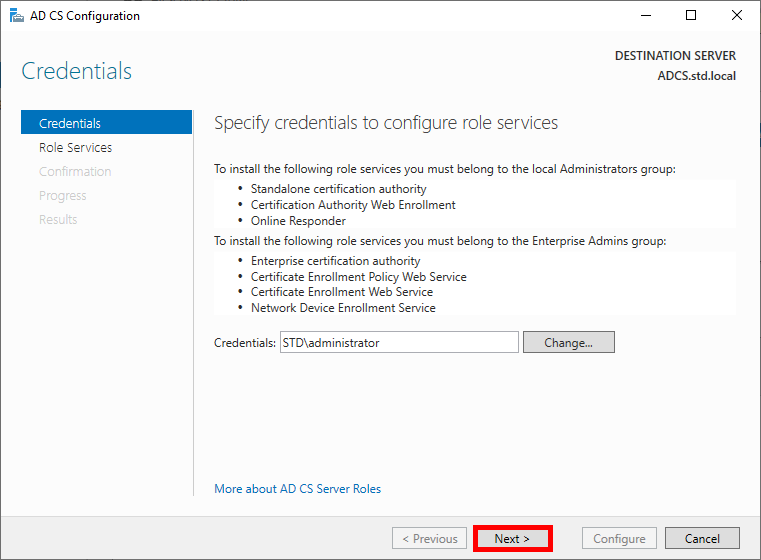
- Modify the Default credentials if you wish, then click Next:
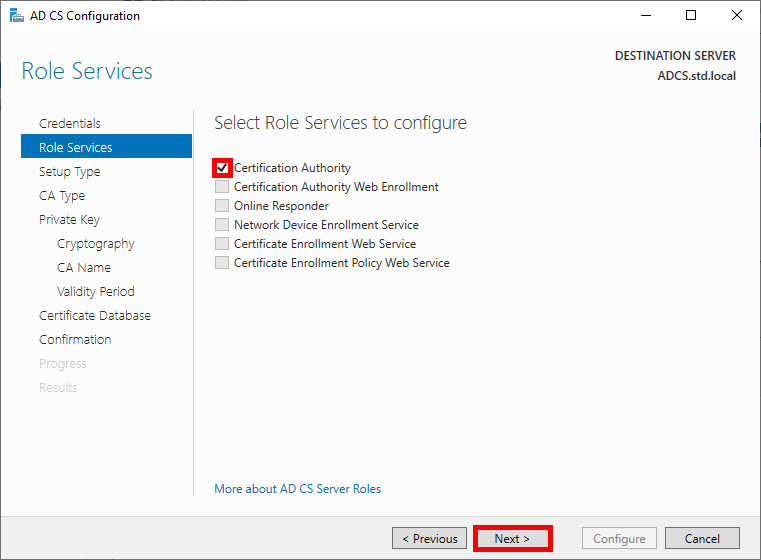
- Select the Certificate Authority role and click Next to continue:
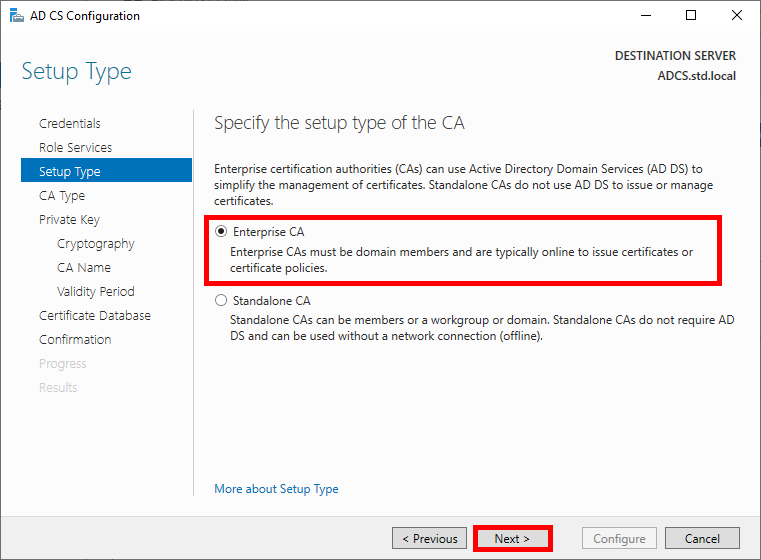
- Choose Enterprise CA and click Next:
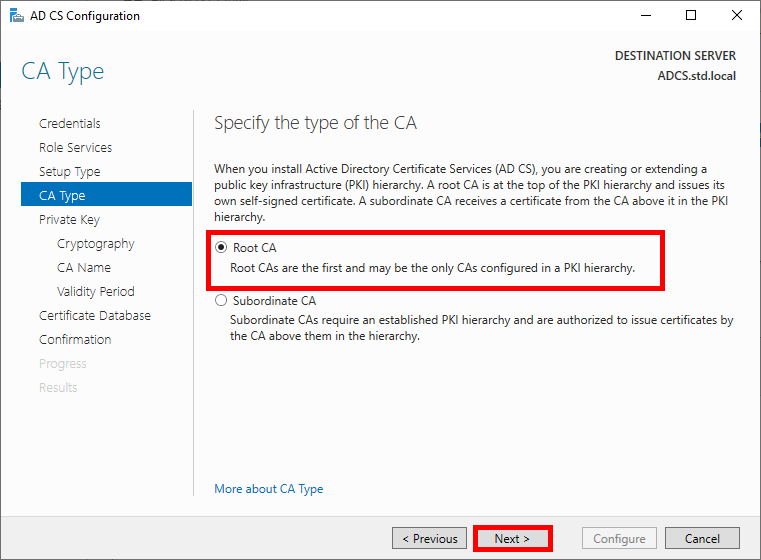
- Select Root CA:
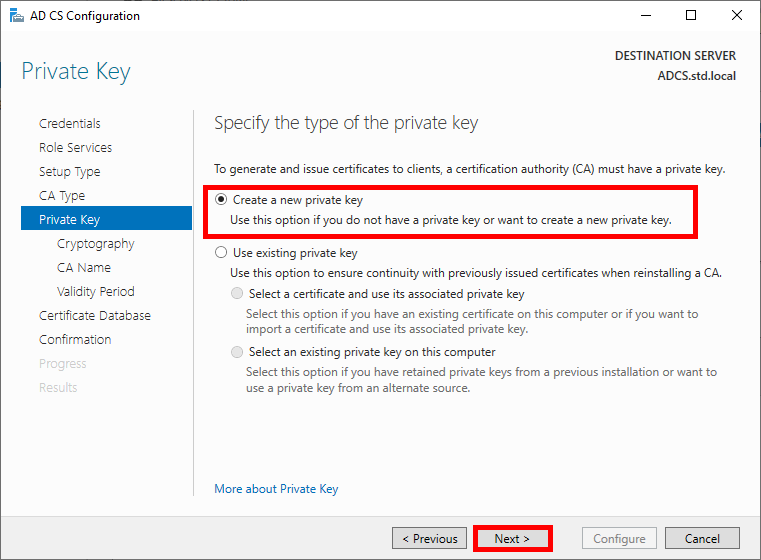
- Choose to create a new private key:
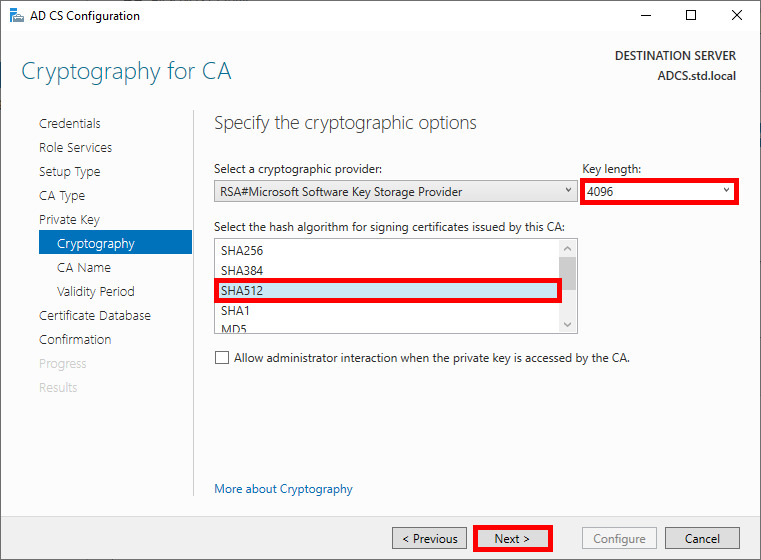
- Choose robust cryptographic options:
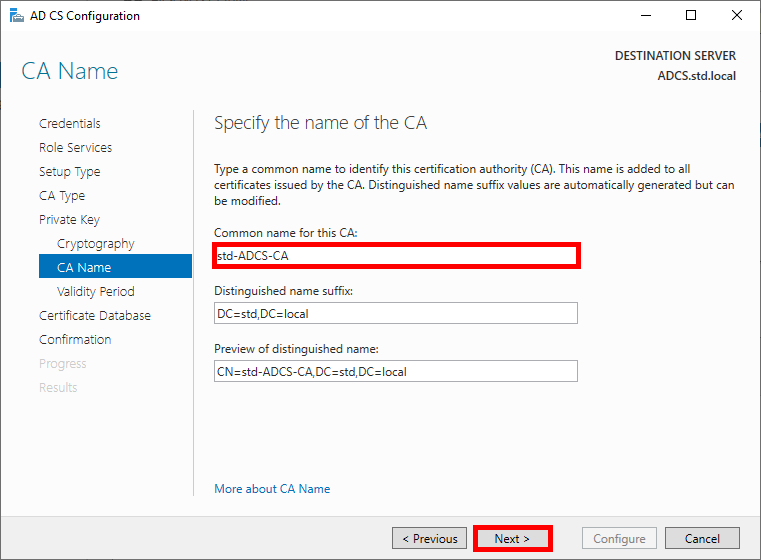
- Specify the name of the CA:
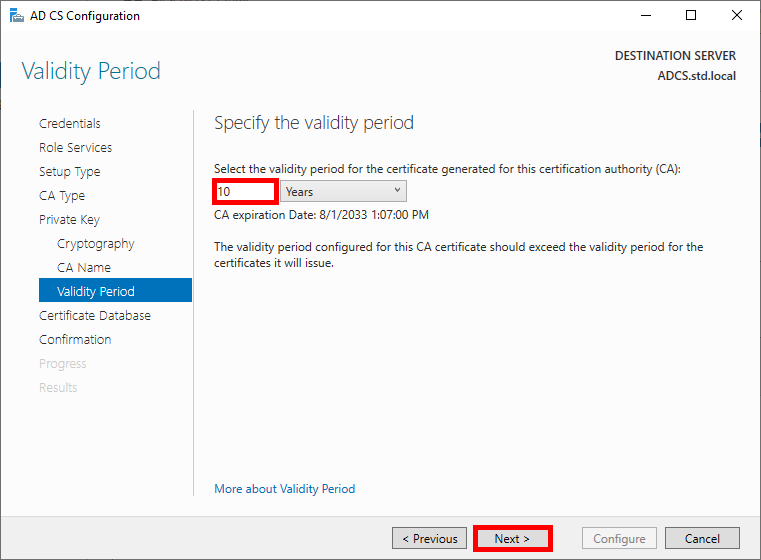
- Specify the validity period for the certificate, 10 years seems like a good length, given that we'll probably all be dead by then:
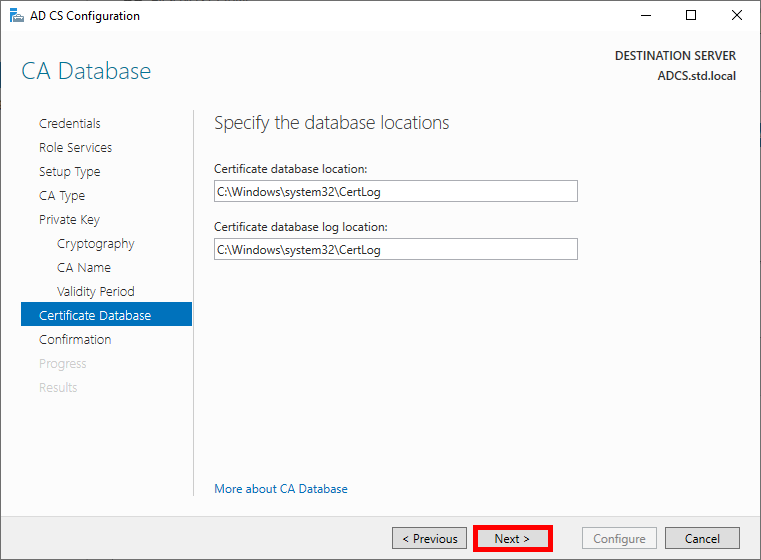
- Specify the database locations:
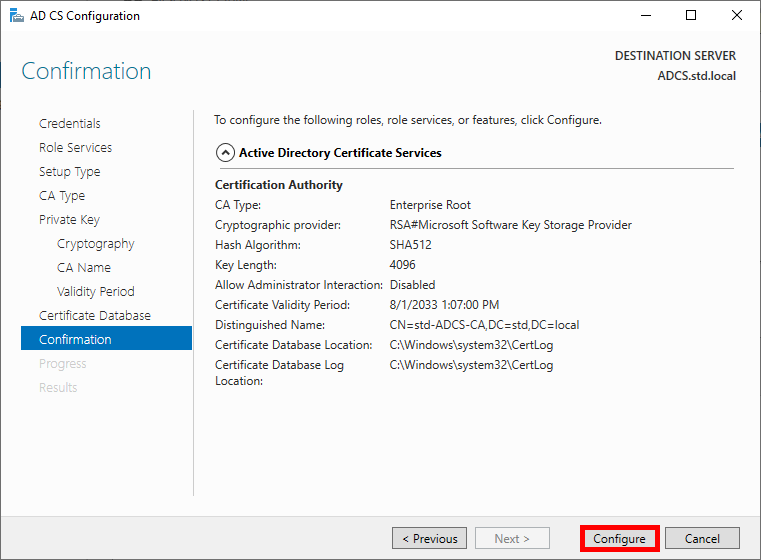
- Check the global configuration and click on Configure to run the configuration:
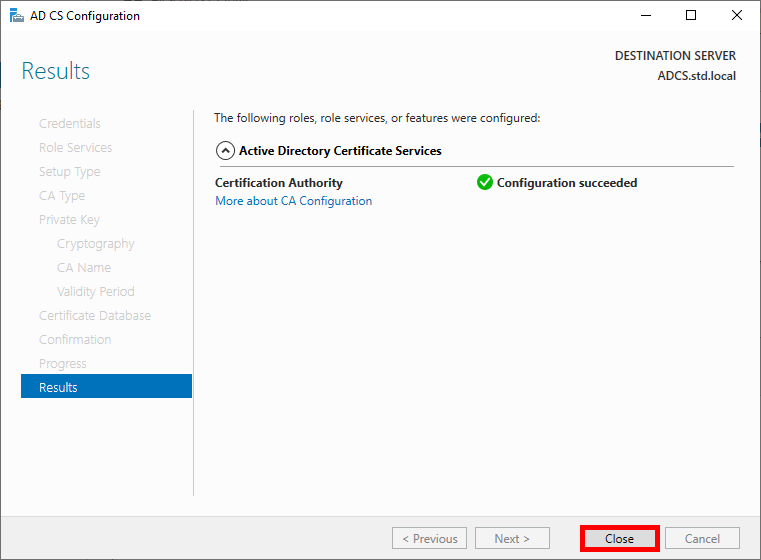
- Once the Configuration succeeded, click on Close:
Configuring the AD CS Role
From the ADCS server, we need to create two certificate templates: one for the Authentication Server (NPS), which will generate a Computer certificate, and another for Supplicants, which will allow Domain Users to authenticate themselves.
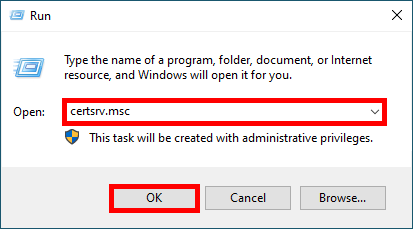
- Open the Certification Authority management console:
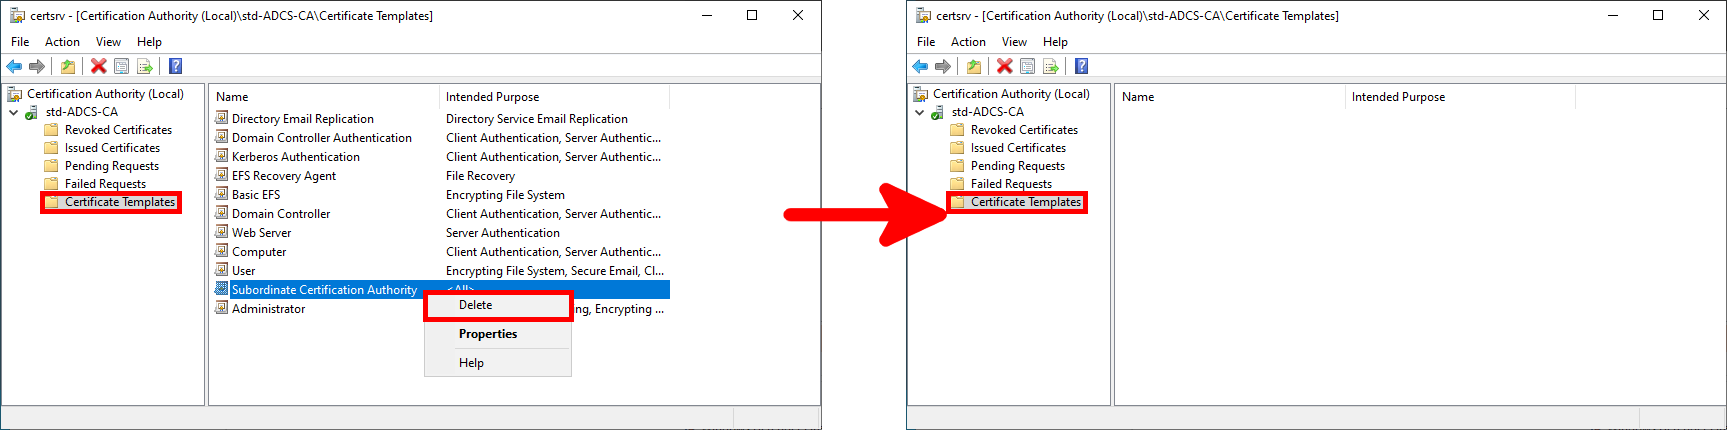
- (Optional) Go to the Certification Templates menu and delete the templates you don't need (in my case, I've deleted everything because I only need one for EAP-TLS authentication):
Create Certificate Template
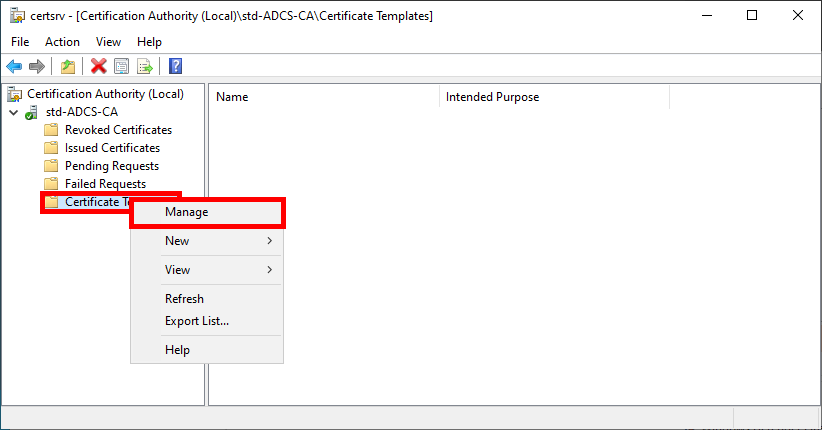
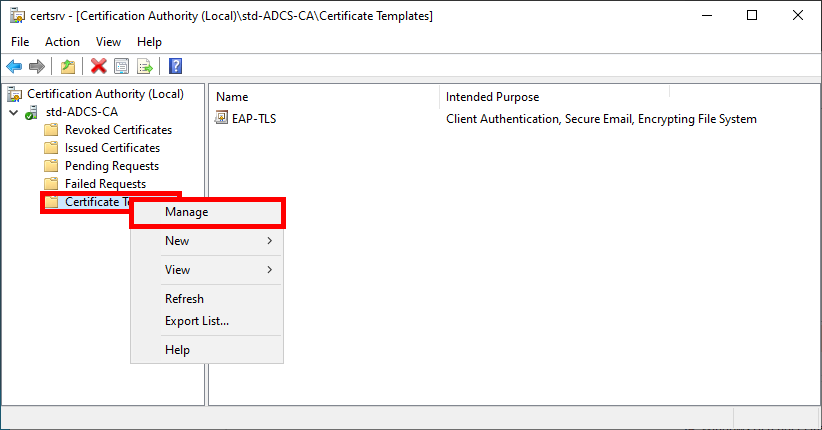
- Open the Certificate Templates Console by right-clicking on the Certificate Templates folder and selecting Manage:
Authentication User Certificate Template (For Supplicants)
- Right-click on the User template and select Duplicate Template:

- Optional, but if you have a recent architecture, set to the most recent systems in the Compatibility Settings:

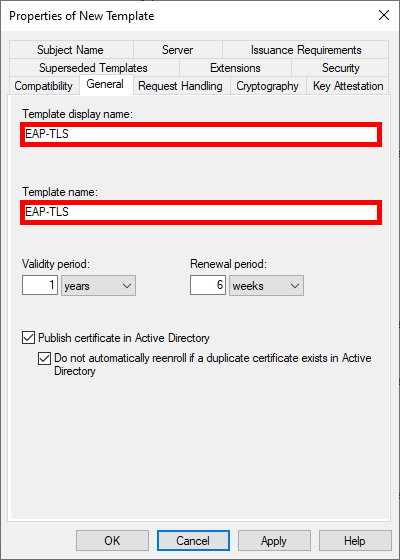
- Give the Template a name:
- Increase key size for greater security:

- To enable automatic deployment of certificates via GPO, check the Autoenroll box for Domain Users:
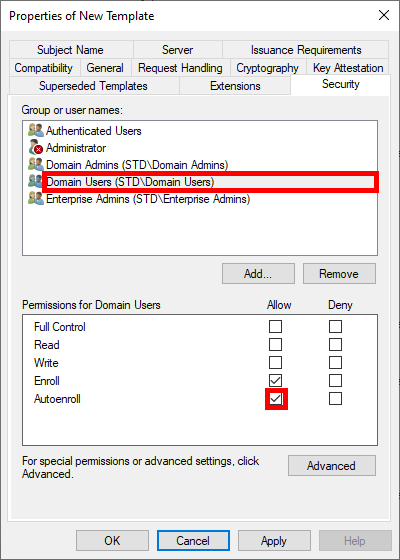
- Please note that the name of the e-mail address is required for AD users requesting certificates. This means an e-mail address must be entered in the Active Directory user properties:

Finally, click OK to create the template.
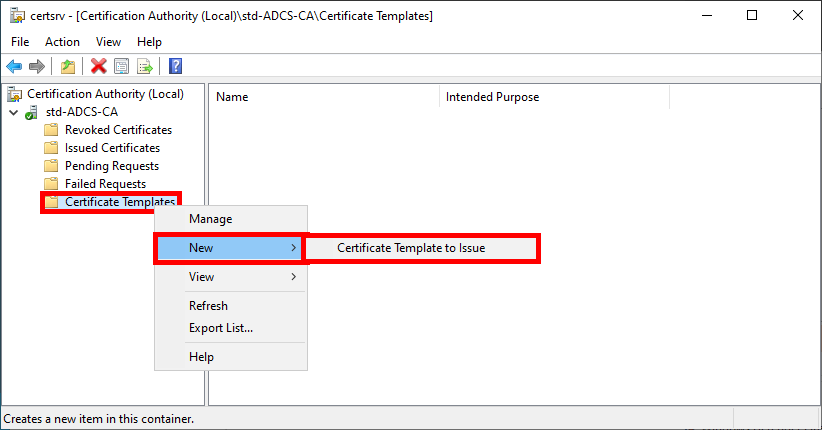
- From the Certification Authority management console, right-click on Certificate Templates and select Certificate Template to Issue:
- Select the EAP-TLS template created earlier:

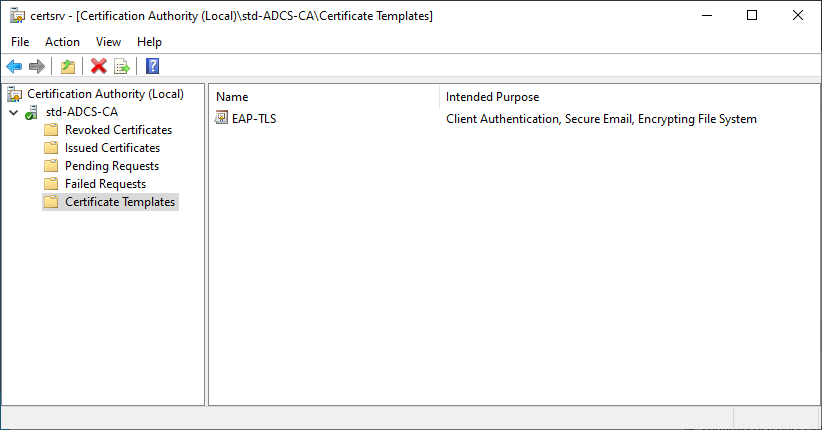
- The EAP-TLS template should appear in the Certificate Templates folder:
Authentication Server Certificate Template (For NPS Server)
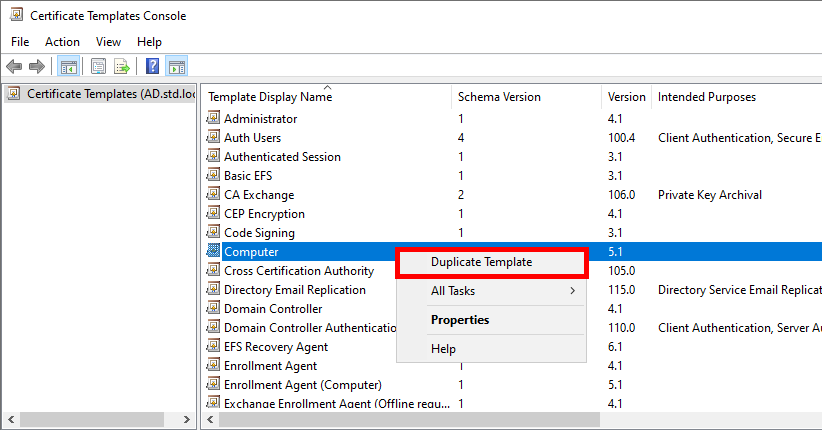
- Open the Certificate Templates Console by right-clicking on the Certificate Template folder and selecting Manage:
- Right-click on Computer template and select Duplicate Template:
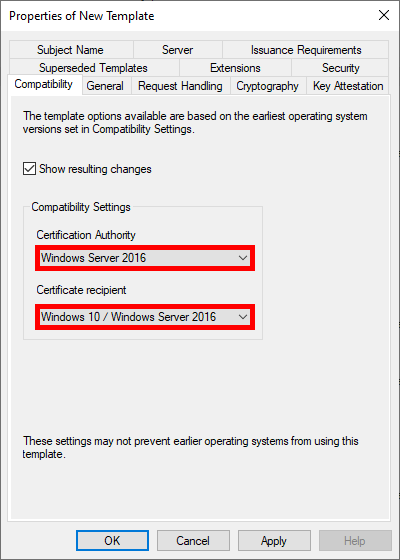
- Optional, but if you have a recent architecture, set the most recent systems in the Compatibility Settings:
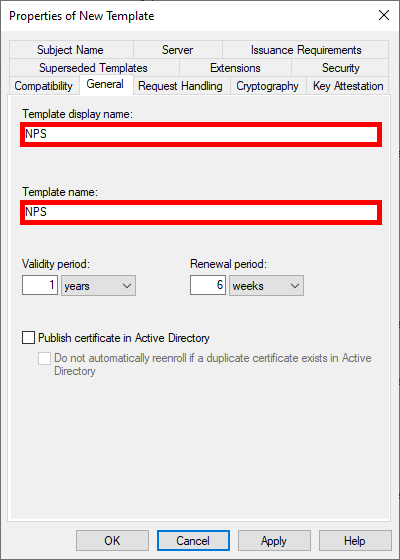
- Give the Template a name:
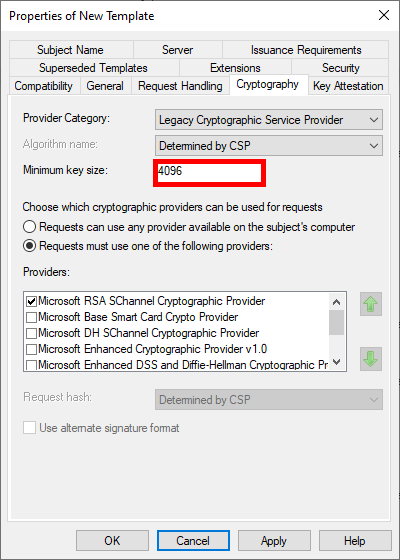
- Optional, but we can modify the key size to increase security:
- To enable automatic deployment of certificates via GPO, check the Autoenroll box for Domain Computers (Optional: you can restrict enrolment to the NPS server only by replacing the Domain Computers group with our NPS server):
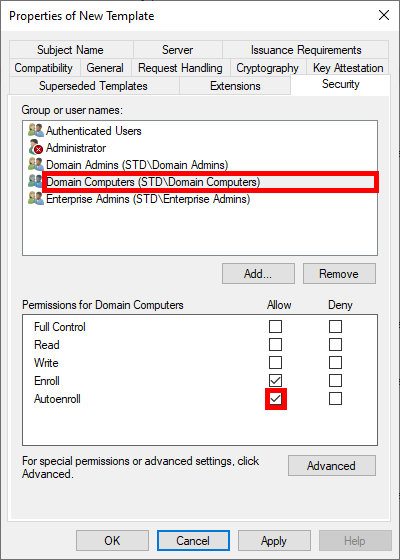
Finally, click OK to create the template.
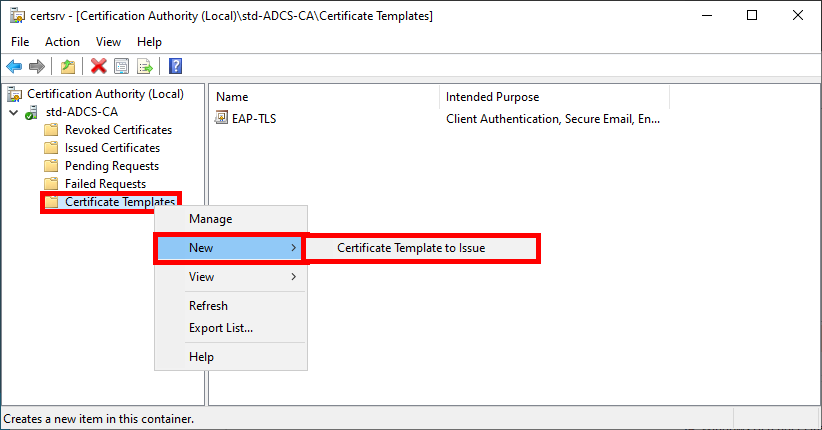
- In the Certification Authority management console, right-click on Certificate Templates and select Certificate Template to Issue:
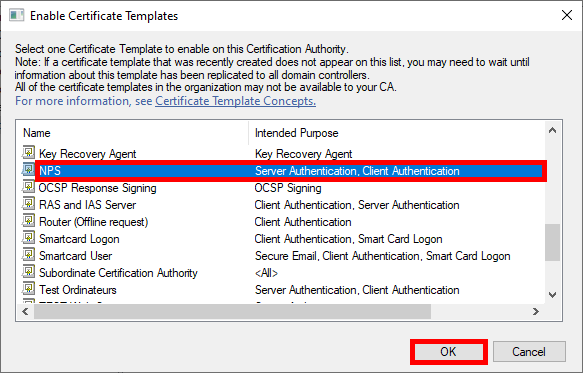
- Select the NPS template created earlier:
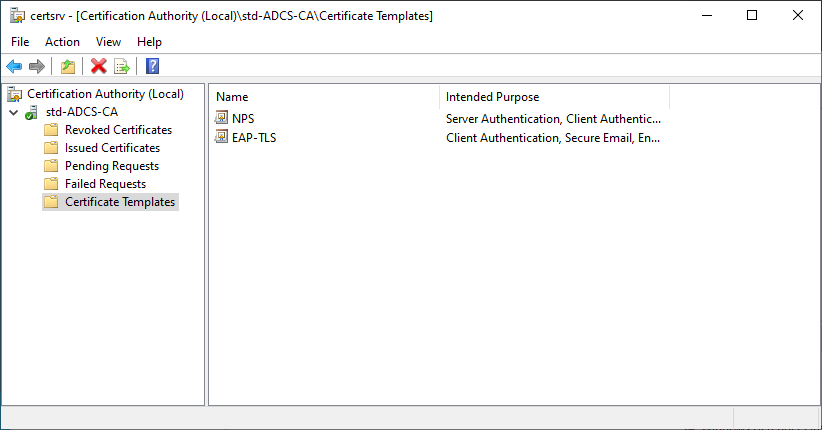
- The NPS template should appear in the Certificate Templates folder:
Authentication Server (NPS)
Installing the NPS Role
We have two options for installing the NPS role: using PowerShell or the Graphical User Interface.
PowerShell
- For a quick installation using PowerShell, run the following command:
PS C:\Users\administrator.STD> Install-WindowsFeature NPAS -Restart -IncludeManagementToolsGraphical User Interface (GUI)
- In the Server Manager dashboard, navigate to Add Roles and Features:
- Select Role-based or feature-based installation:
- Select the server:
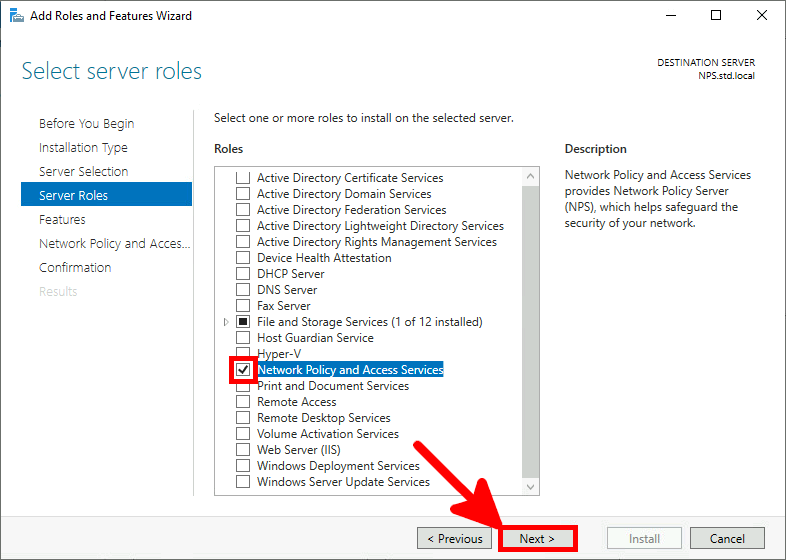
- Select the Network Policy Server role:
- Just click Next:
- Check the Restart destination server box and click on Install:
Certificate Distribution for the NPS Server
Once the AD CS has been correctly configured, we can request a computer certificate from the NPS server.
Manually via the Certificate Management Console
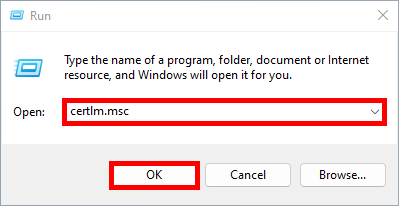
- From the NPS server, open the Certificate Management Console for the current computer:
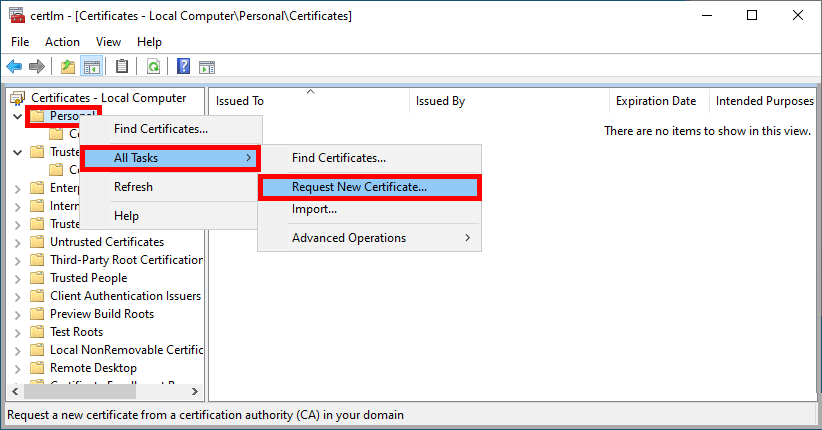
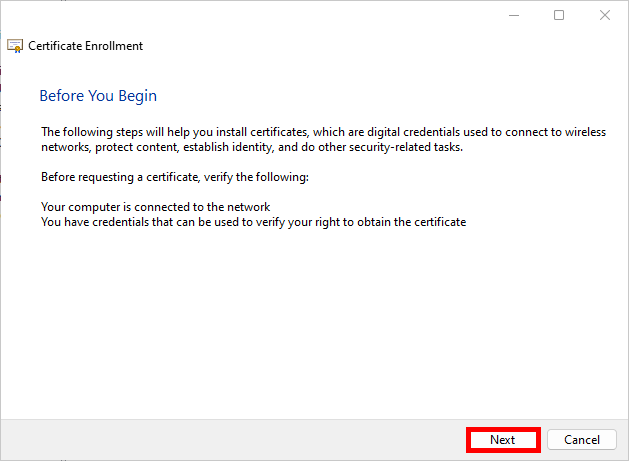
- Right-click on the Personal folder and select Request New Certificate…:
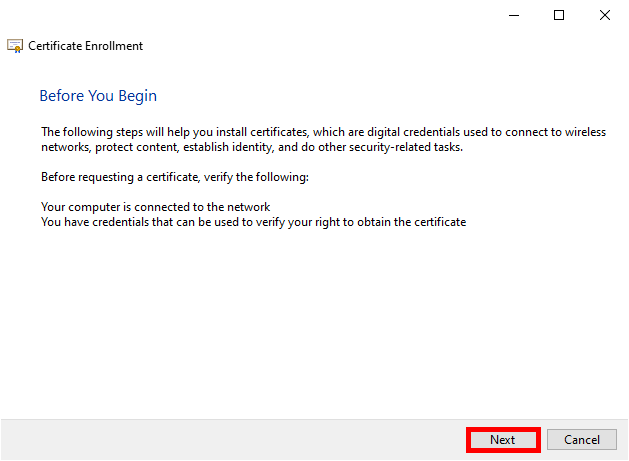
- Click Next to start the certificate enrollment process:
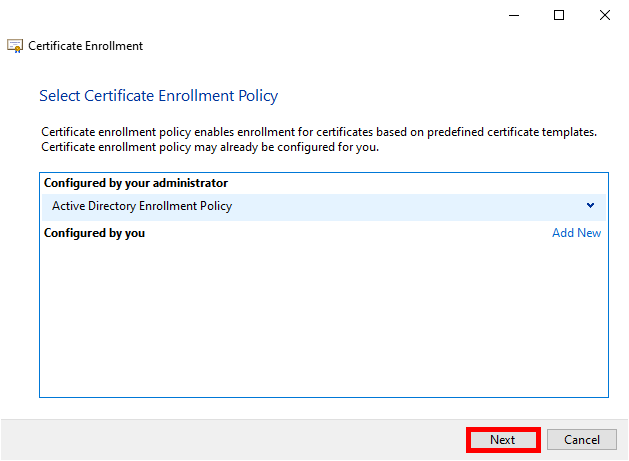
- Select the Active Directory Enrollment Policy and click Next to continue:
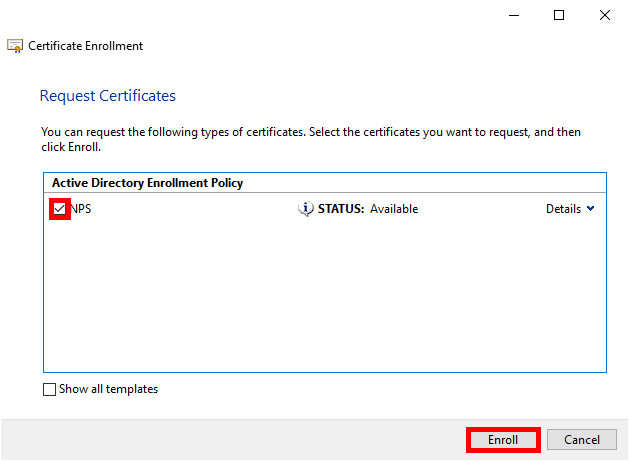
- Select the previously defined NPS Policy and click Enroll:
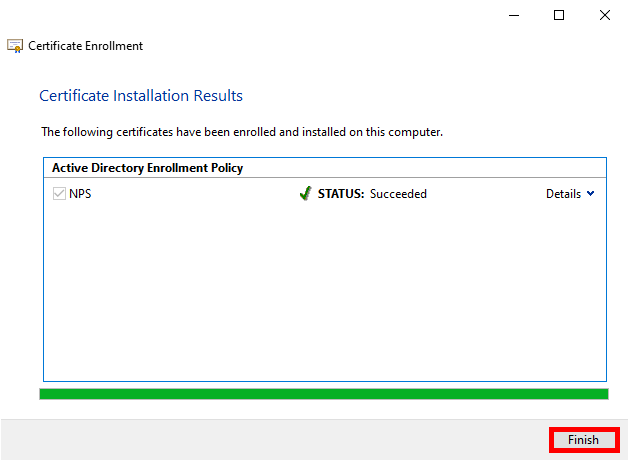
- Simply click on Finish when the enrollment process is complete:
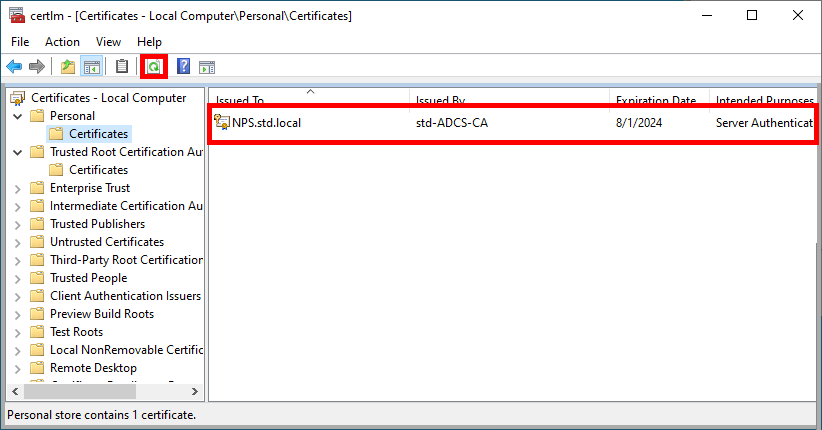
- After clicking on Refresh, you should see your computer's certificate appear:
Automatically through Group Policy (GPO)
To automate the certificate renewal process, we can create a GPO.
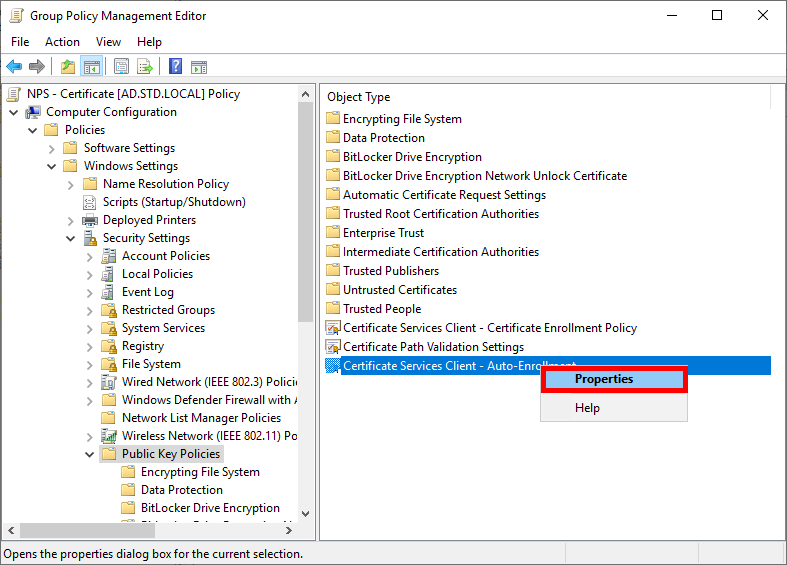
- Go to Computer Configuration > Policies > Windows Settings > Security Settings > Public Key Policies and edit the Certificate Services Client - Auto-Enrollment policy:
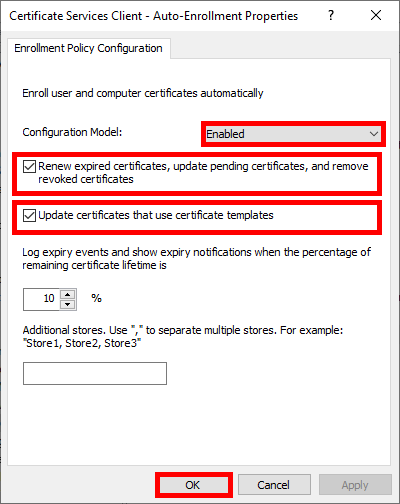
- Enable the Configuration Model and check the boxes to enable automatic certificate renewal:
- Run gpupdate to obtain a certificate:
C:\> gpupdateConfigure NPS
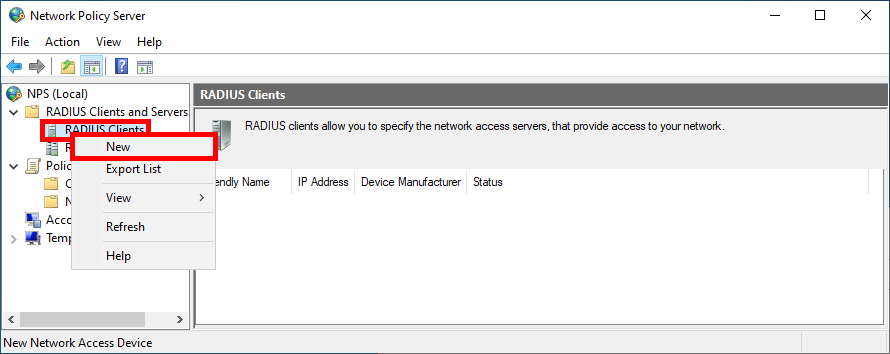
- Open the Network Policy Server console:
Declare Access Point as RADIUS Clients
- Navigate to NPS > RADIUS Clients and Servers > RADIUS Client and click New:
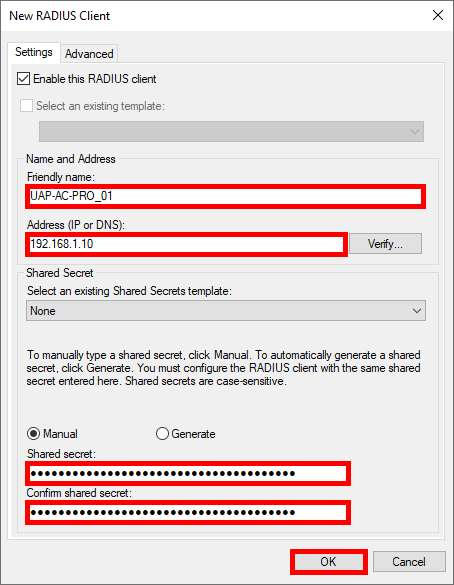
- For each Access Point, give it a Name, set the IP address, and create a strong password (use the same one for every Access Point):
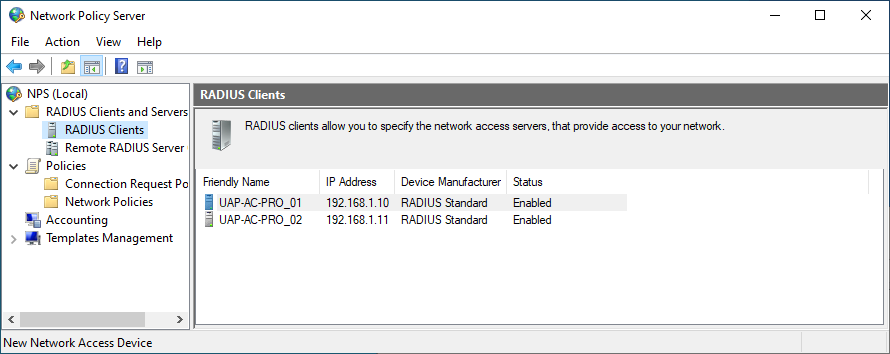
- You should see all previously added Access Point in the RADIUS Clients folder:
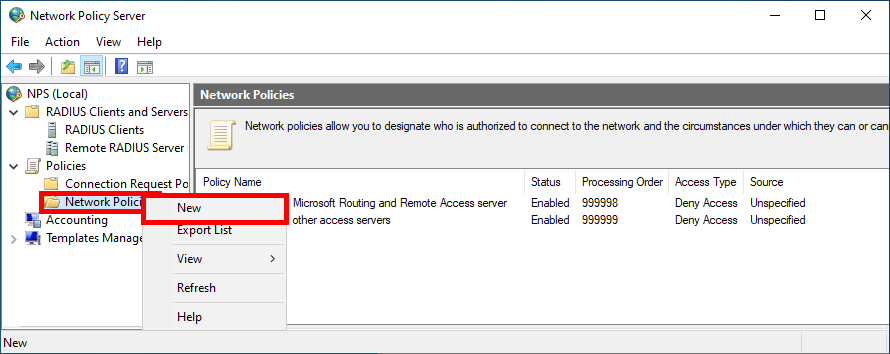
Creating a Network Policy
We now need to create a Network Policy in which we define the group of users who can connect and the protocols used.
- Click New in the Network Policies folder:
- Give Policy a name:
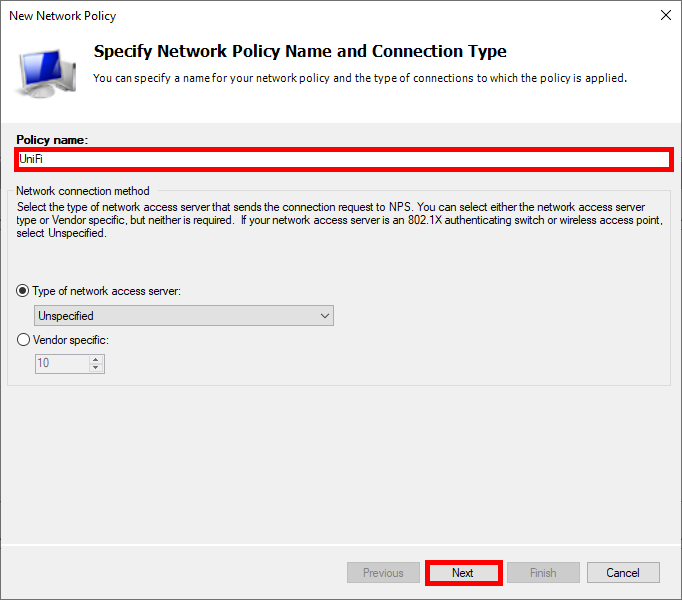
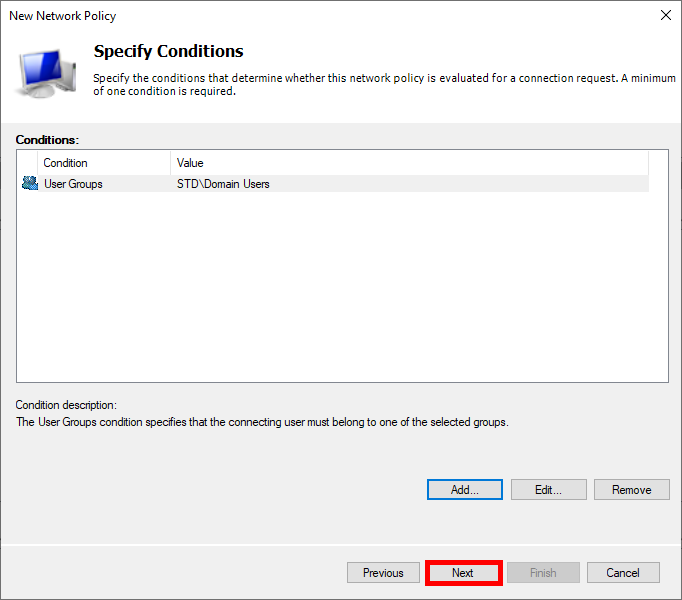
- Click on Add to specify the condition:
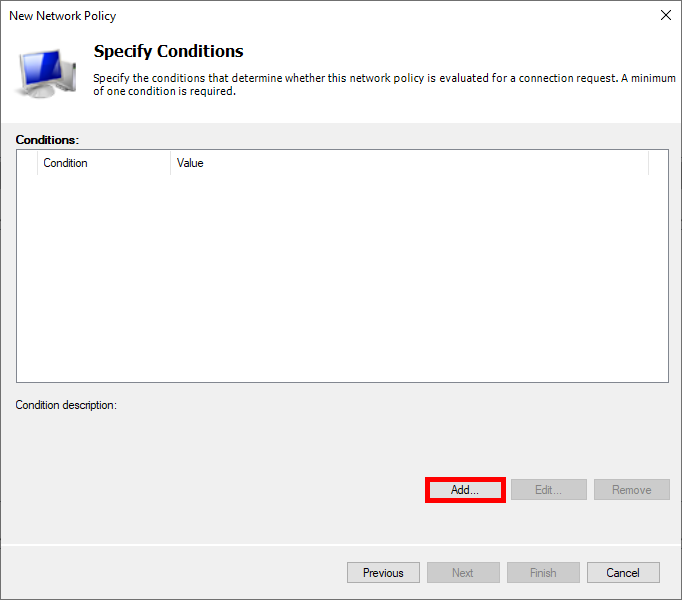
- Select User Groups, then click on Add Groups…:
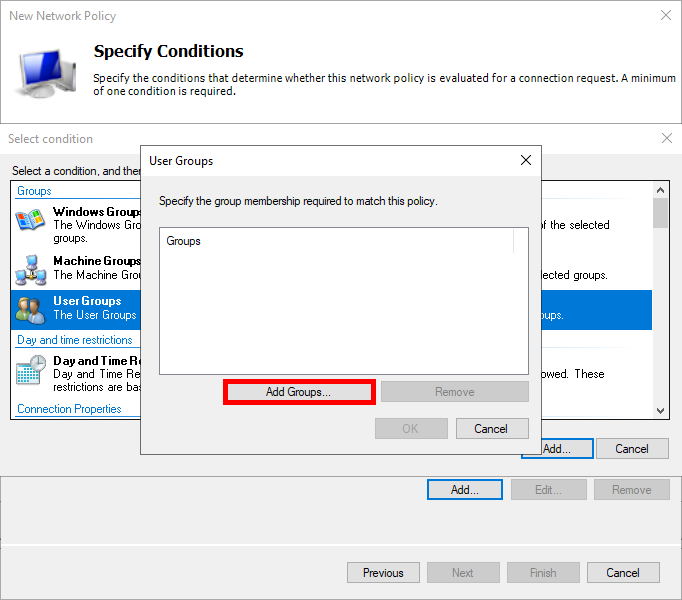
- Add an Active Directory user group, such as Domain Users:
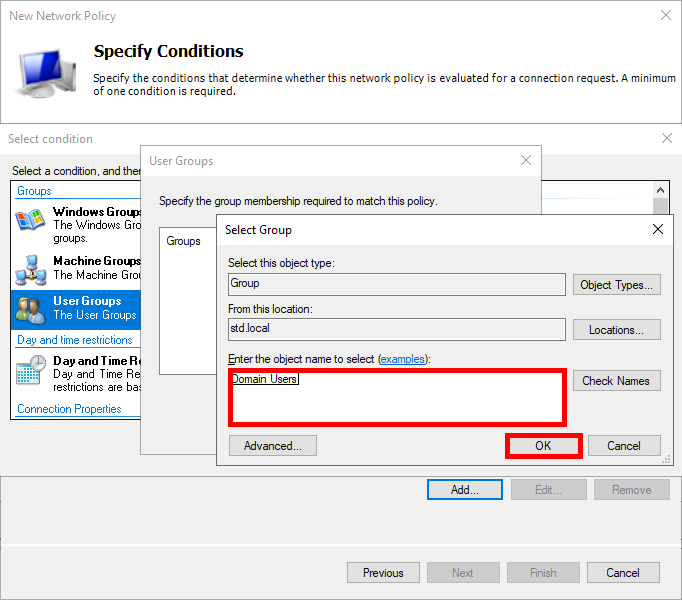
- Click on Next:
- Select Access granted:

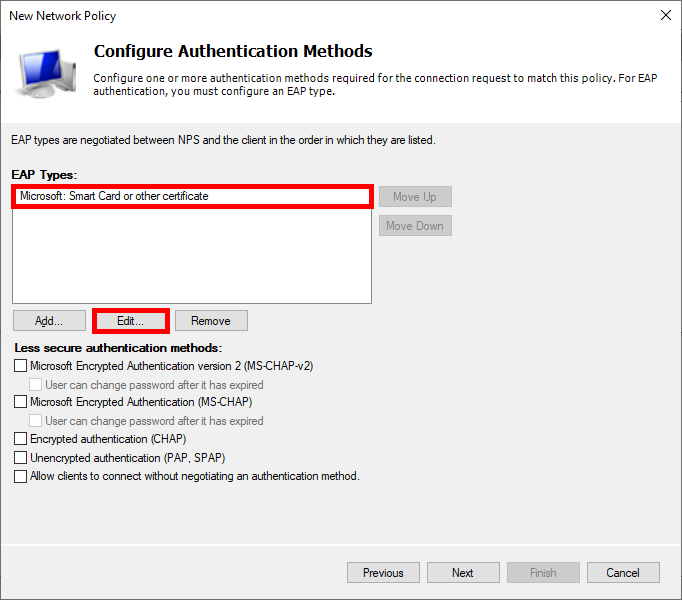
- Choose Microsoft: Smart Card or other certificate as the EAP type and edit the configuration:
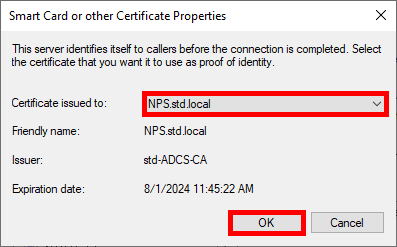
- Select the certificate previously issued:
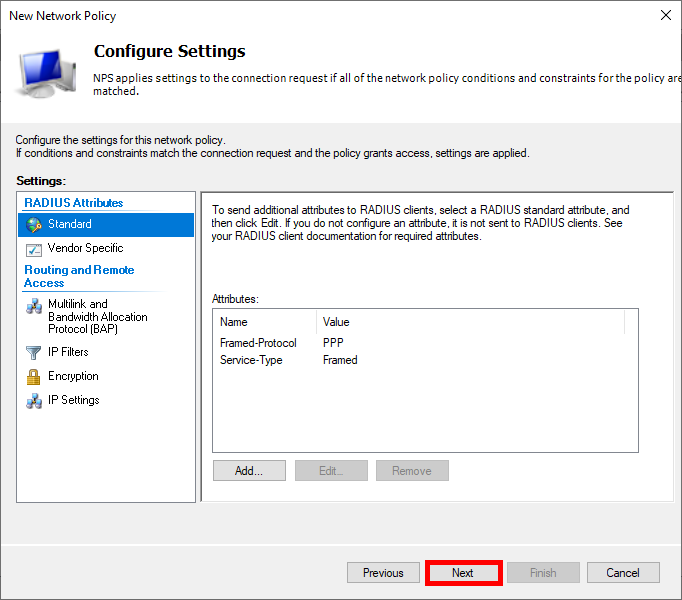
- Click on Next:
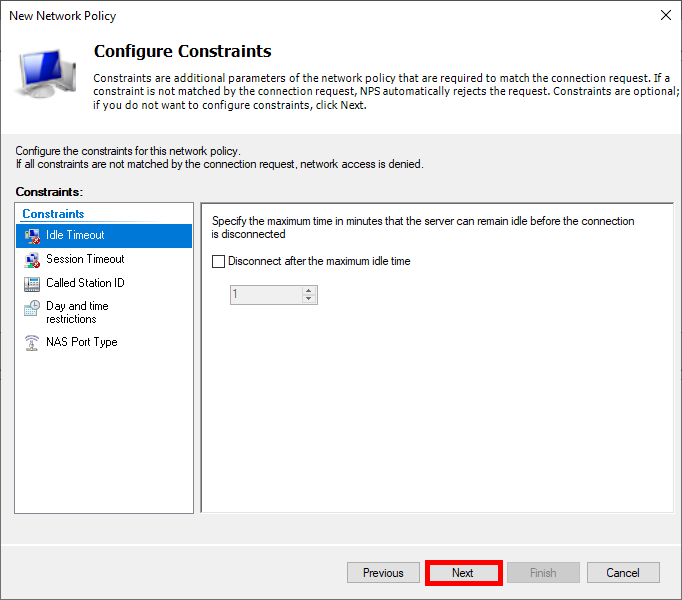
- Click on Next again:
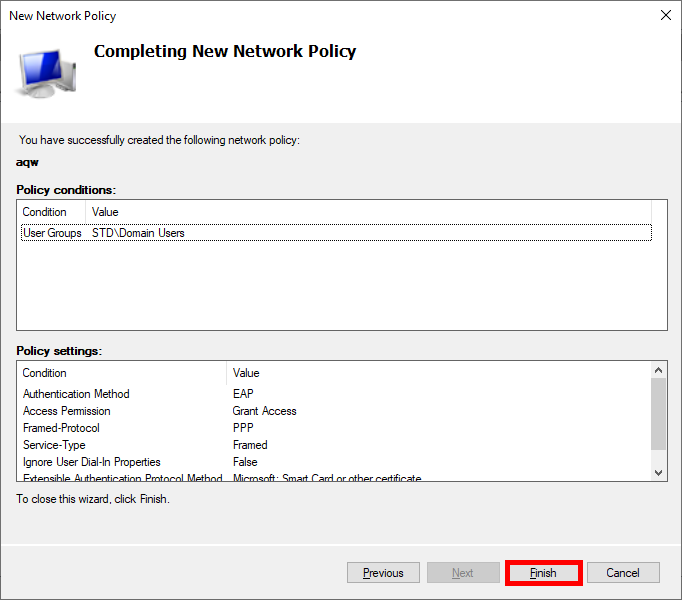
- Finally, click on Finish to create the Policy:
UniFi Network Server
We now need to configure our UniFi Network Server to integrate the RADIUS (NPS) server.
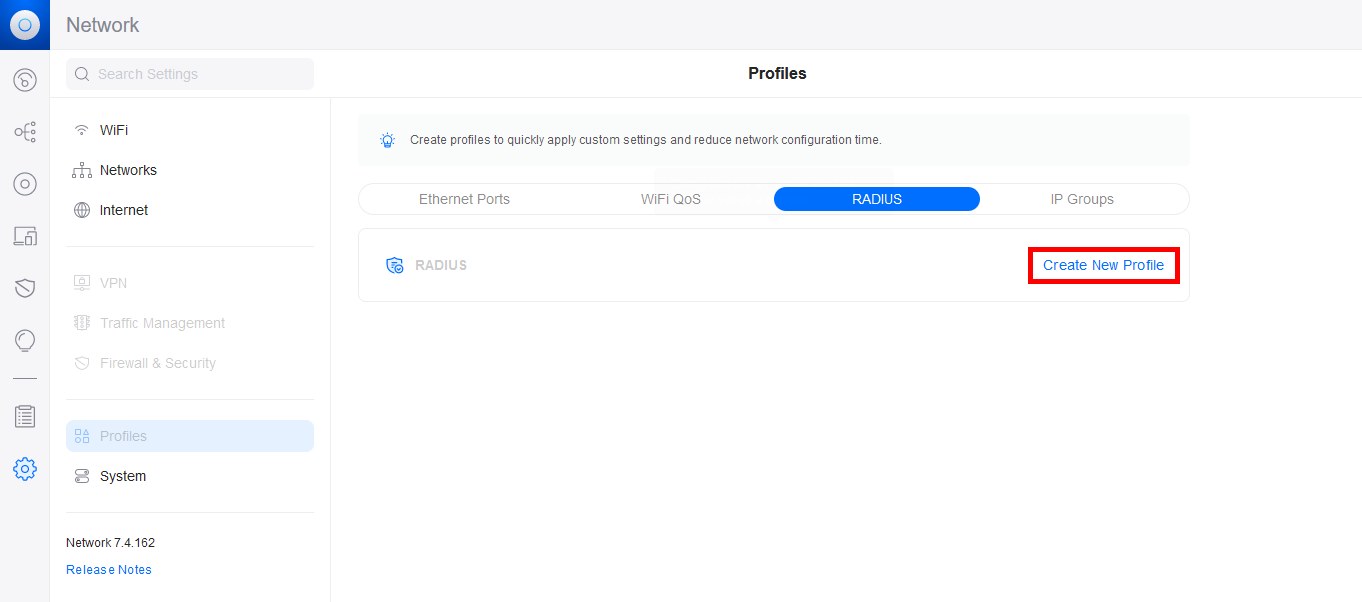
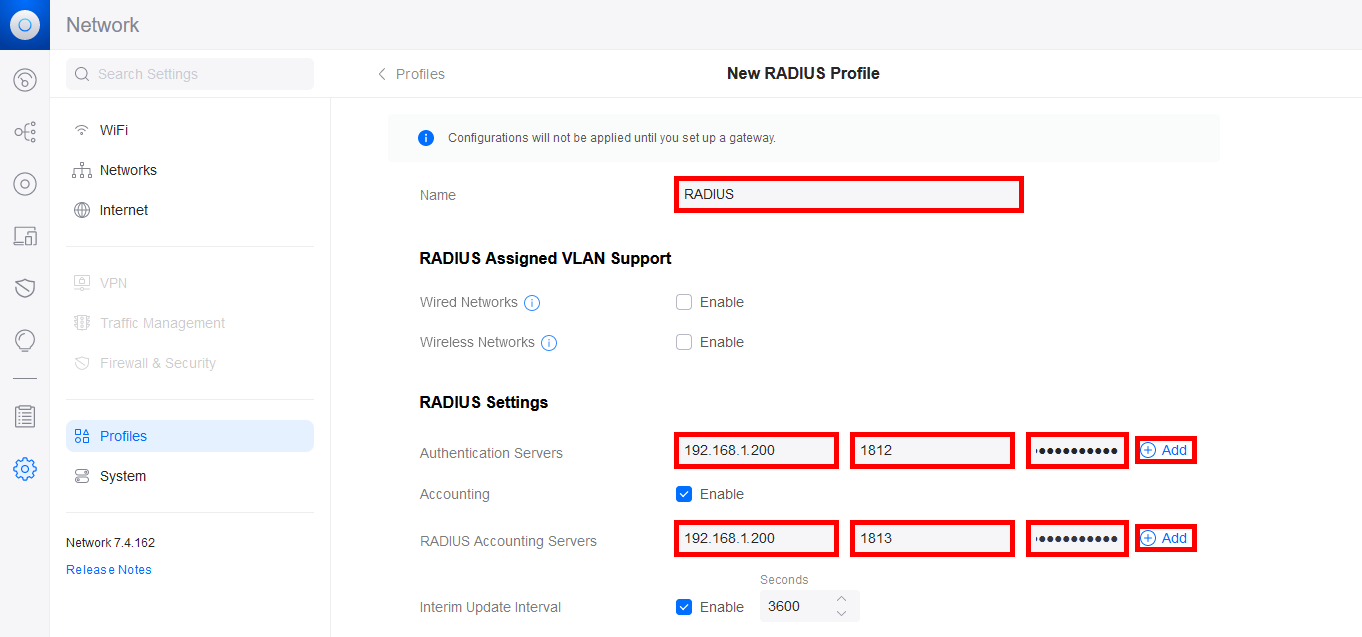
- Go to the Profiles menu and create a new RADIUS profile:
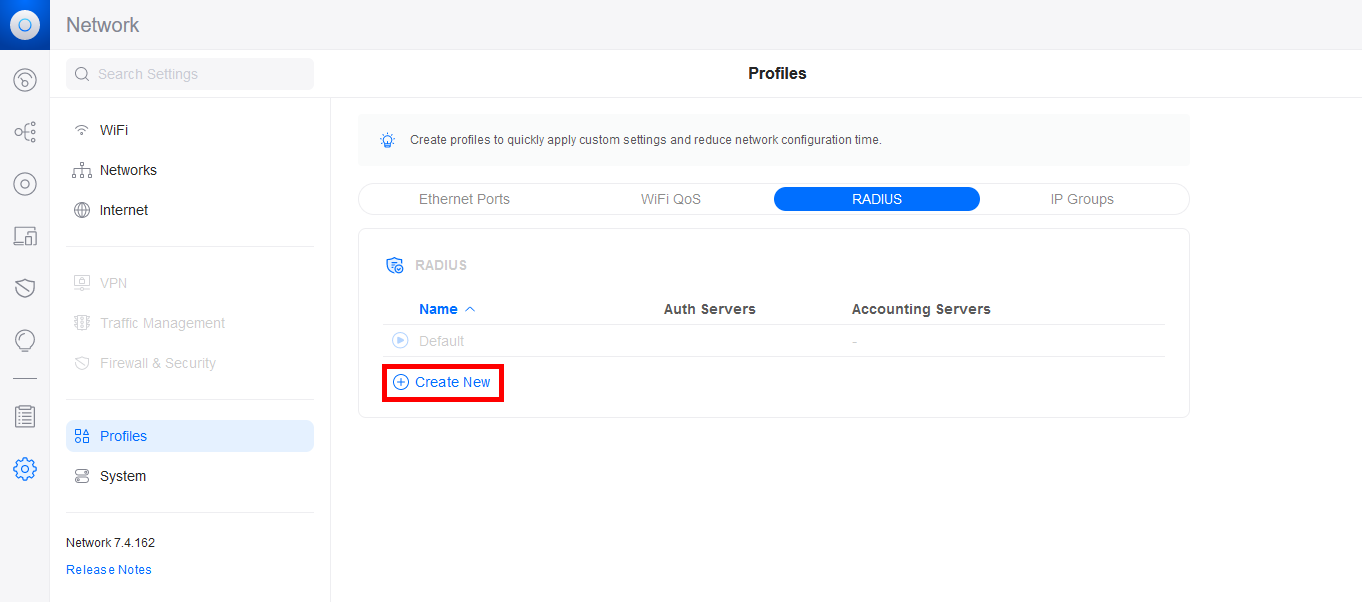
- Click on Create New:
- Give the RADIUS profile a Name and add the IP address of the NPS server for the Authentication Server and the RADIUS Accounting Server. Don't forget to add the password previously set on the NPS server, set the ports, then click on the Add buttons to validate the configuration:
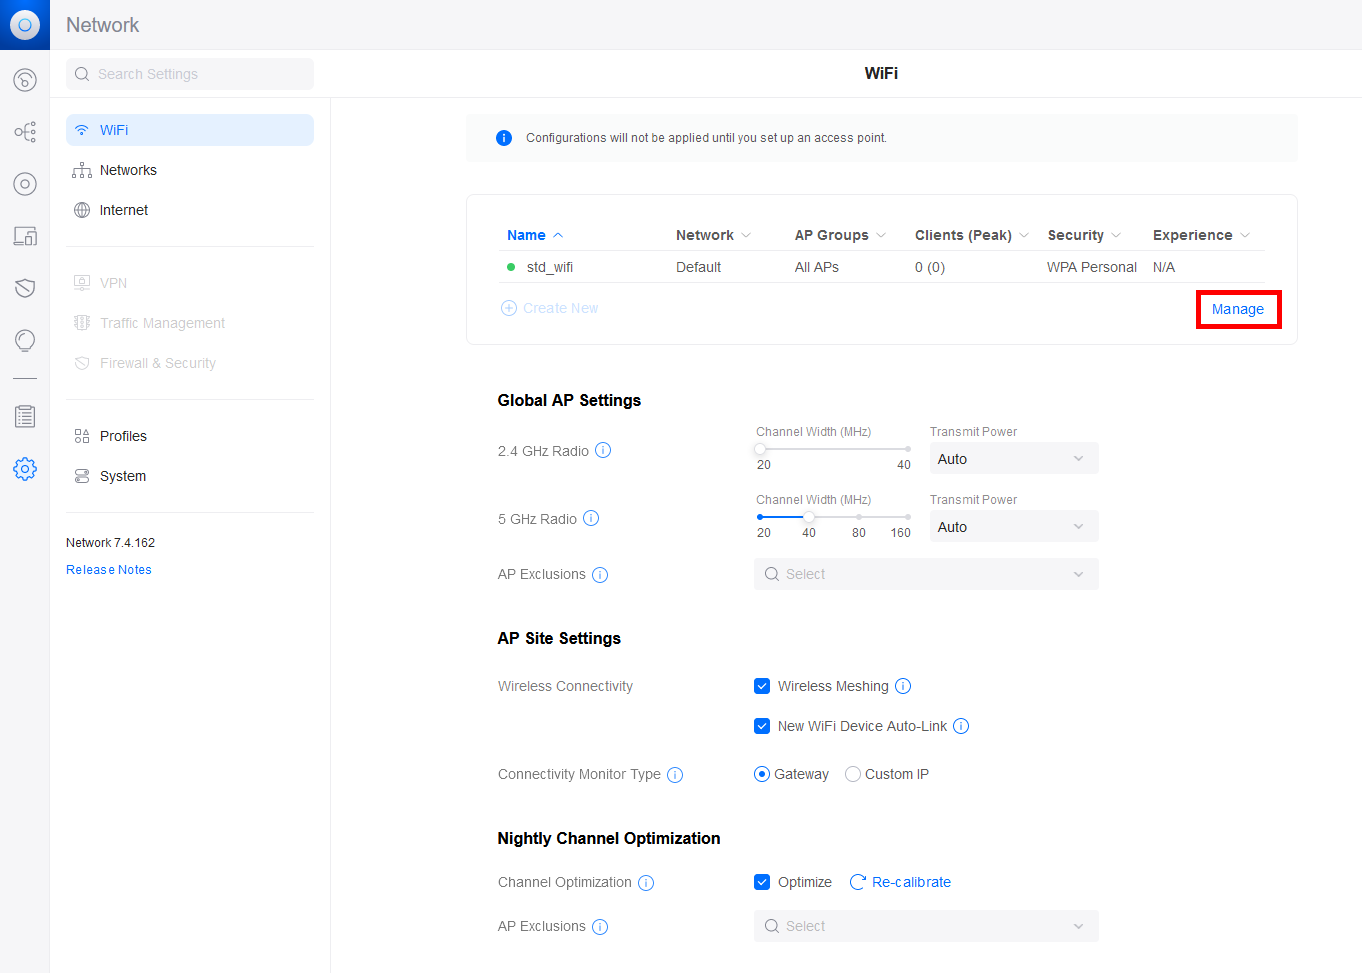
- Now go to the WiFi menu and add a new WiFi profile or modify an existing one:
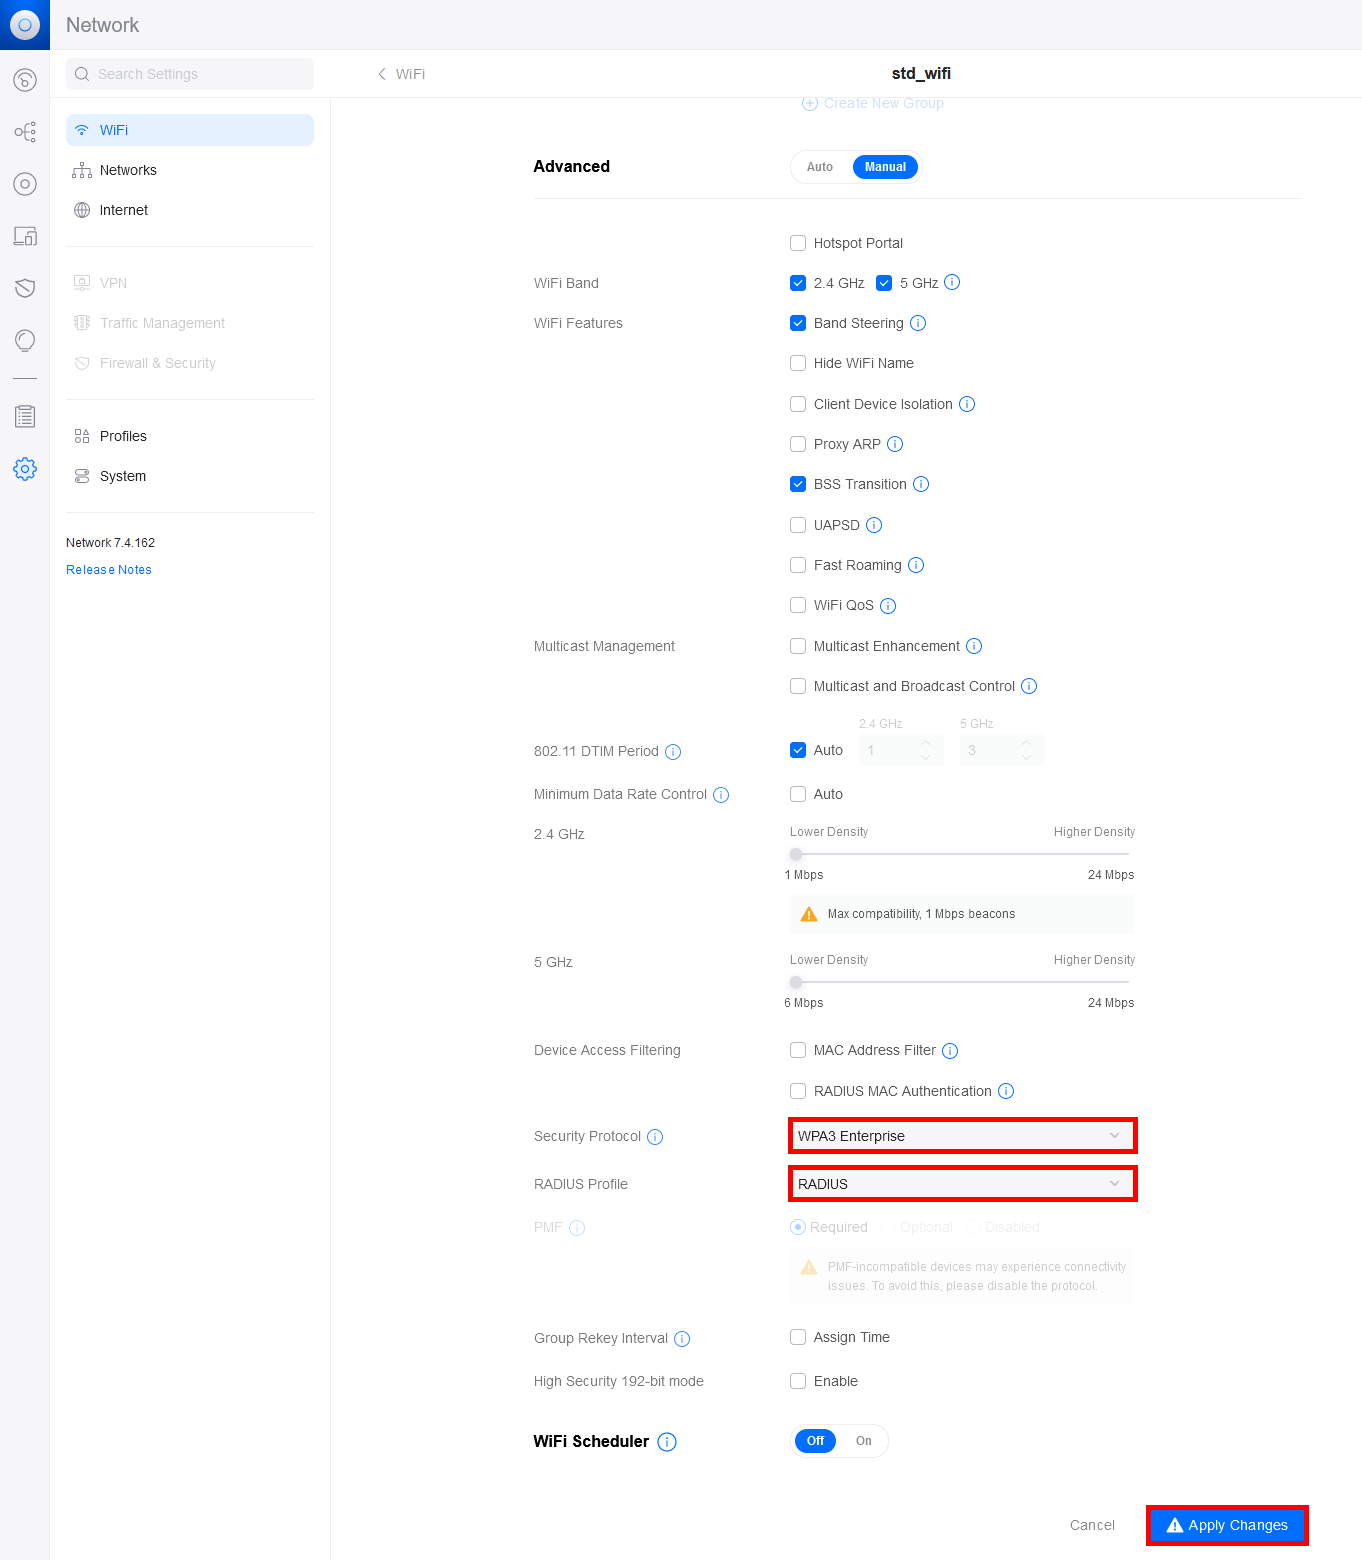
- Configure the Security Protocol and RADIUS Profile:
Supplicant (Windows Stations)
We'll now look at how supplicants obtain the certificate they'll use for authentication. We'll look at two methods: a manual method and an automatic method via GPO.
Certificate Distribution to Supplicants
Manually via the Certificate Management Console
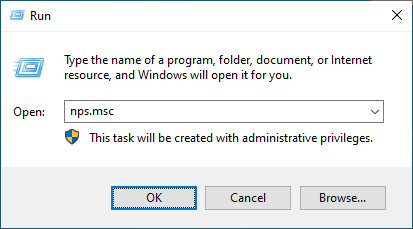
- Open the Certificate Management Console for the current user on the Supplicant machine:

certmgr.msc command from the Run dialog.
- Right-click on Personal and select Request New Certificate…:

- Click Next to start the certificate enrollment process:
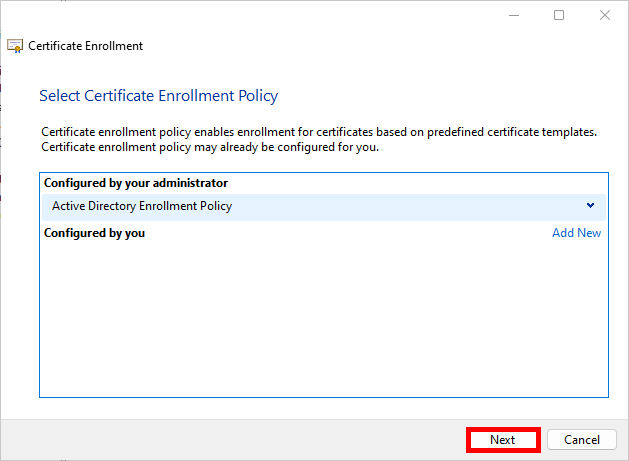
- Select the Active Directory Enrollment Policy and click Next to continue:
- Select the EAP-TLS Policy we defined earlier and click on Enroll:

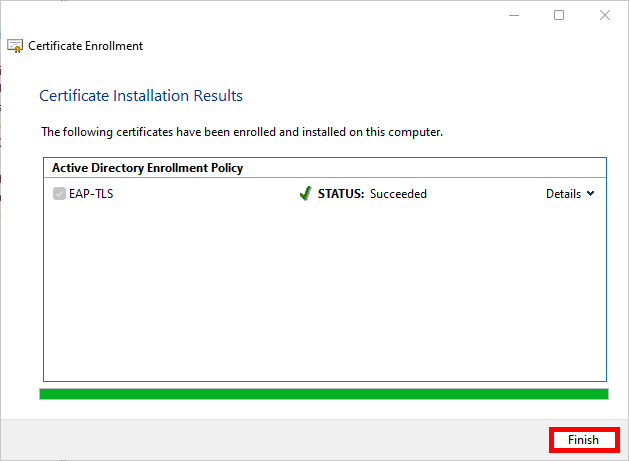
- Simply click on Finish when the enrollment process is complete:
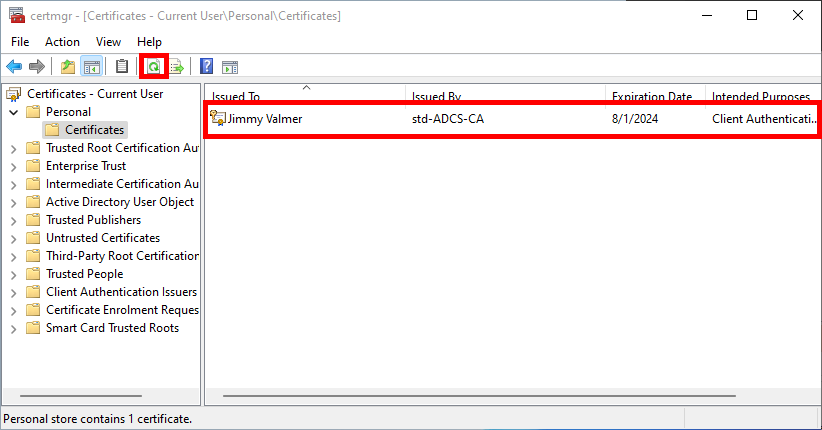
- After refreshing, you should see your Client Authentication certificate in the user certificate store:
Automatically via a Group Policy (GPO)
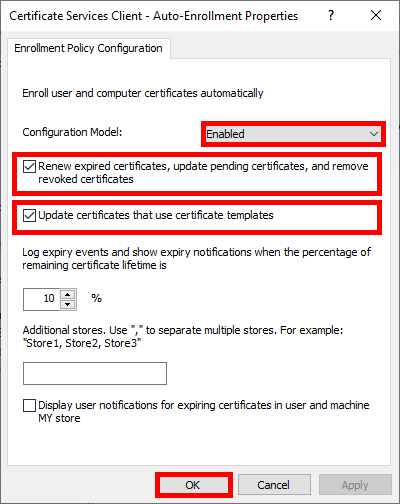
- Go to User Configuration > Policies > Windows Settings > Security Settings > Public Key Policies and edit the Certificate Services Client - Auto-Enrollment policy:

- Enable the Configuration Model and check the boxes to enable automatic certificate renewal:
- Run
gpupdateto get a certificate:
C:\> gpupdateThe supplicants should now be able to connect to WPA Enterprise WiFi Access using EAP-TLS.