How to Schedule Automatic Shutdown or Reboot with Group Policy
- Last updated: Feb 6, 2026

In corporate environments, it's all too common for users to forget to shut down their computers before leaving the office. To address this—and in the interest of saving our planet (and perhaps even a few dolphins)—you can use a Group Policy Object (GPO) to automatically shut down Windows computers at a scheduled time.
In some scenarios, you may need to configure a scheduled reboot to periodically maintain Windows workstations and their services. This guide also demonstrates how to restart computers using Group Policy through a scheduled task rather than shutting them down.
Create a Group Policy Object (GPO) in Active Directory
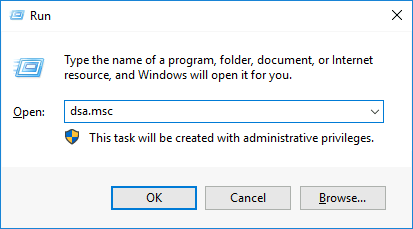
- On a Domain Controller, open the Active Directory Users and Computers management console:
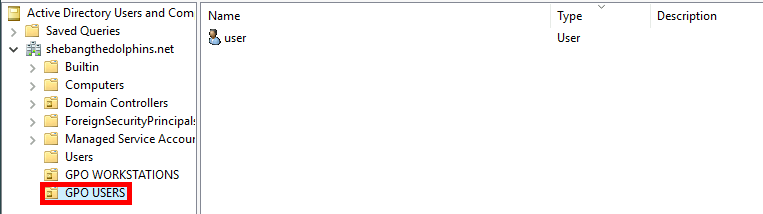
- Move the users for whom you want to enable automatic computer shutdown into an appropriate Organizational Unit (OU):
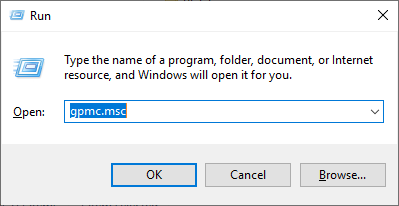
- Next, open the Group Policy Management console:
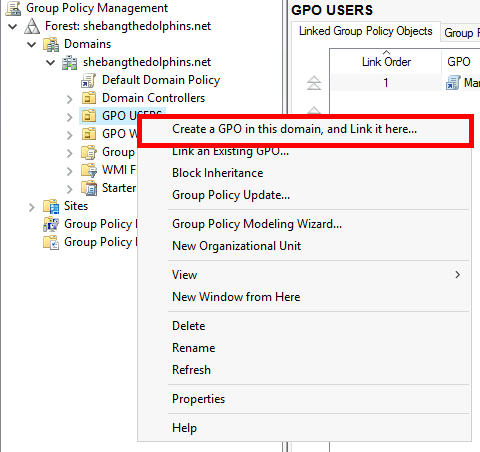
- Right-click the target OU, then select Create a GPO in this domain, and Link it here…
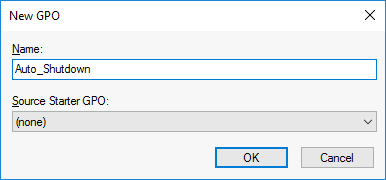
- Assign a name to the new Group Policy Object (GPO):
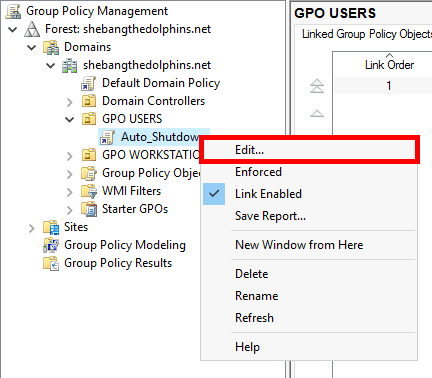
- Edit the Group Policy Object (GPO) to configure its settings:
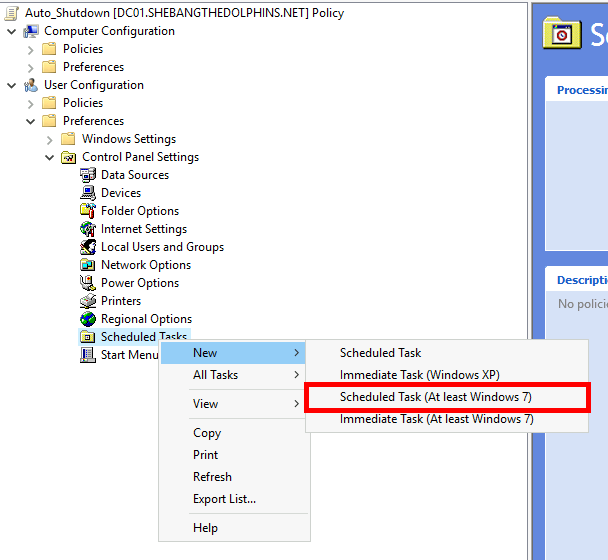
- Navigate to User Configuration > Preferences > Control Panel Settings, then right-click Scheduled Tasks and select New > Scheduled Task (At least Windows 7):
Configure the Group Policy Object (GPO)
-
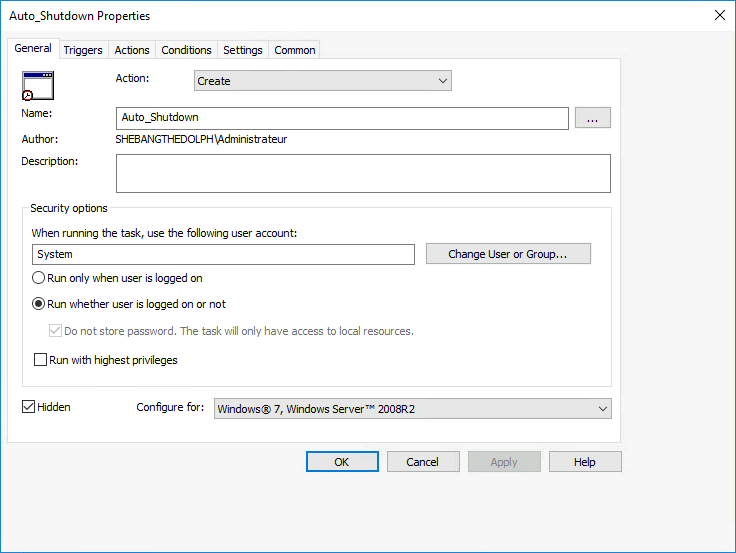
Set the properties of the new scheduled task as follows:
- Action: Create
- Name: Auto_Shutdown
- User Account: System (⚠️ Type it manually; do not use the “Change User or Group…” button ⚠️)
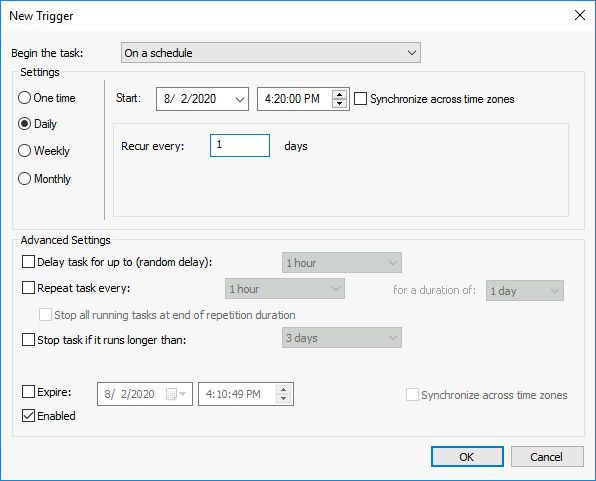
- Under the Triggers tab, click New:

- Set the time when the computers should shut down:
- In the Actions tab, click New:
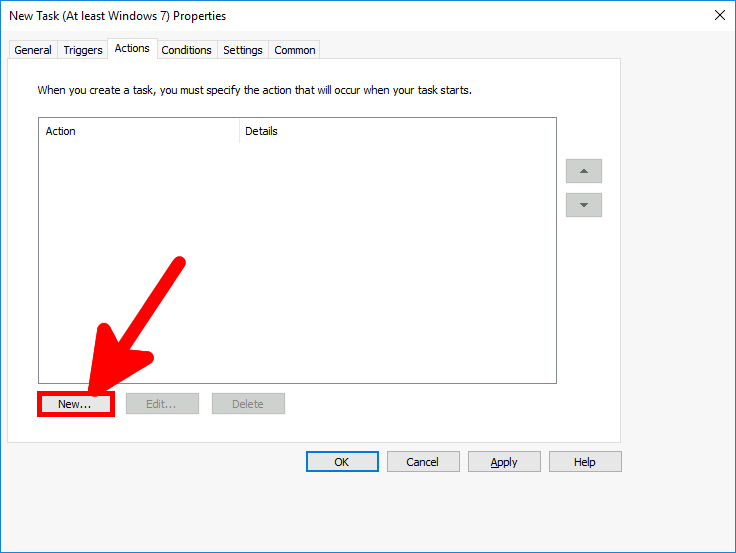
- Define the properties of the New Action as follows:
- Action: Start a program
- Program/script:
C:\Windows\System32\shutdown.exe - Add arguments(optional):
/s /t 0

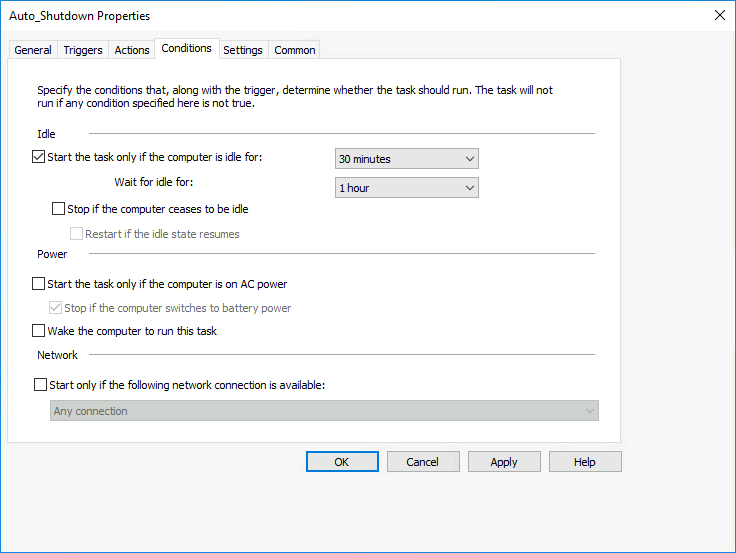
- In the Conditions tab, configure the task to prevent shutdown while a user is still active:
This ensures that the shutdown occurs only when the computer is idle, avoiding interruptions during user activity (for example, when working overtime).
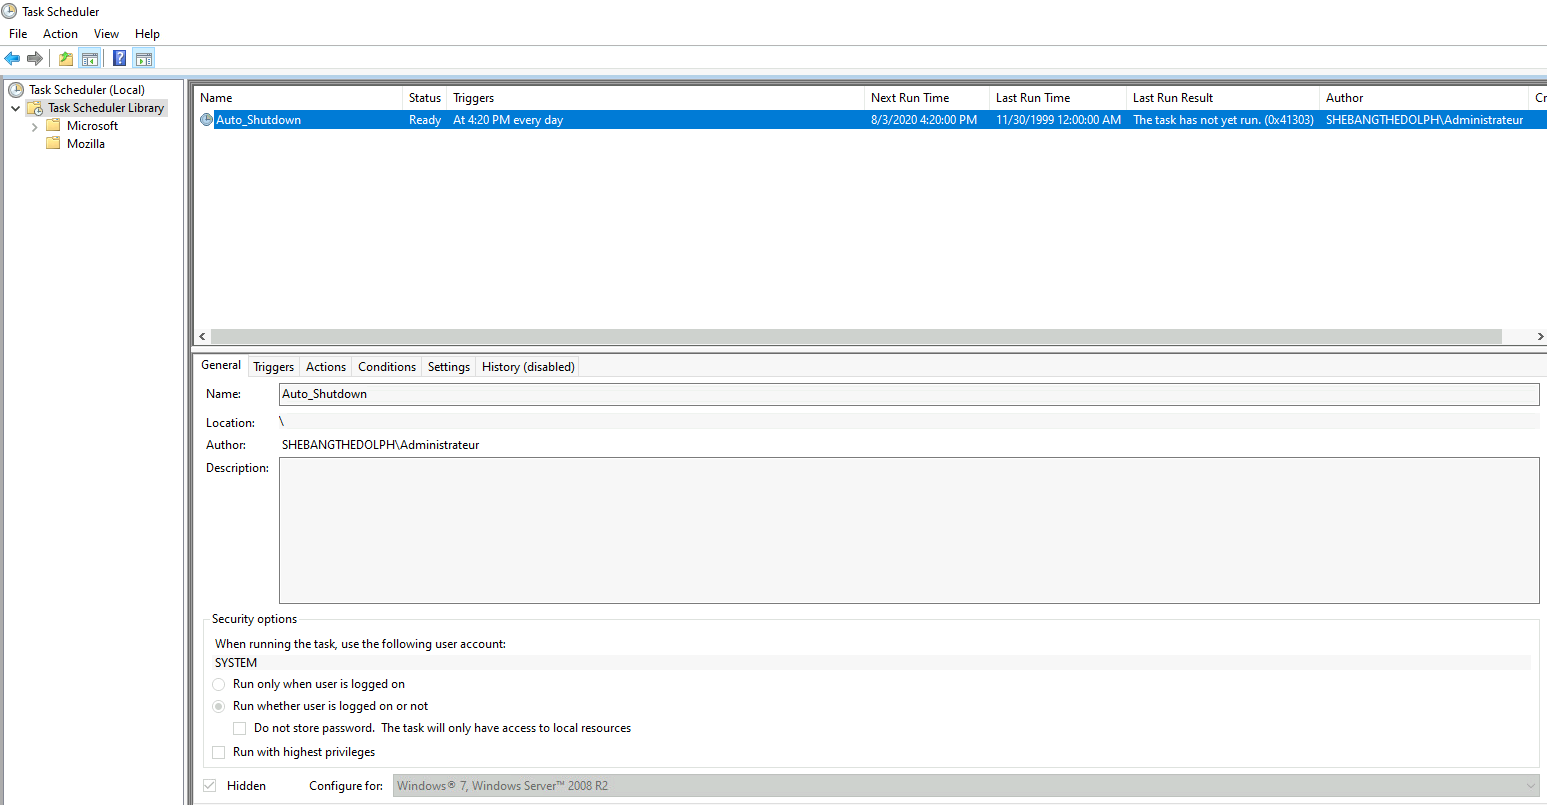
Verify the Scheduled Task on a User Workstation
- On a client workstation, open the Task Scheduler with administrator privileges. (Without administrative rights, the task may not be visible.) You should see the
Auto_Shutdownscheduled task listed: