Implementing WPA Enterprise (802.1X and RADIUS) with PEAP-MS-CHAP v2 on UniFi WiFi Access Points
- Last updated: Jul 29, 2023

Nowadays WiFi access is becoming a common standard in large number of companies. Unfortunatly it brings a lot of preoccupations concerning security aspect. Indeed, as you set a unique WPA password for a large number of users, you need to change the password of the WiFi access quite often (we already seen how to do this via gpo here) but it's rather cumbersome to set up.
So we will see here how to implement WPA Enterprise access in order to enforce the security and respond to the concerns outlined above.
- The improvments and advantages of WPA Enterprise are:
- Stronger user authentication compared to standard WPA: with the use of the Extensible Authentication Protocol (EAP) framework
- Individual User Credentials: each user has unique credentials, typically in the form of username and password or digital certificates.
- Centralized Authentication and Management: for example using the RADIUS protocol.
- Fine control of users access: we can easyly add or remove user access.

Authentication Server
Installing the NPS Role
We have two options for installing the NPS role: using PowerShell or the Graphical User Interface.
PowerShell
- For a quick installation using PowerShell, run the following command:
PS C:\Users\administrator.STD> Install-WindowsFeature NPAS -Restart -IncludeManagementTools
Graphical User Interface (GUI)
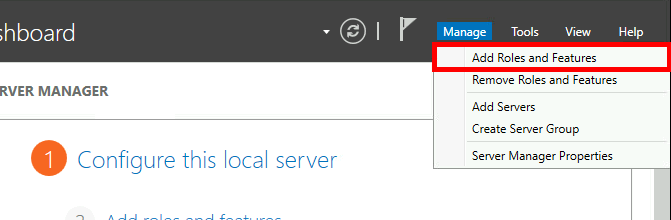
- Using the Server Manager dashboard, navigate to Add Roles and Features:
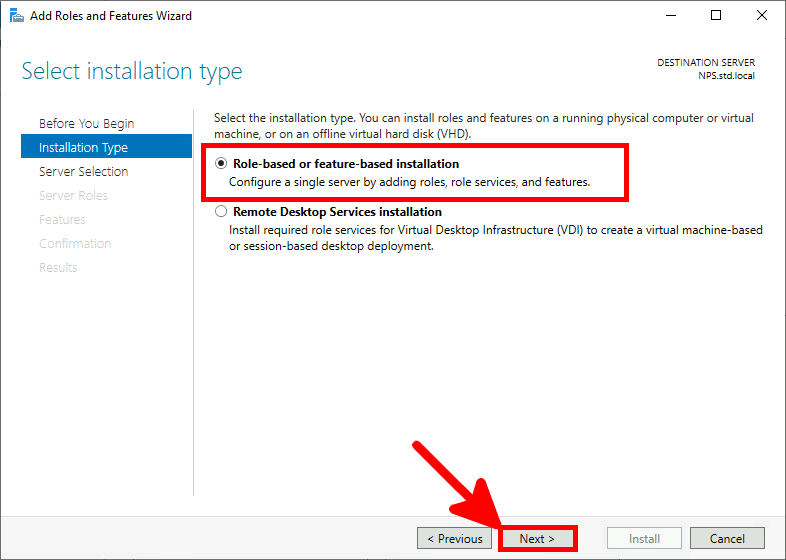
- Select Role-based or feature-based installation:
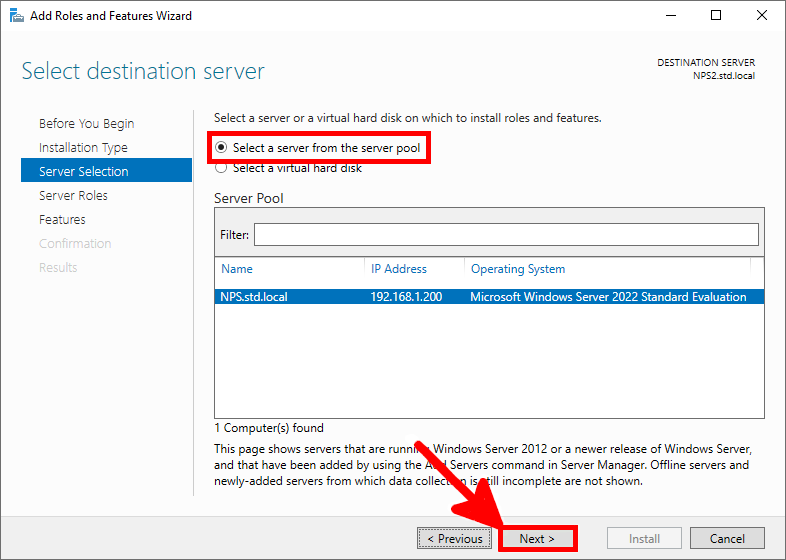
- Select the server:
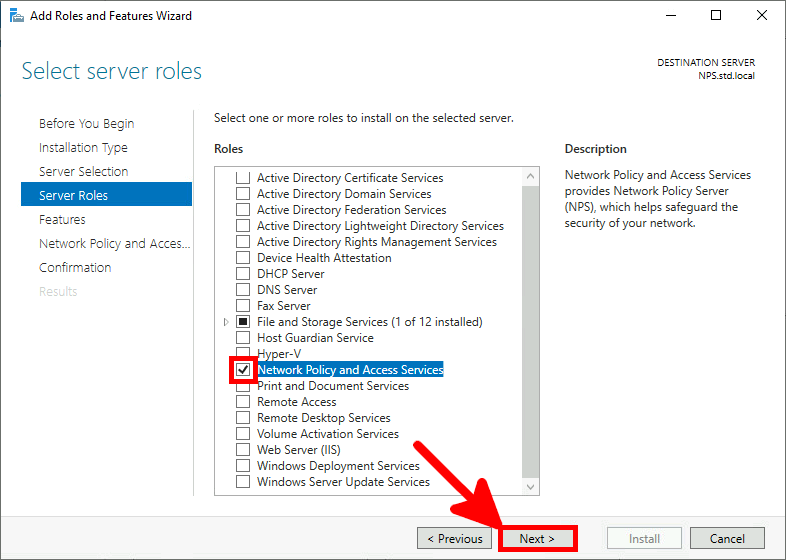
- Select the Network Policy Server role:
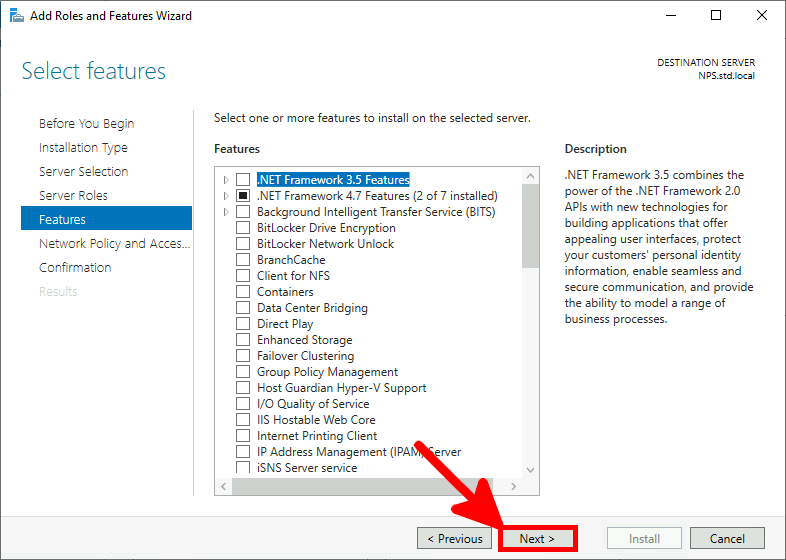
- Just click Next:
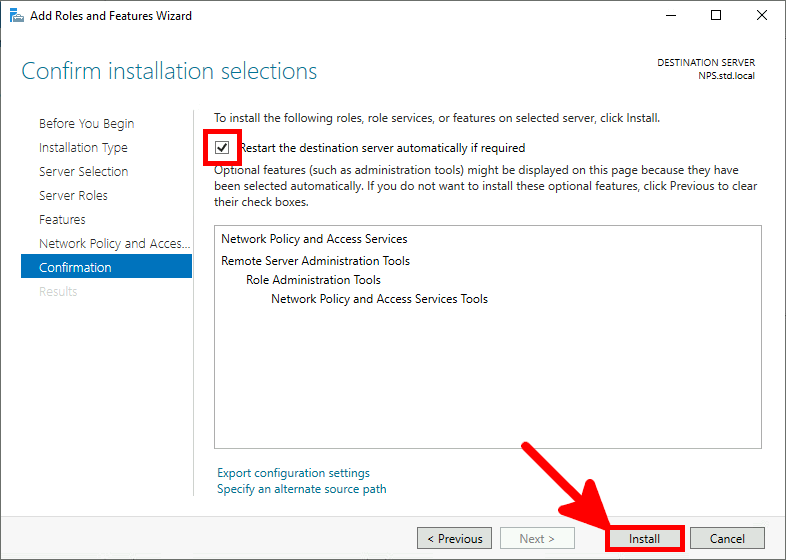
- Check Restart destination server and click on Install:
Generating Self-Signed Certificate
As seen previously on the diagram, a TLS tunnel is established between the supplicant and the NPS. To do so, we have the choice between creating a certificate on an ADCS server (method to be covered in the EAP-TLS tutorial) and creating a self-signed one. In this option, we need to deploy the certificate on each supplicant that will connect to the Access Points.
PowerShell
- From the NPS server open a PowerShell console:
PS C:\Users\administrator.STD> New-SelfSignedCertificate -DnsName "nps.std.local" -KeyLength 2048 -CertStoreLocation cert:\LocalMachine\My -NotAfter (Get-Date).AddYears(20)
Export Certificate
In order to be recognized as a trusted entity by Windows Supplicants, the certificate should be exported and added to their list of trusted certificates. I will cover how to achieve this later for the Supplicant.
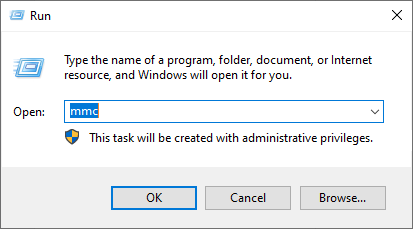
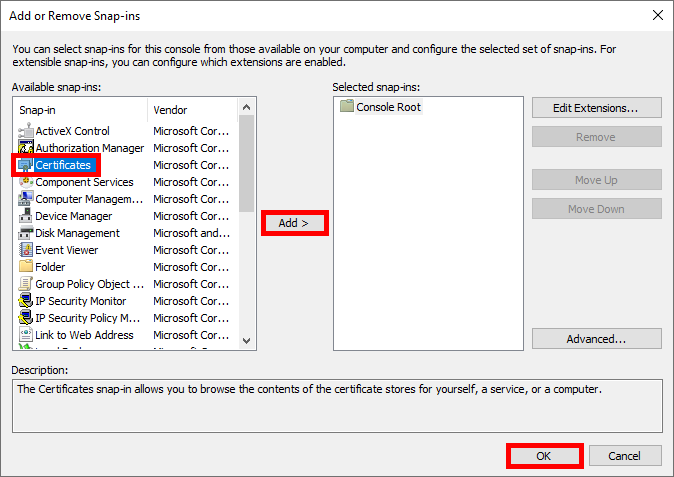
- Open the Microsoft Management Console:
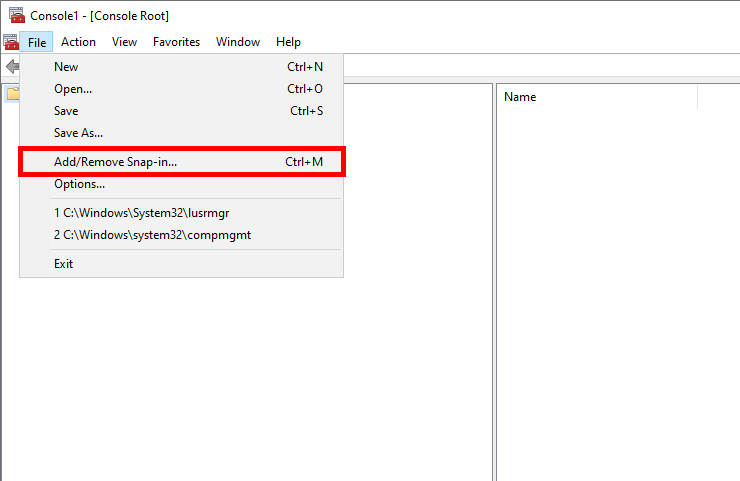
- Click Add/Remove Snap-in…:
- Select Certificates and click OK:
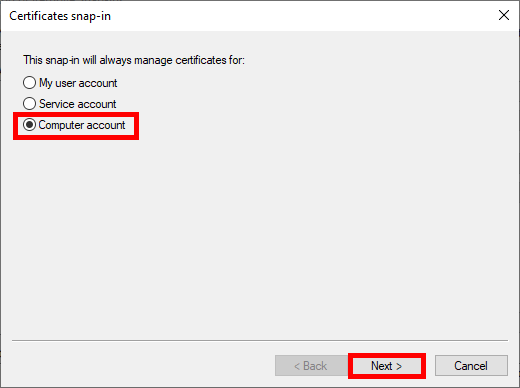
- Select Computer account:
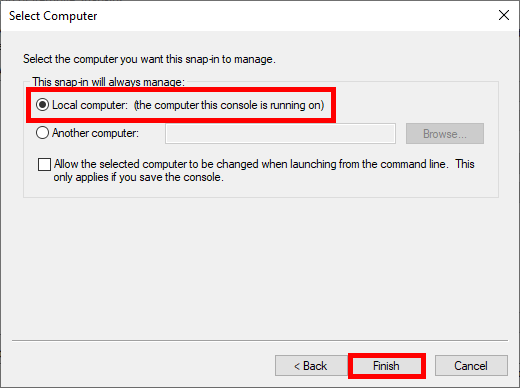
- Select Local computer:
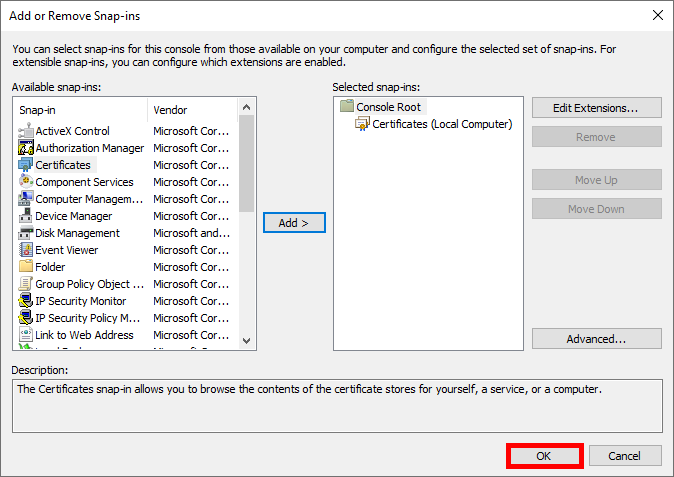
- Finally click to OK:
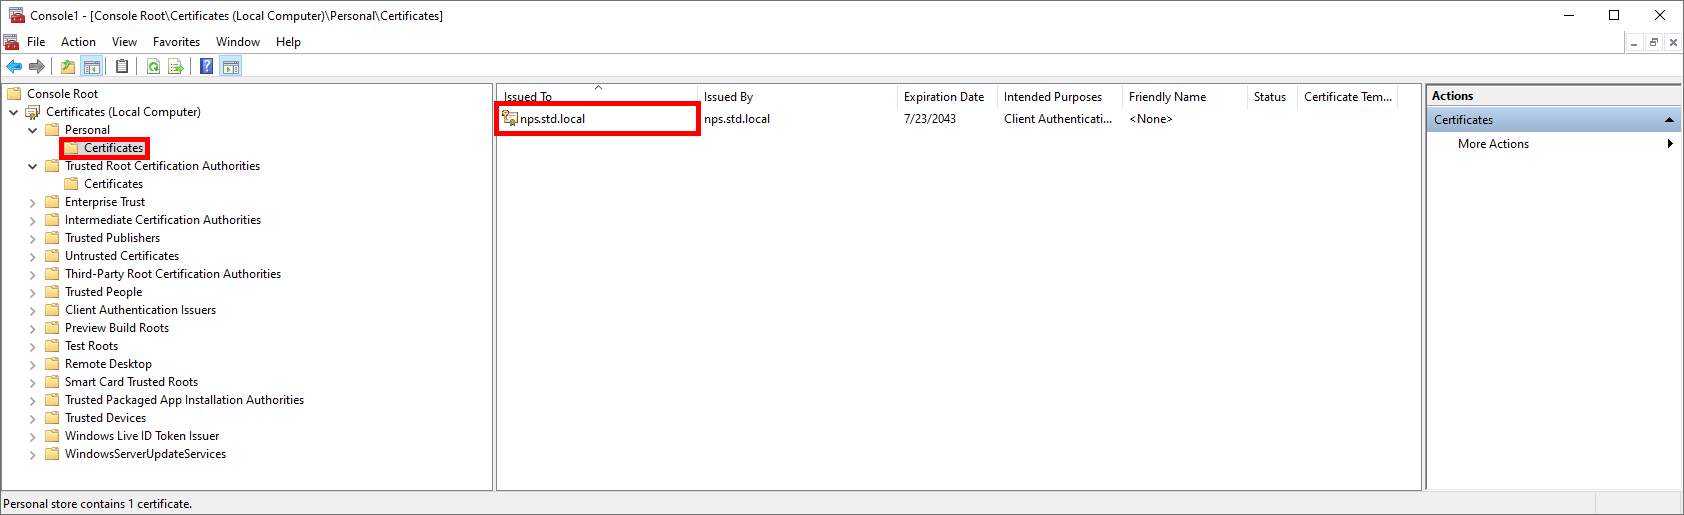
- The generated certificate should appear under Certificates > Personal > Certificates:
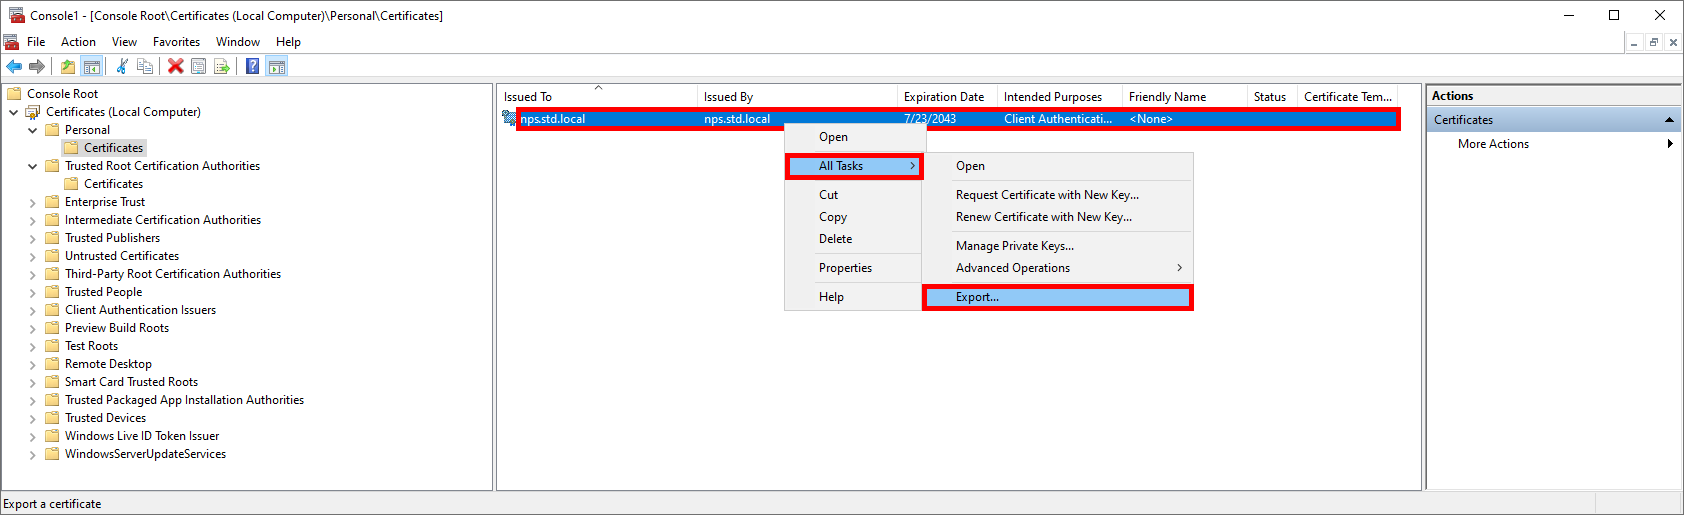
- Right-click on the certificate and select Export…:
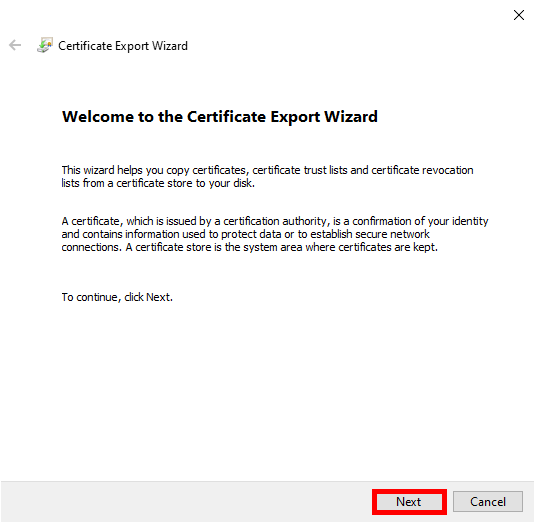
- Click Next:
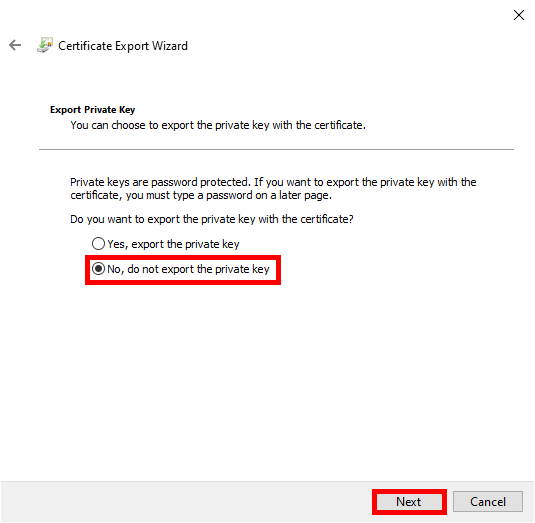
- Do not export the private key:
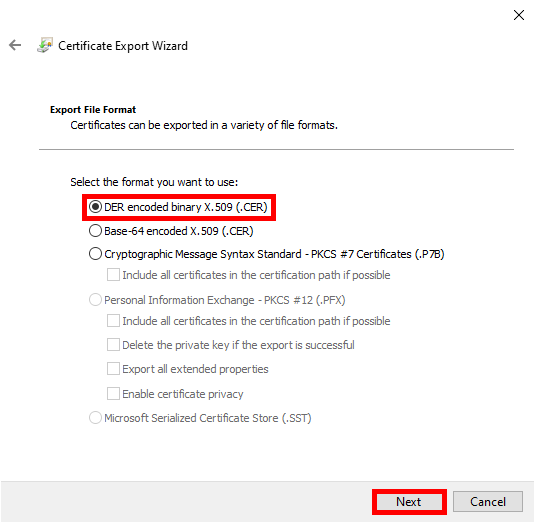
- Select certificate format, for example DER:
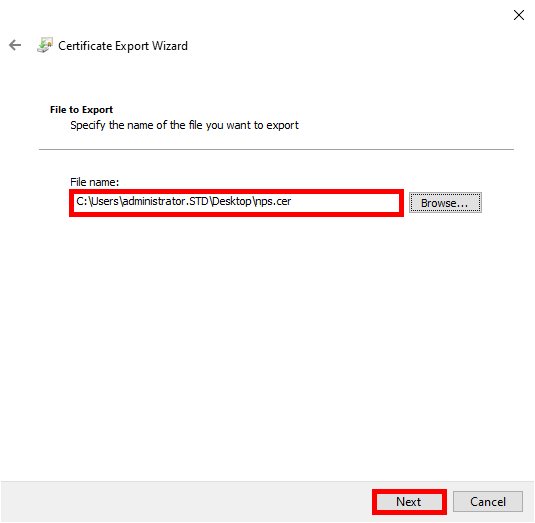
- Specify the path where you want to export the certificate:
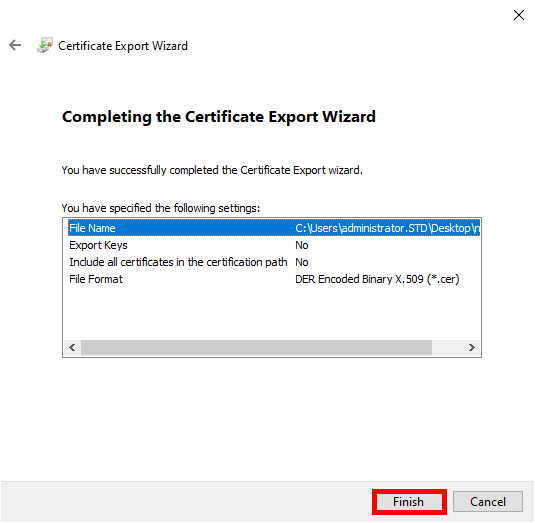
- Click Finish:
- The exported certificate should appear inside the specified directory:
Configure NPS
- Open the Network Policy Server Console:

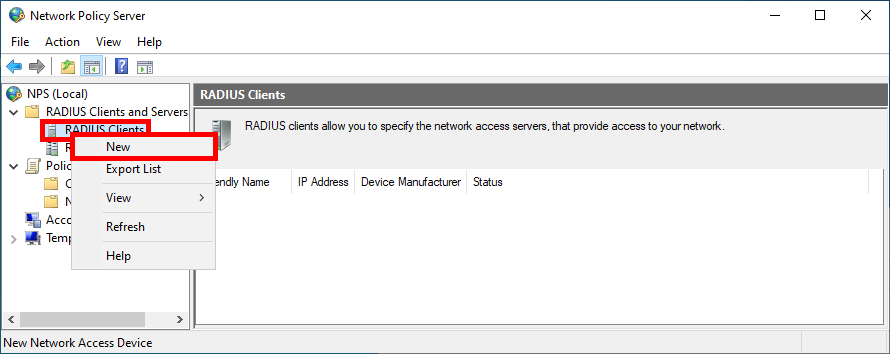
Declare Access Point as RADIUS Clients
- Navigate to NPS > RADIUS Clients and Servers > RADIUS Client and click on New:
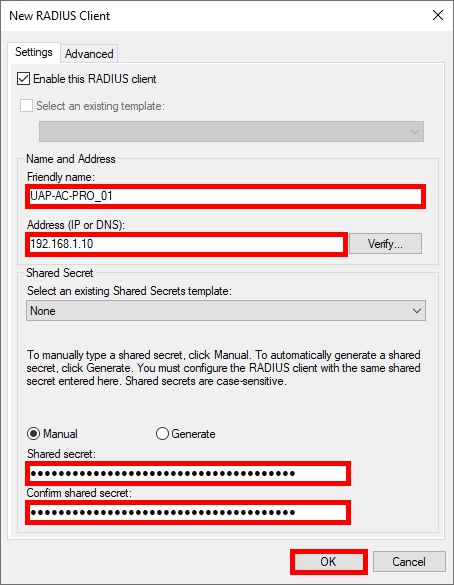
- For each Access Point, provide a Name, set the IP address, and create a strong password (use the same one for every Access Point):
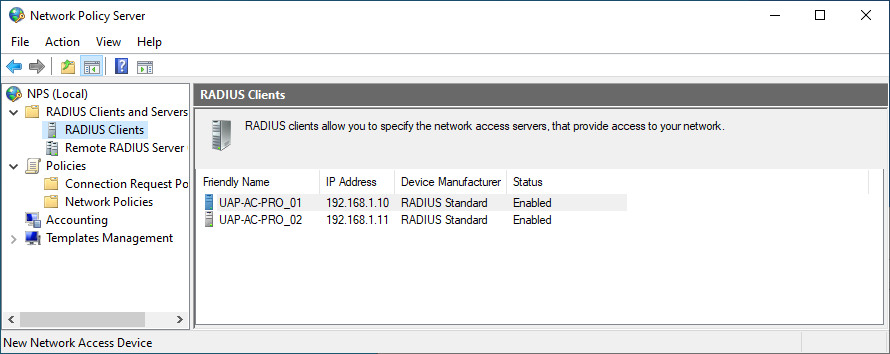
- You should see all Access Point previously added in the RADIUS Clients folder:
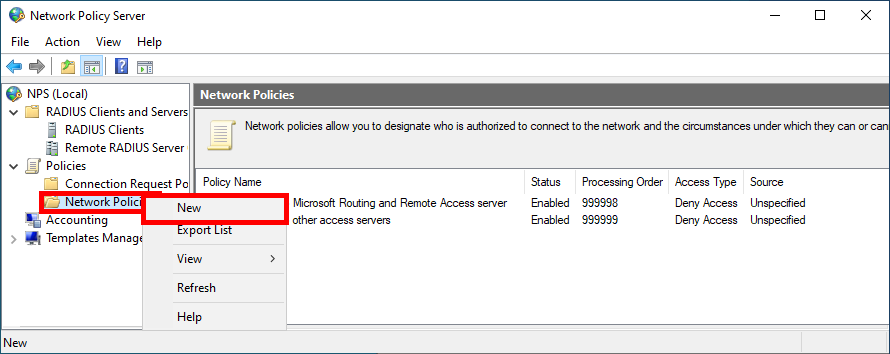
Create a Network Policy
Now we need to create a Network Policy where we will define which group of users will be able to connect and the protocols used.
- Click New in Network Policies folder:
- Give a name to the Policy:

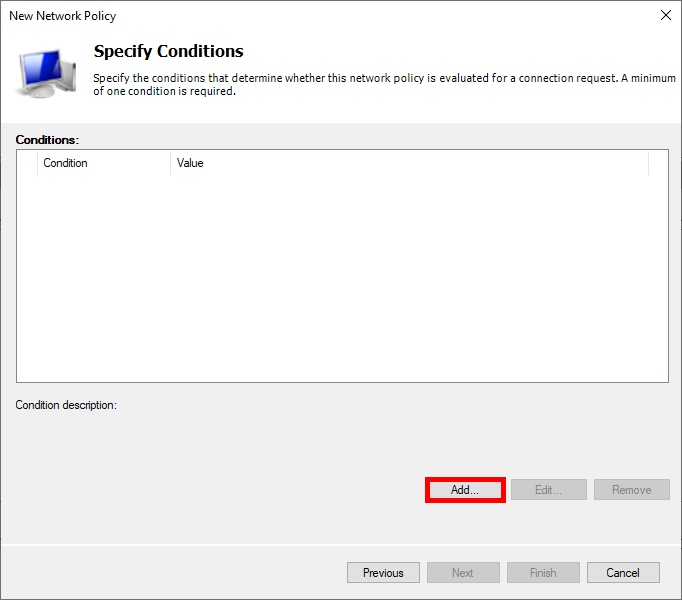
- Click Add to specify the condition:
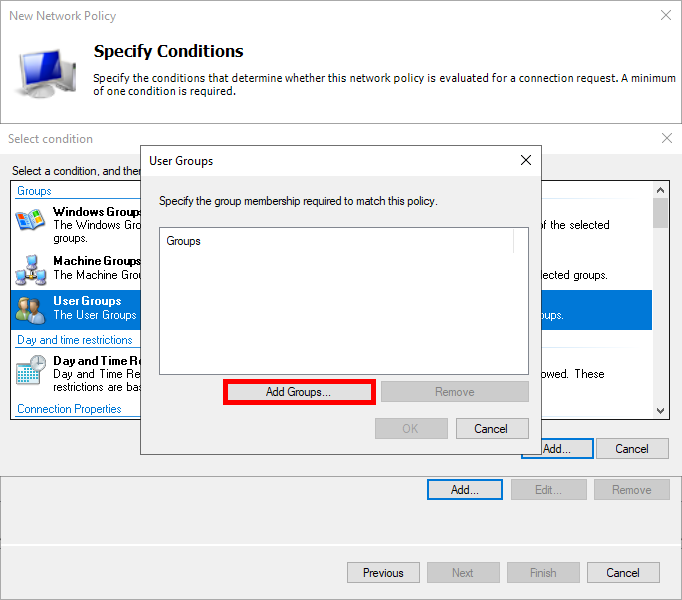
- Select User Groups, and click Add Groups…:
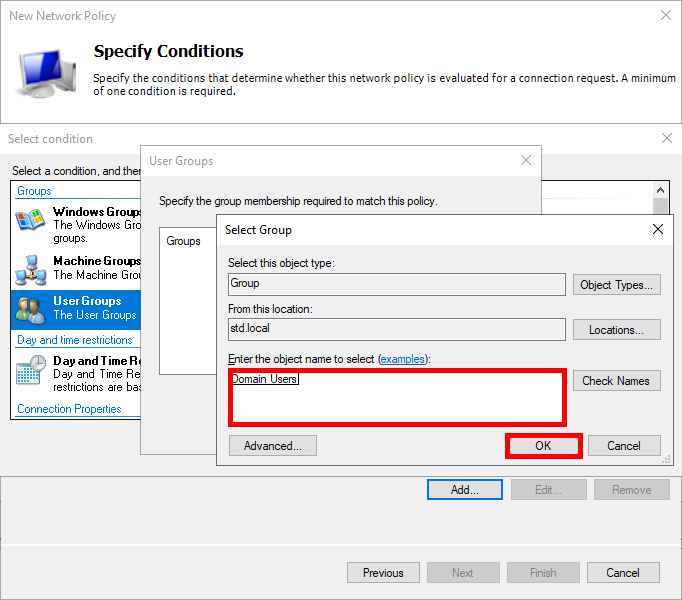
- Add an Active Directory group of users, such as Domain Users:
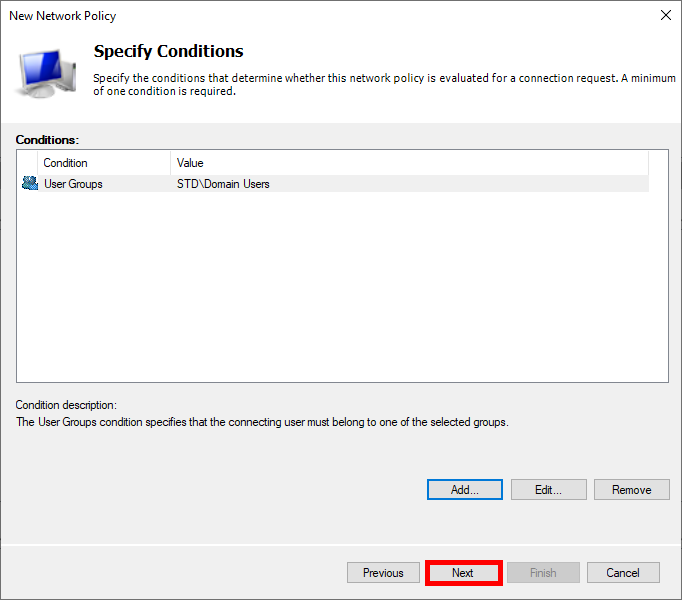
- Click Next:
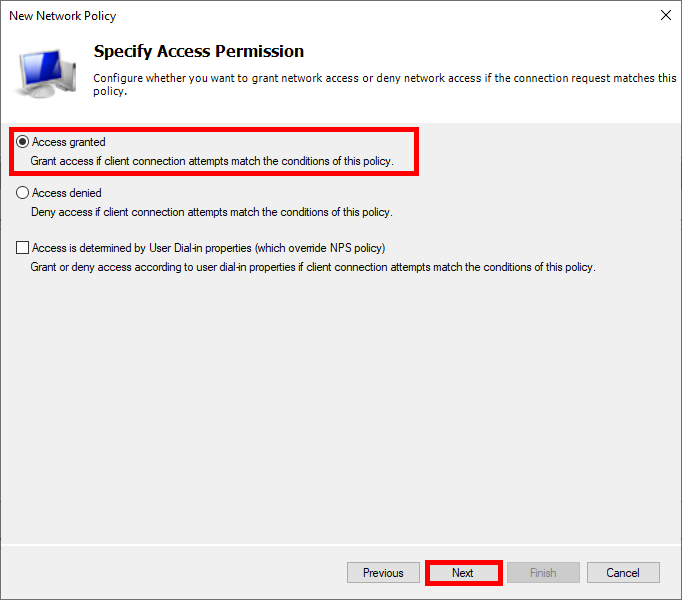
- Select Access granted:
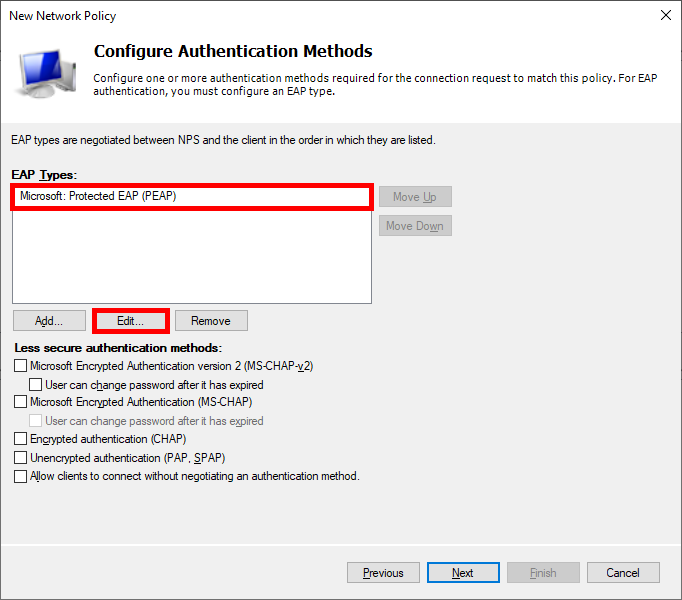
- Choose Protected EAP (PEAP) as EAP type and edit its configuration:
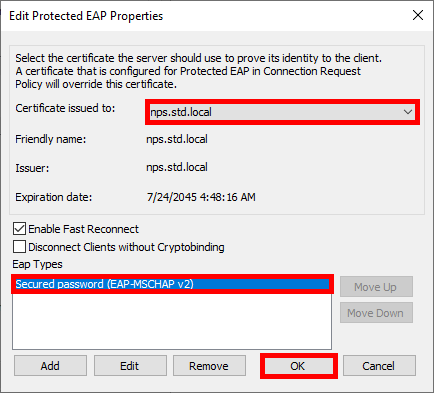
- Select the newly created certificate and choose Secured password (EAP-MSCHAP v2) as the EAP type:
- Click Next:
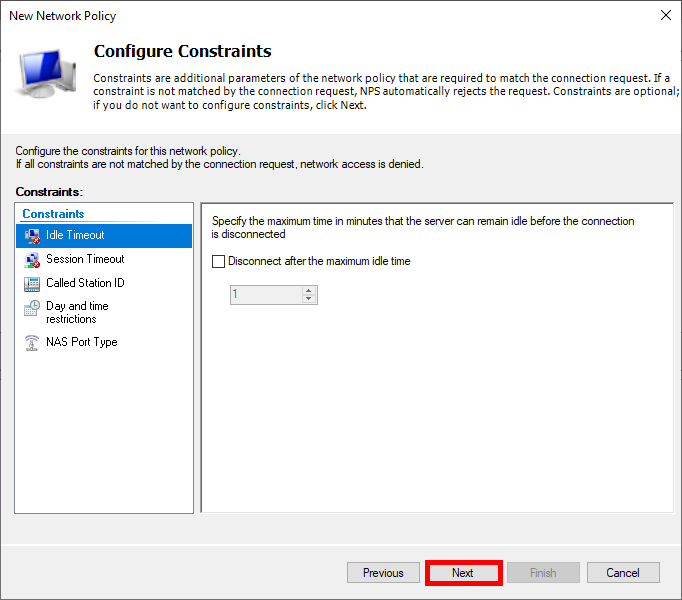
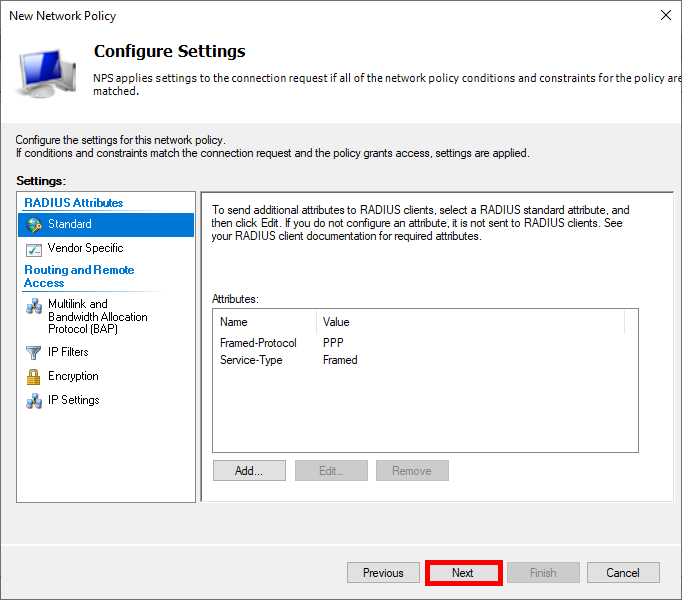
- Click Next:
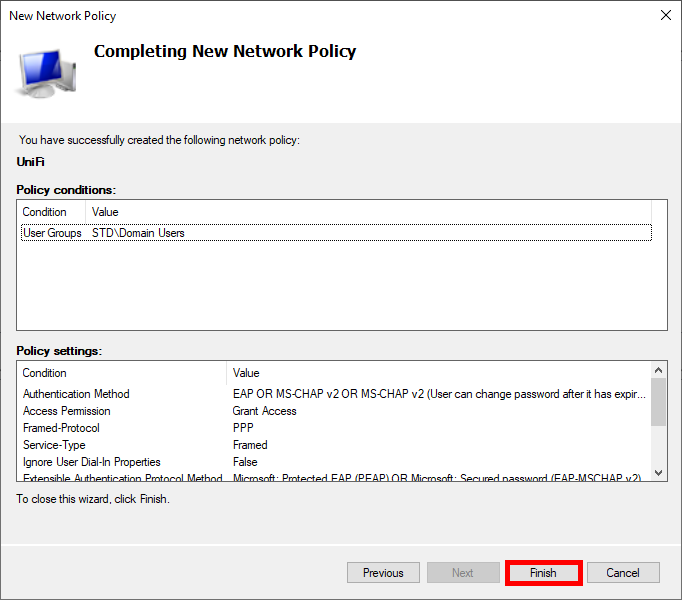
- Finally, click Finish to create the Policy:
UniFi Network Server
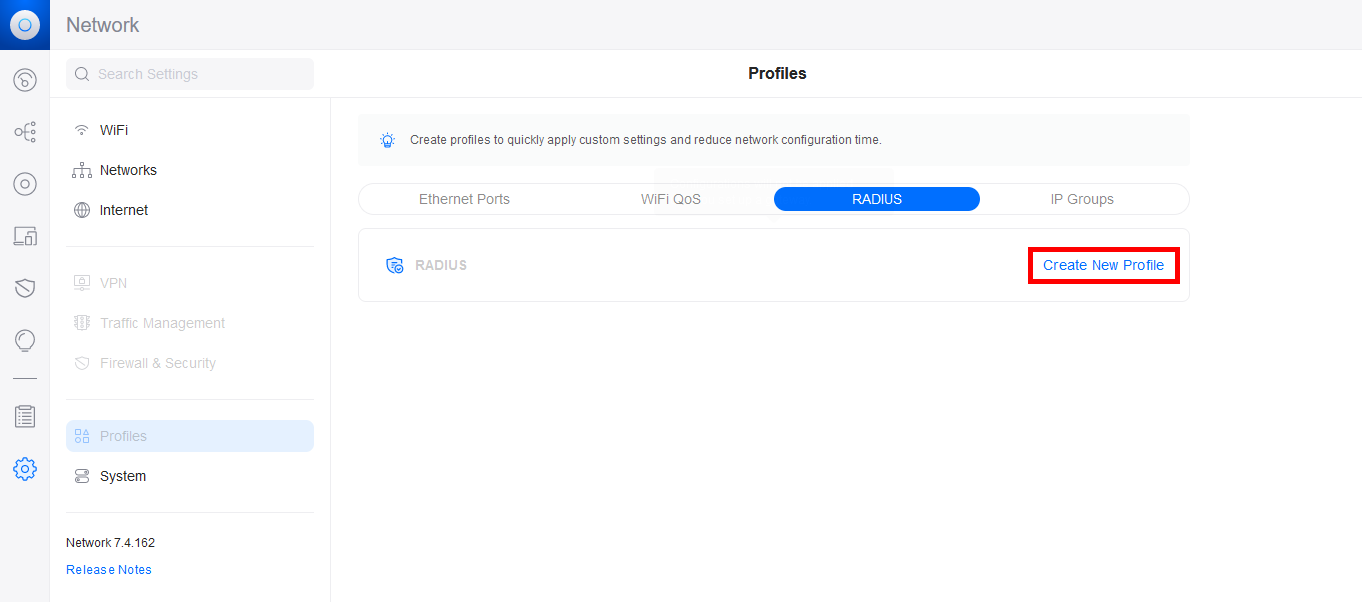
Now we need to configure our UniFi Network Server.
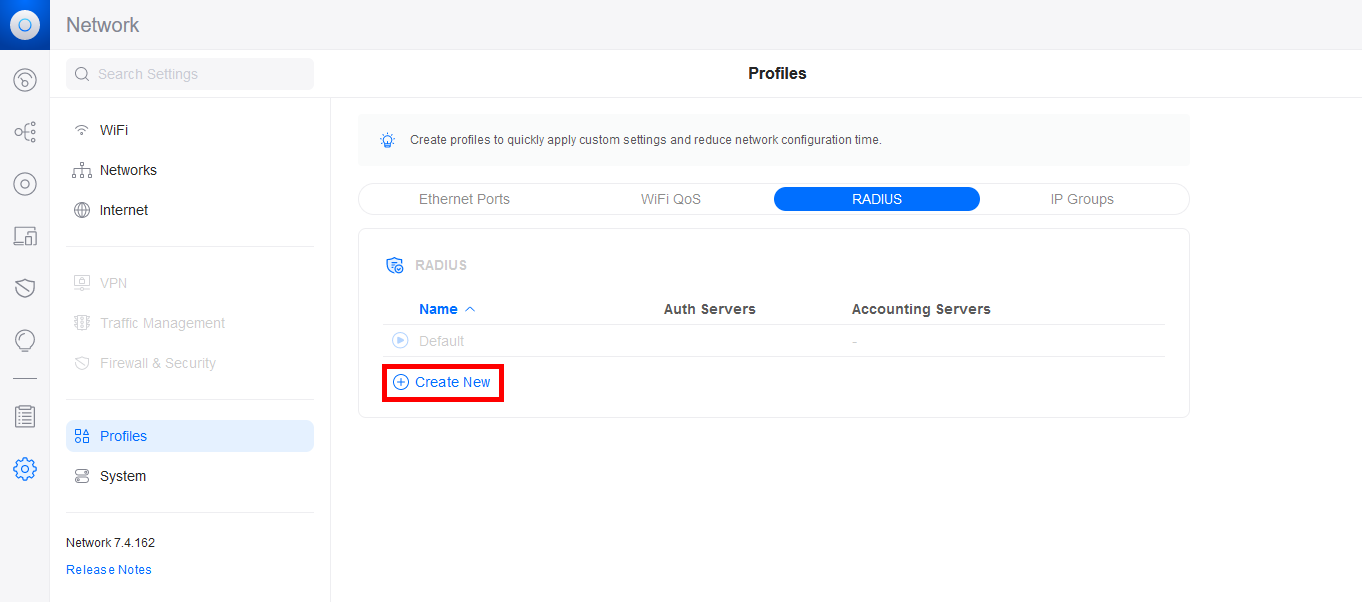
- Go to the Profiles menu and create a new RADIUS profile:
- Click on Create New:
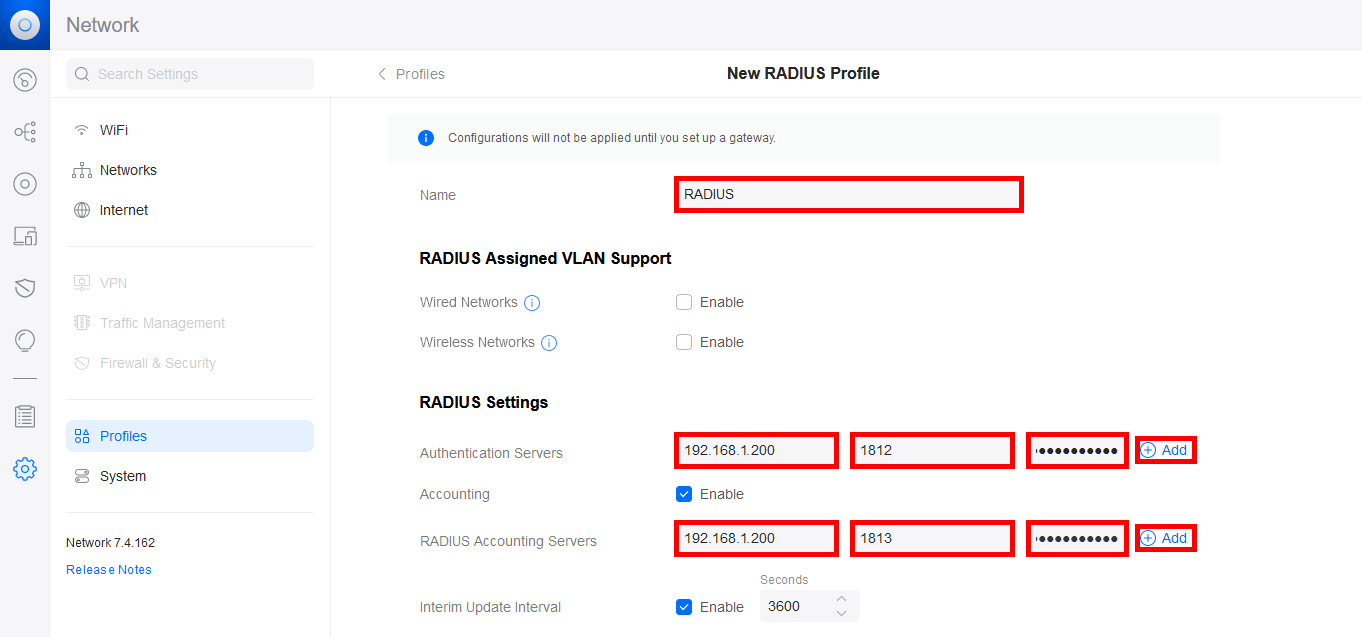
- Give a Name to the RADIUS profile and add the NPS server IP address for the Authentication Server and the RADIUS Accounting Server. Don't forget to add the password previously set on the NPS server, set the ports, and then click the Add buttons to validate the configuration:
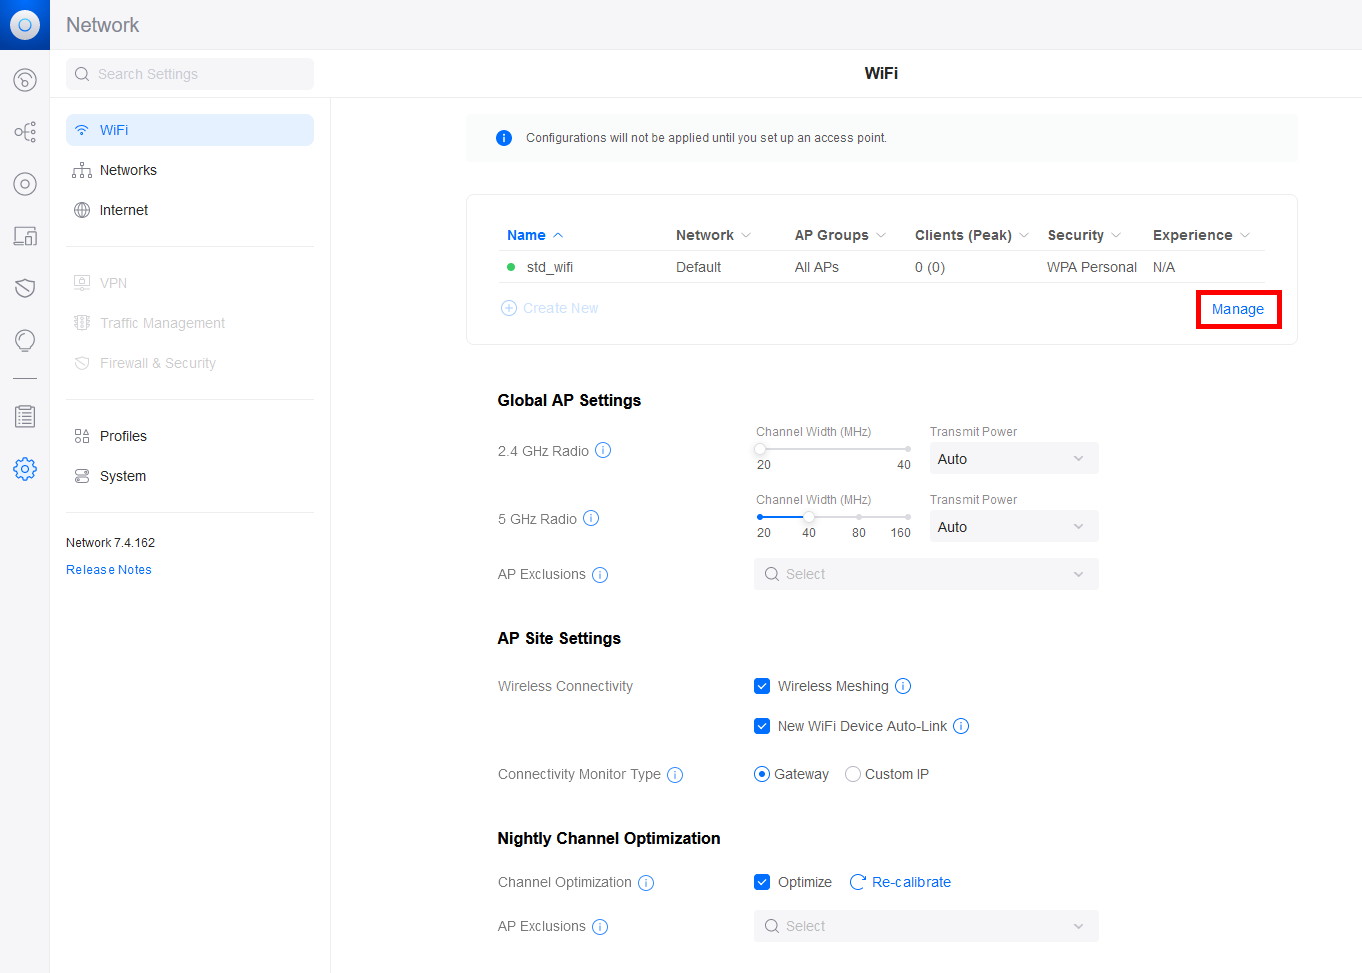
- Now, go to the WiFi menu, and either add a new WiFi profile or modify an existing one:
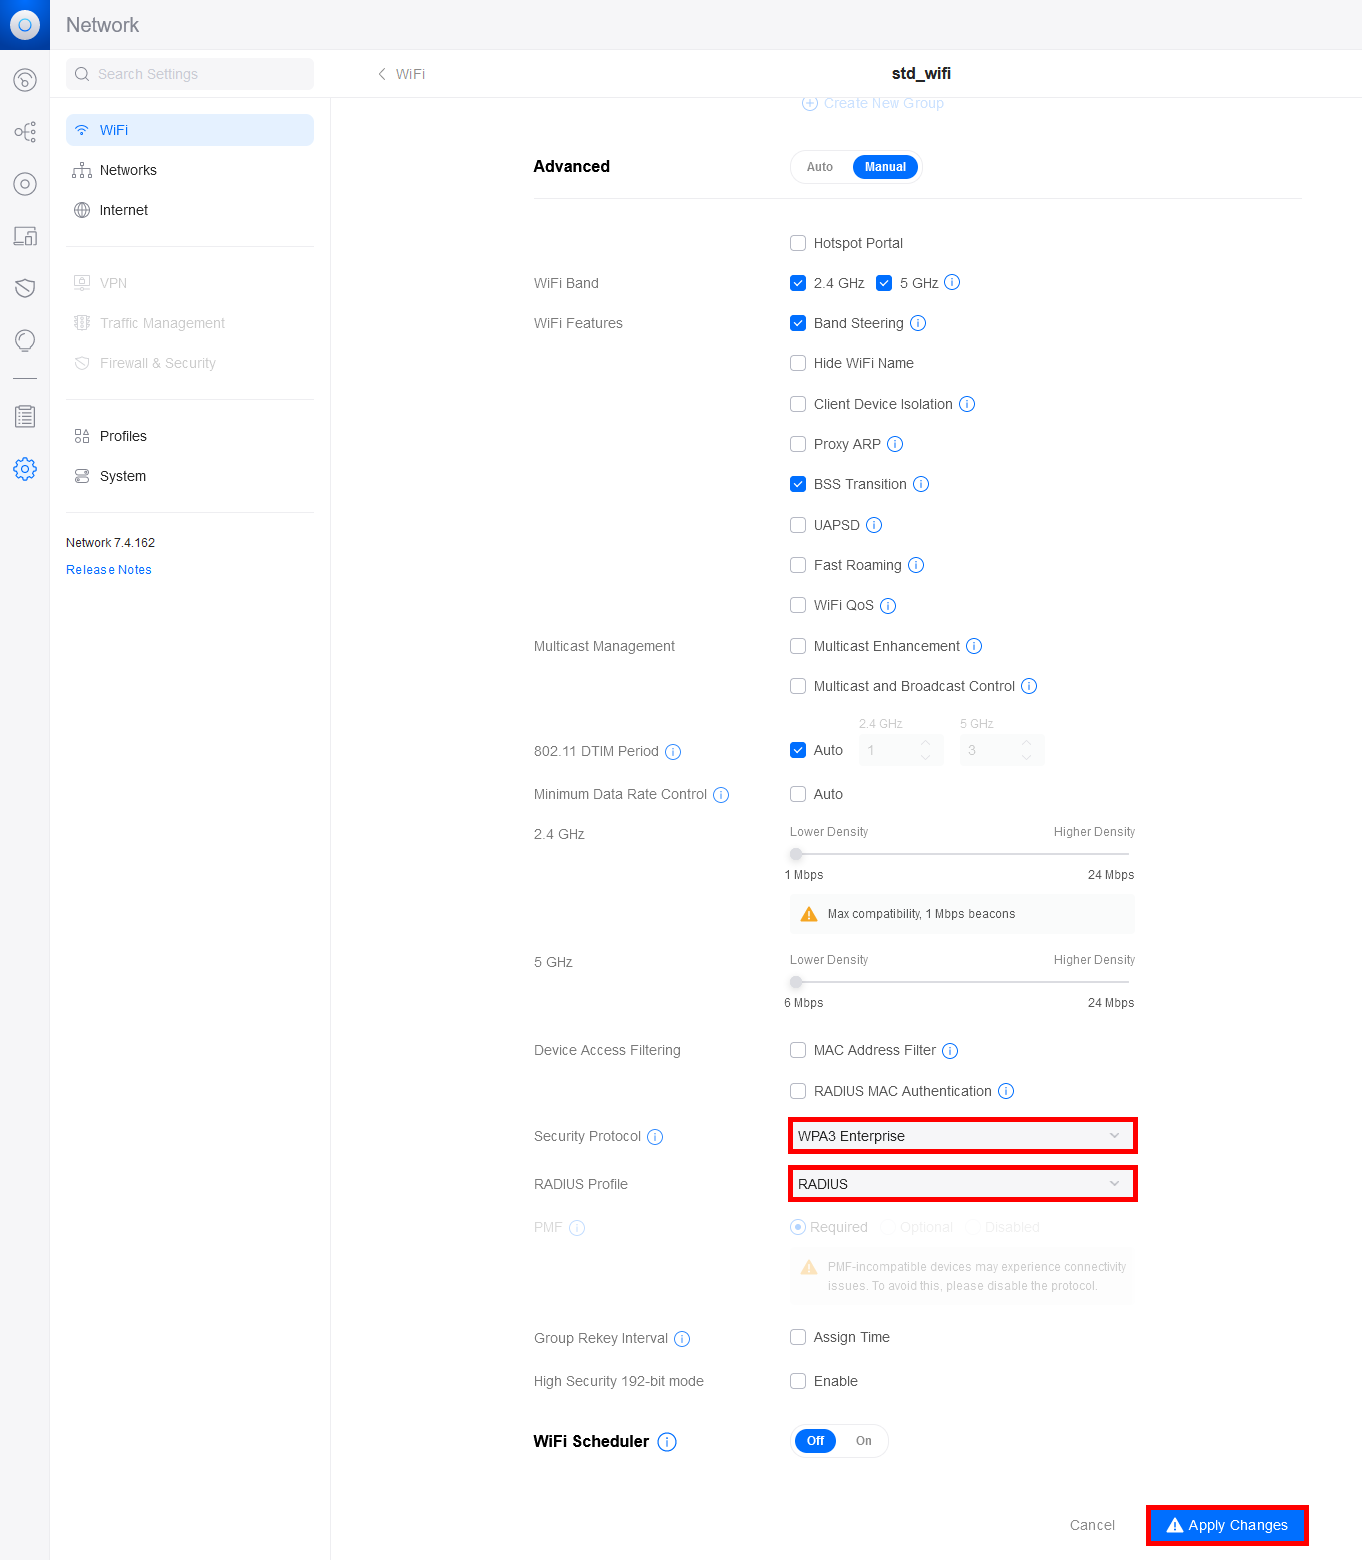
- Set the Security Protocol and the RADIUS Profile:
Supplicant
Last step, as explained previously, we need to declare the previously created certificate as legitimate. To do this, we must deploy the exported certificate on each Supplicant computer that needs to connect to the WiFi. We can do this manually or via GPO.
Manually
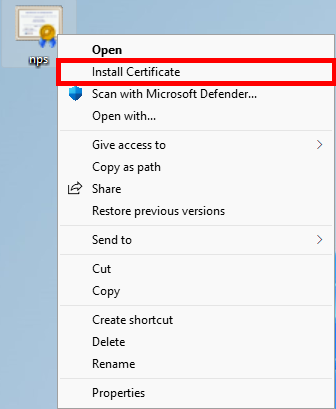
First, copy the certificate to the Supplicant.
- Open or click on Install Certificate:
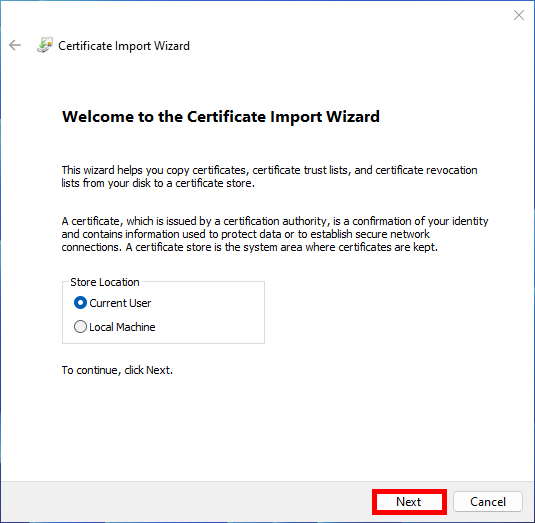
- Choose Current User or Local Machine; both should work:
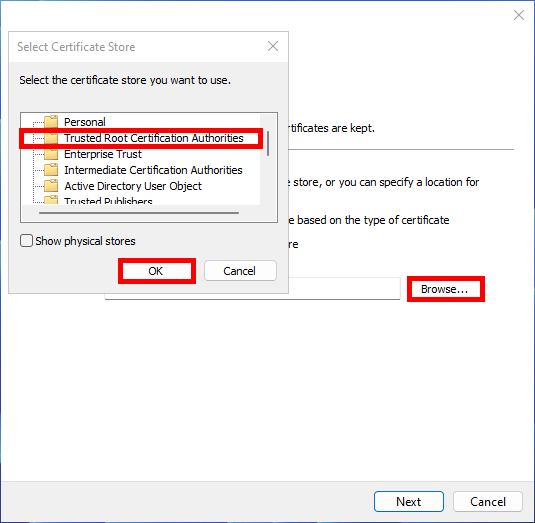
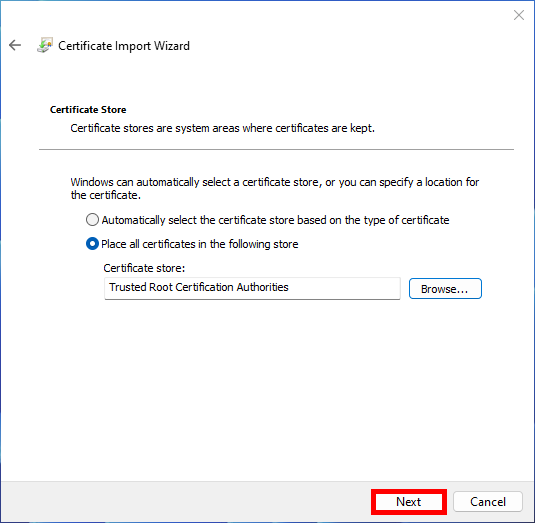
- Click Browse, then select Trusted Root Certification Authorities:
- Then click Next:
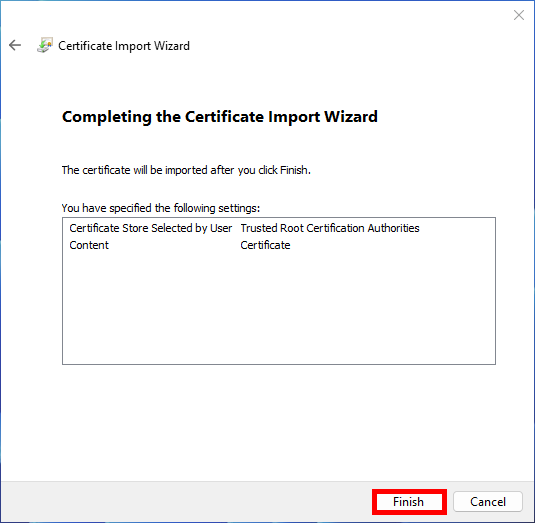
- Click Finish to complete import:
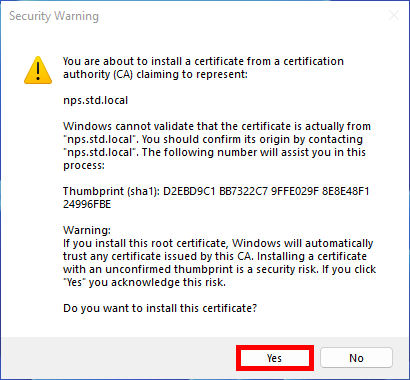
- Click Yes on the Security Warning Window:
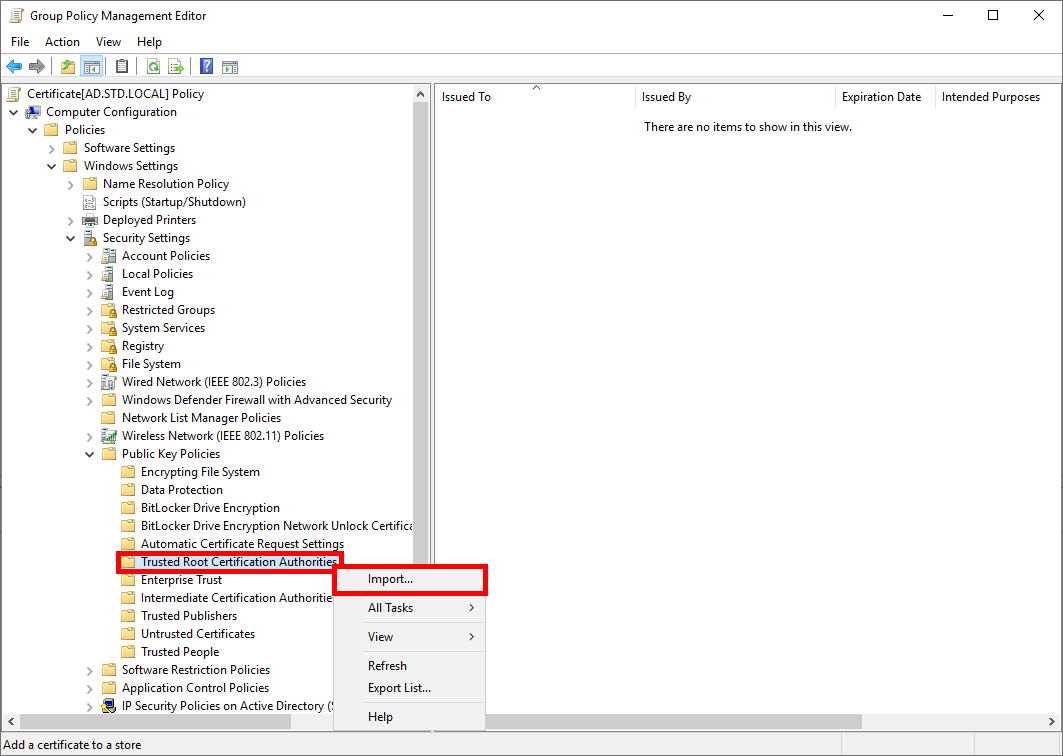
GPO
- Create a new GPO and import certificate to Computer Configuration > Policies > Windows Settings > Security Settings > Public Key Policies > Trusted Root Certification Authorities:
References
- https://www.securew2.com/
- https://www.youtube.com/
- https://serverfault.com/
- https://www.youtube.com/
- https://pbarth.fr/node/407
- https://pbarth.fr/node/426
- https://www.virtualizationhowto.com/2020/05/ubiquiti-unifi-radius-authentication-configuration/
- https://forsenergy.com/fr-fr/radius/html/25b886ed-75e9-4f49-8ca0-c90991dfc20e.htm