Setting Up DFS with Replication
- Last updated: Nov 11, 2024
Intro

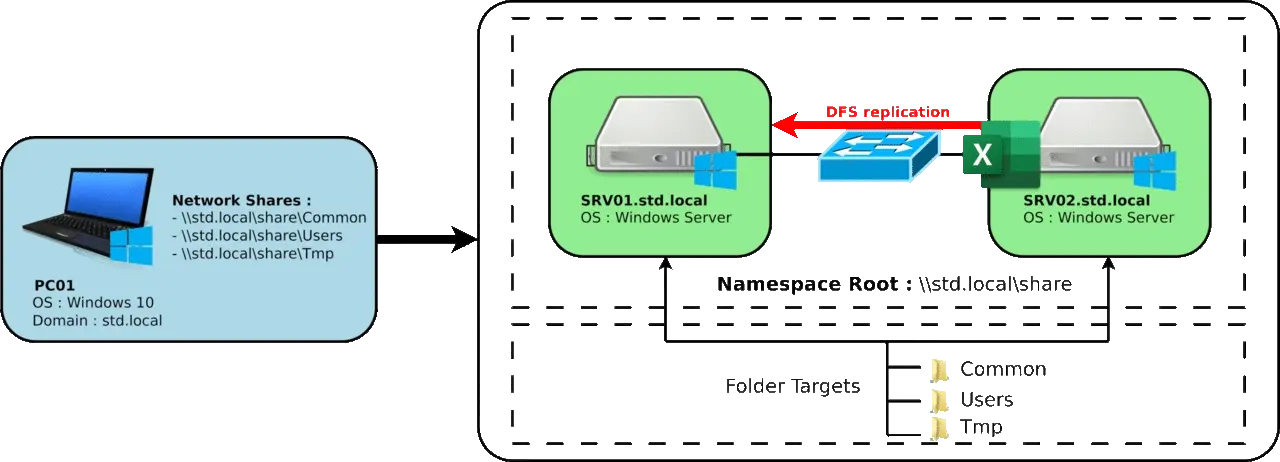
Here we'll look at how to install and configure a complete DFS architecture. I'll keep it simple, as I'll only be using two DFS servers, but more can be added to improve redundancy or if you have remote sites.
The aim here is to provide high availability for network shares.
In the event of failure of one of the two servers, the second will seamlessly take over.
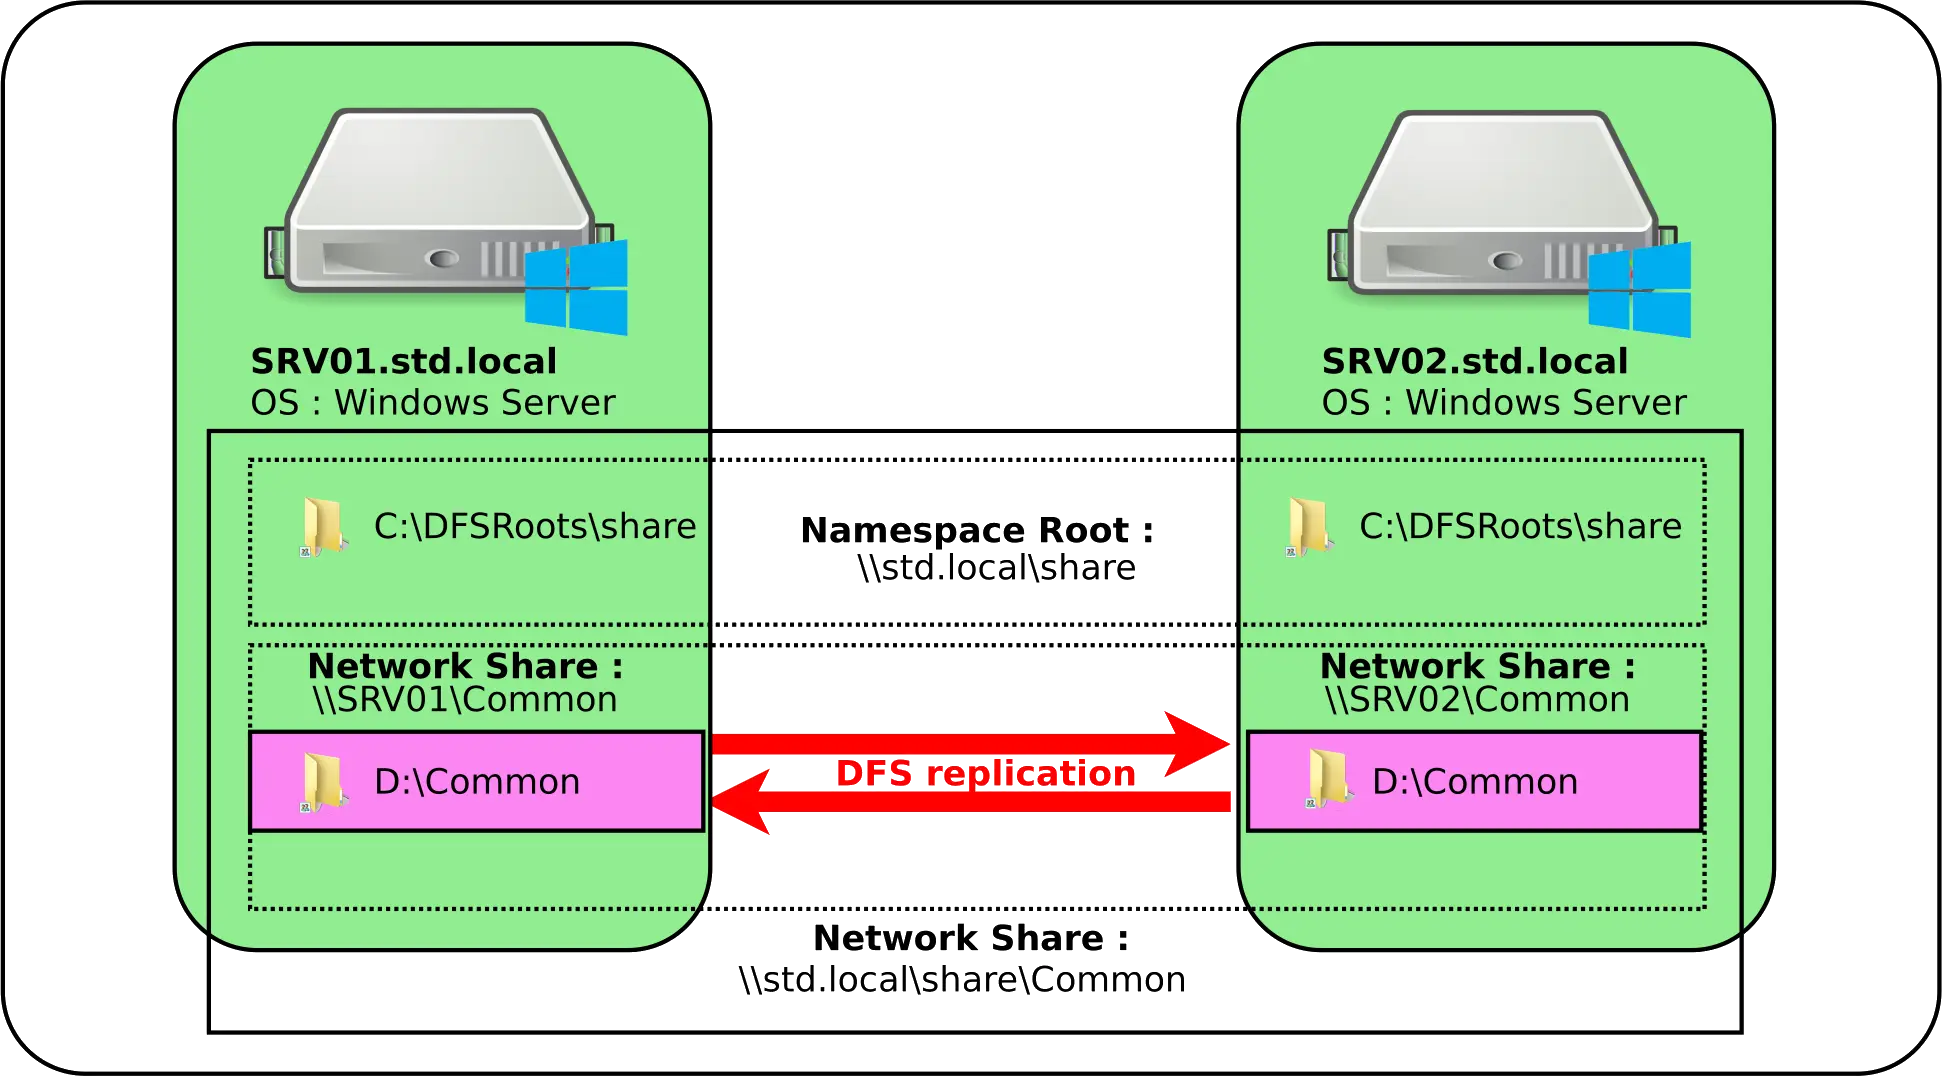
Network diagram
Installing DFS roles (SRV01 and SRV02)
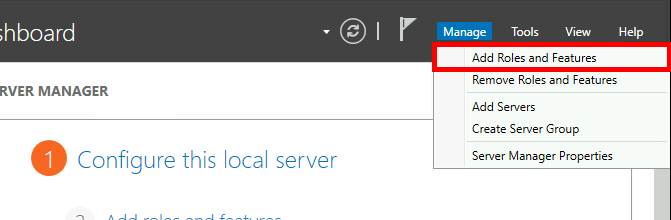
We need to install the DFS roles on both servers, either via the GUI or PowerShell.
PowerShell
- Install the replication and namespace roles in a single PowerShell command:
PS C:\Users\administrator.STD> Install-WindowsFeature "FS-DFS-Namespace","FS-DFS-Replication" -IncludeManagementTools
GUI
- In the Server Manager dashboard, click Manage > Add Roles and Features:
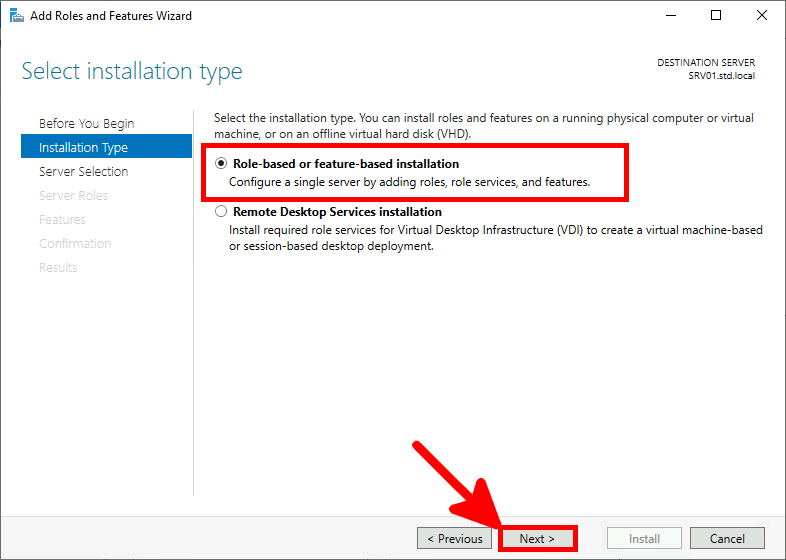
- Select Role-based or feature-based installation:
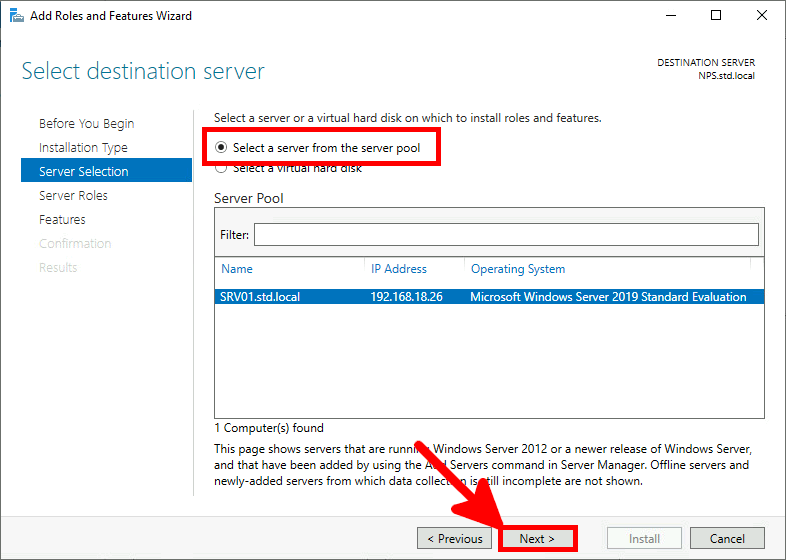
- Select local server:
- Select the DFS Namespace and DFS Replication roles:
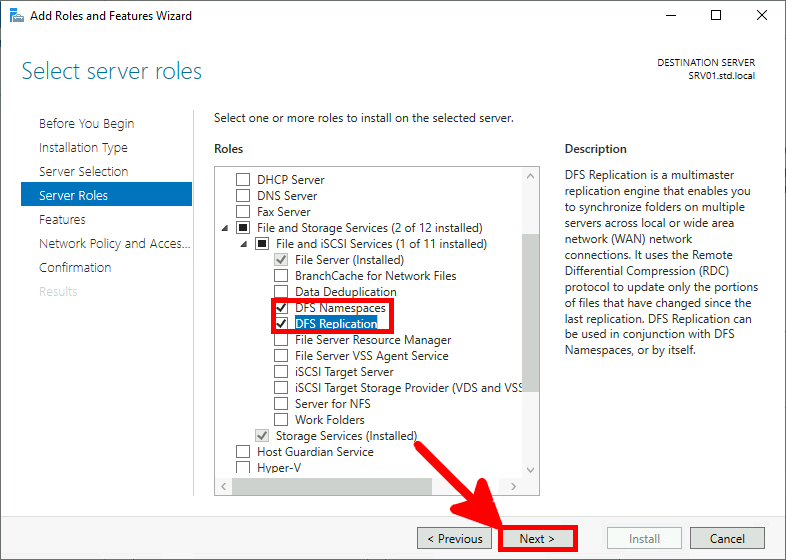
- No Feature, click Next:

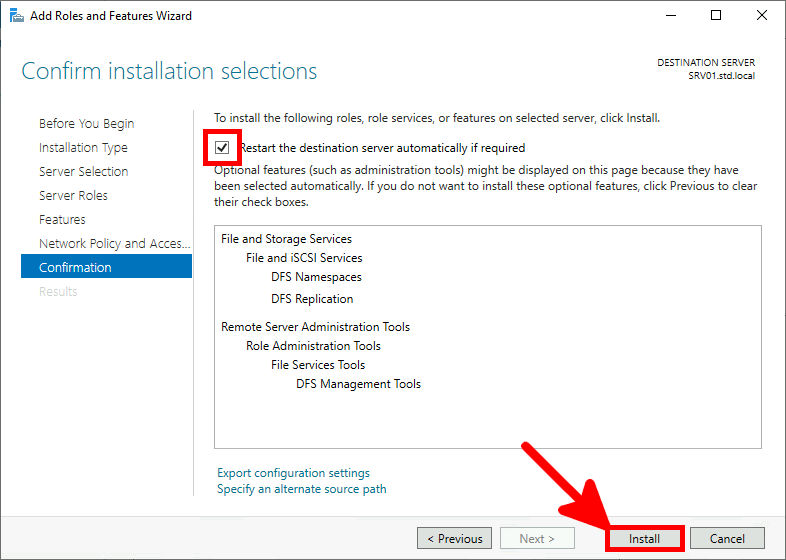
- Check the Restart destination server and click on Install:
The DFS Namespace
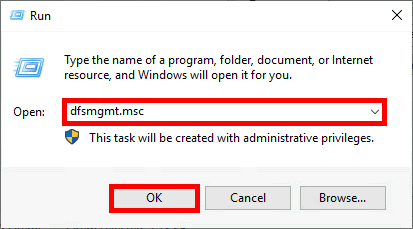
- Open the DFS Management console («dfsmgmt.msc»):
Create a Namespace
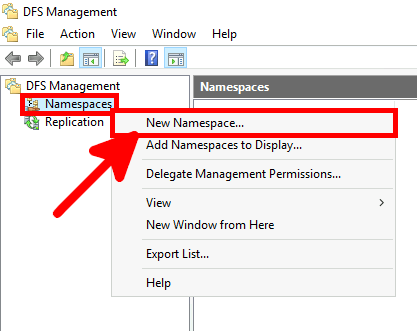
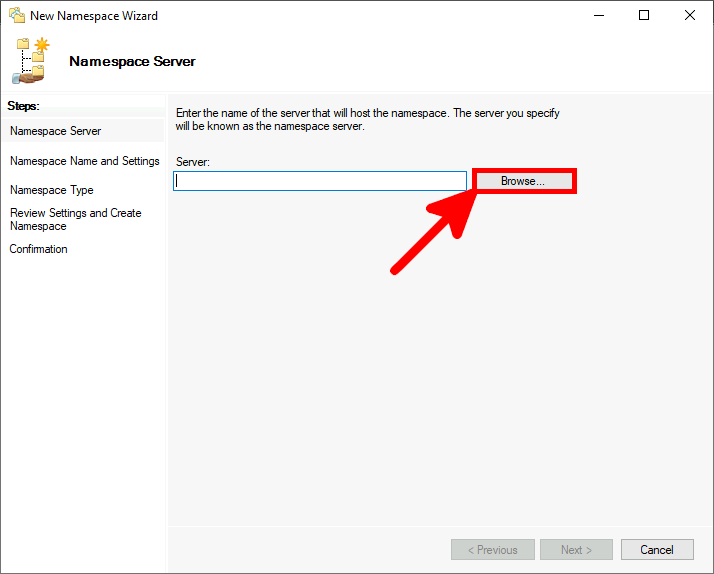
- In the DFS Management console, right-click on Namespaces and select New Namespace…:
- Click on Browse:
- Search and select the first server:
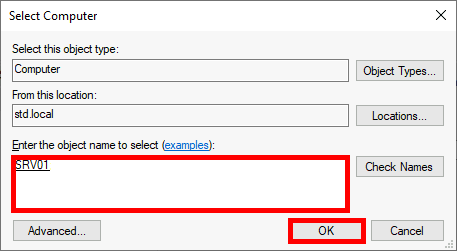
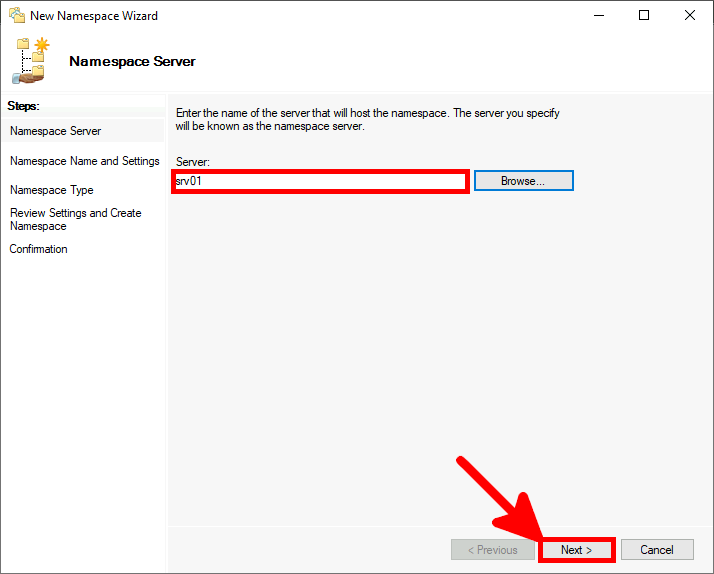
- Click on Next:
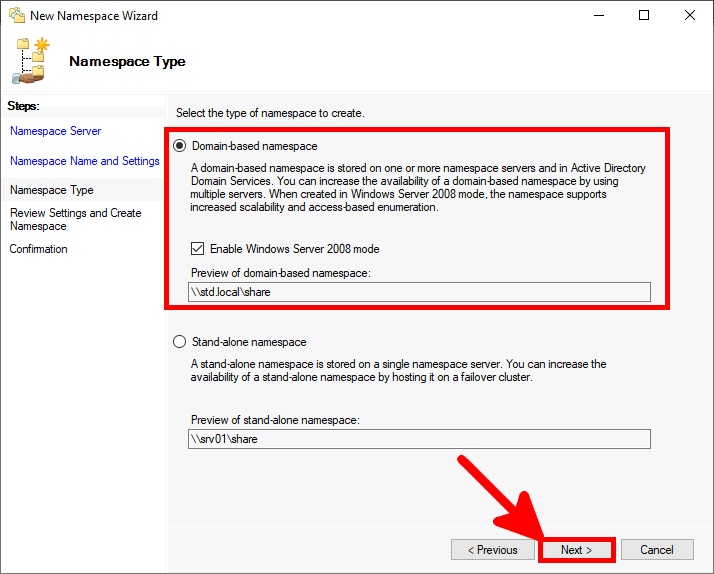
- Enter a name for the Namespace:
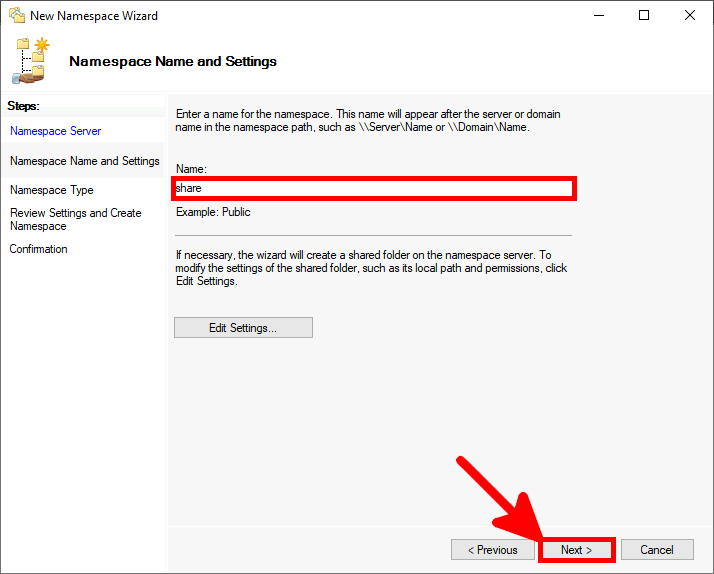
- Leave the default value and click Next:
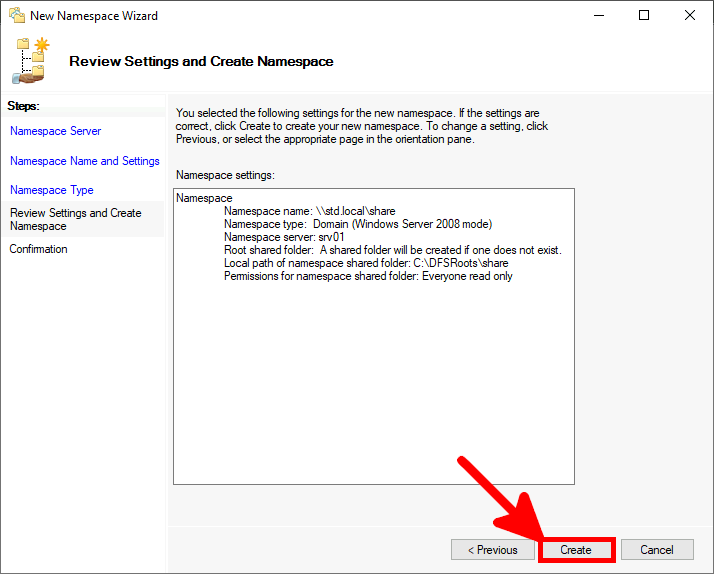
- Click on Create:
- Click on Close:
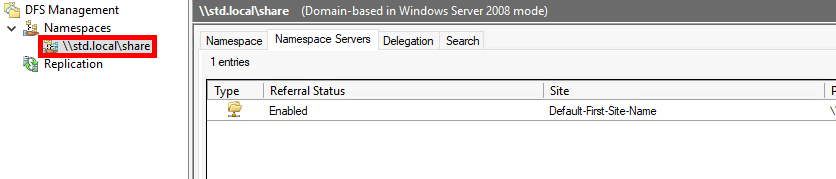
- Your new namespace should appear:
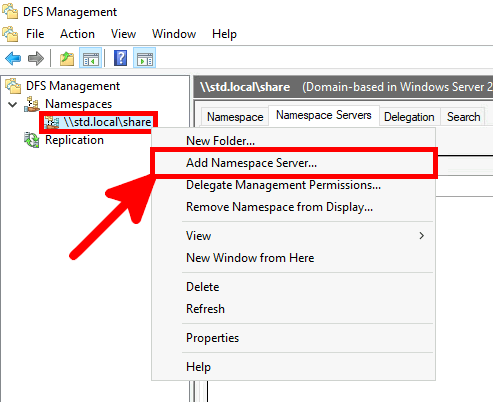
Adding a Namespace Server
We now need to add our SRV02 as a namespace server.
- In the DFS management console, right-click on Namespaces and select Add Namespace Server…:
- Click on Browse:
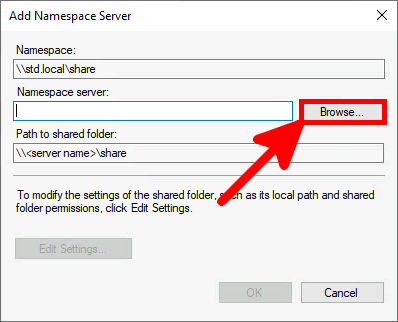
- Search and select the second server:

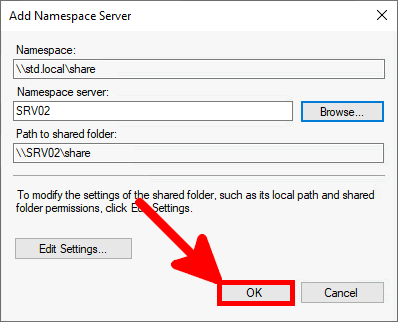
- Click OK to add second server:
- You should now see your two servers as namespace server:

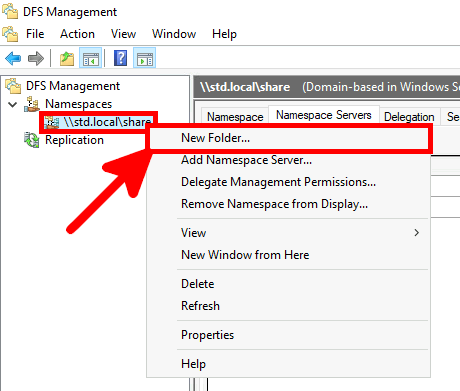
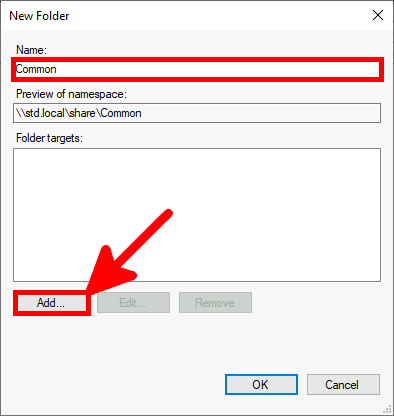
Create the Folder Targets
- In the DFS Management console, right-click on your namespace and select New Folder…:
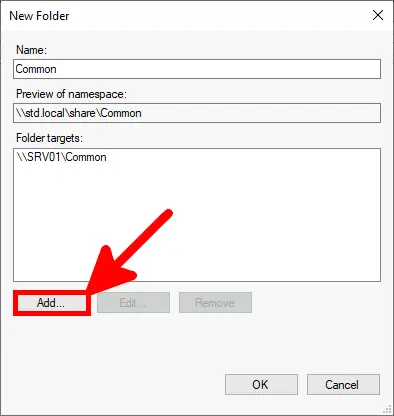
- Give your folder a name and click on Add…:
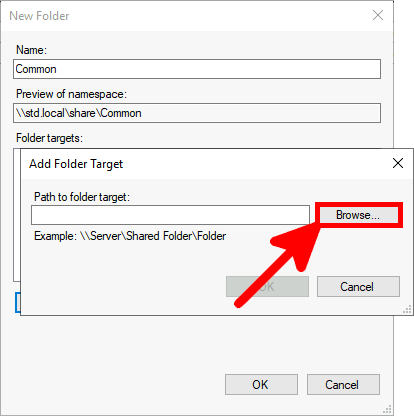
- Click on Browse:
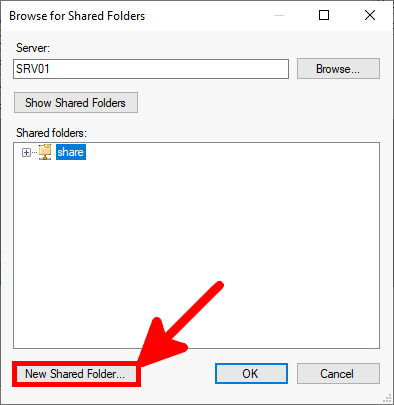
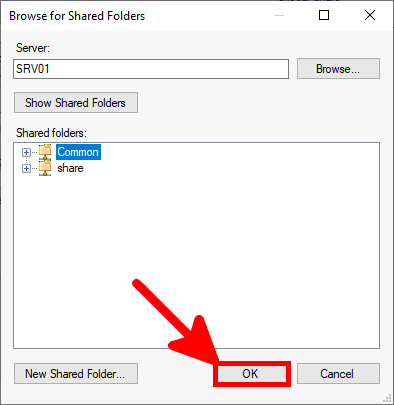
- Click on New Shared Folder…:
- Click on Browse…:
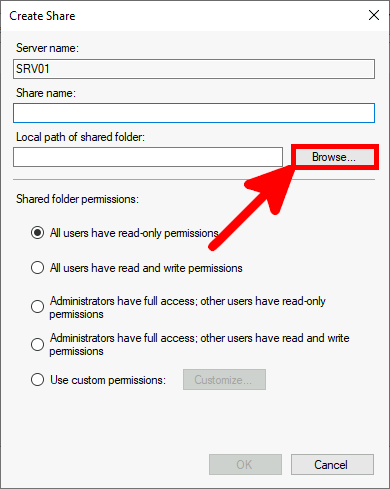
- Select a folder and click on OK:
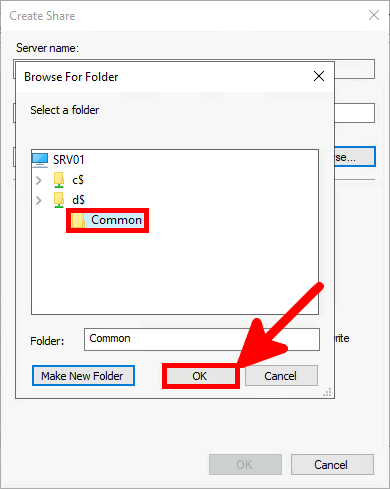
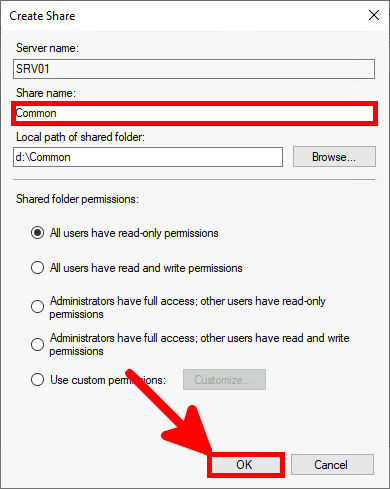
- Give your share a name and click OK, three times:
- Repeat the same procedure to create the SRV02 folder:
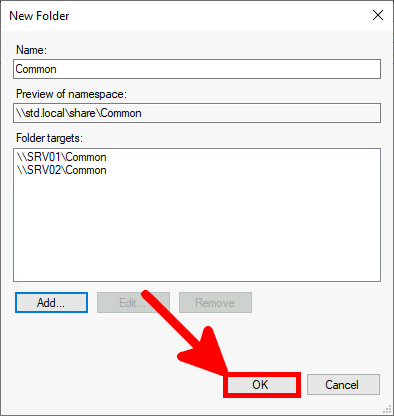
- Once both Folder targets have been configured, click OK:
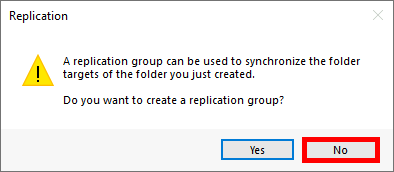
- A prompt window appears, asking you to configure replication automatically, as we will do manually, click No:
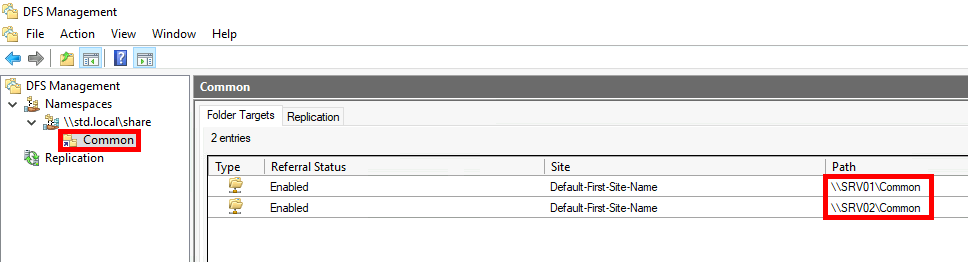
- You should now see your Folder targets:
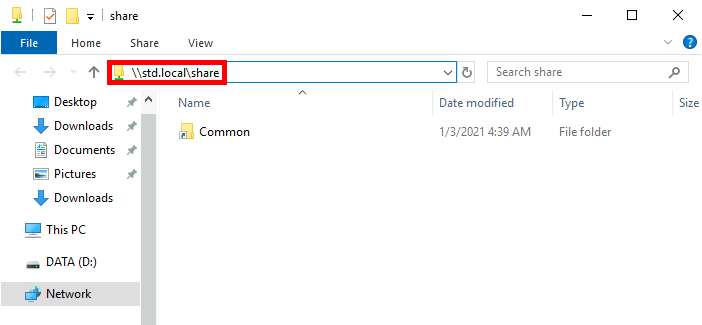
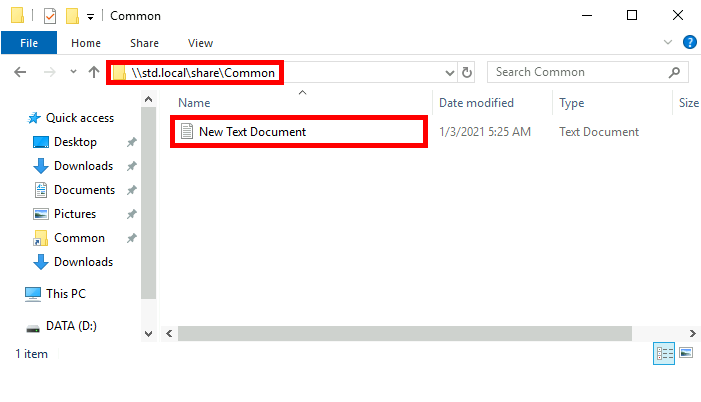
- You should now be able to access your share via Namespace:
Share Permissions
- If you try to create a file from your namespace, you should see a Destination Folder Access Denied window:
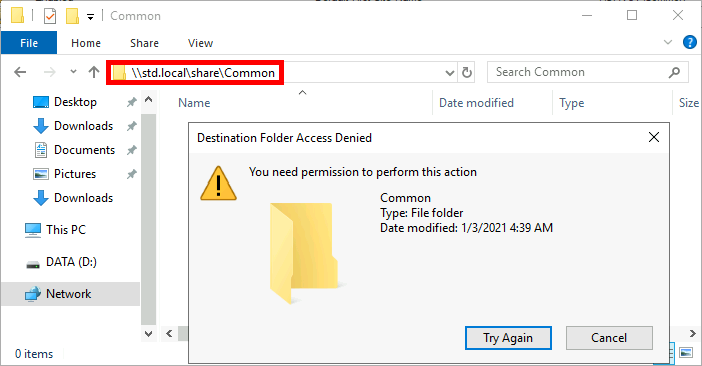
The reason is that, by default, we only have read access. Let's see how to change this.
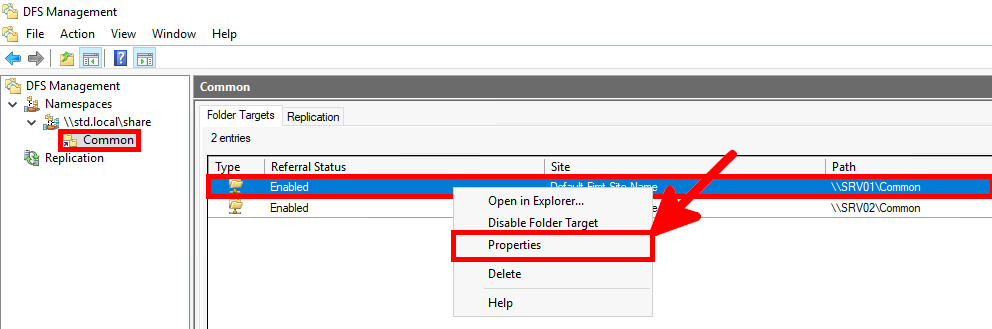
- In the DFS Management Console, right-click on the SRV01 entry and click on Properties:
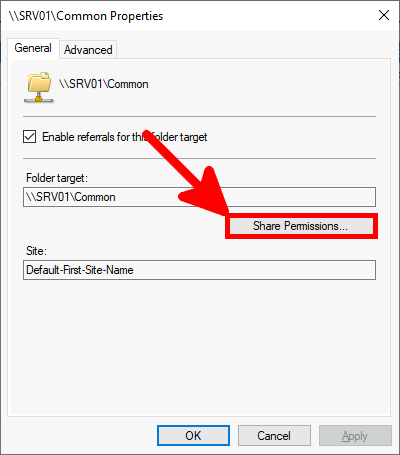
- In the General tab, click on Share Permissions…:
- Check the boxes to add Permissions rights for everyone, then click OK:
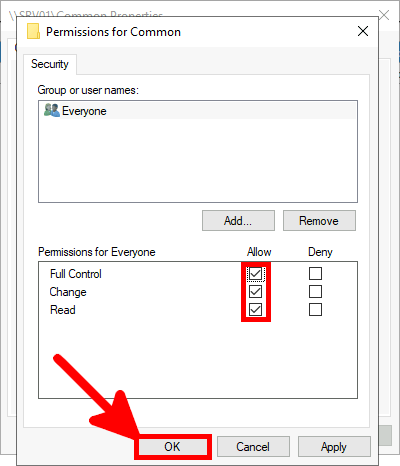
Do the same for the SRV02 entrie.
- You should now be able to create Files:
- If we have created files on our nameshare, we can see that they are only present on one of our two servers:
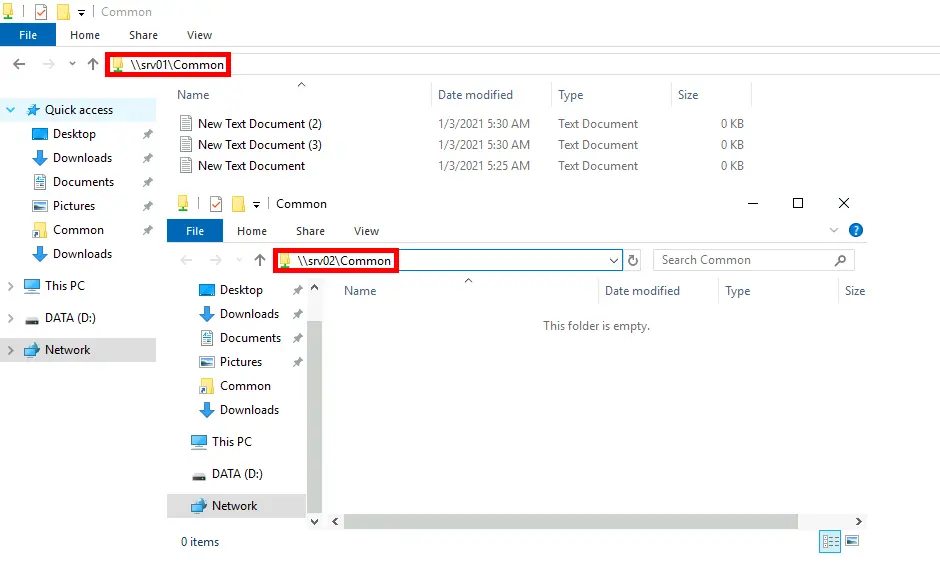
This is quite normal, as we now need to configure DFS replication so that we have the same files on both our servers. We'll look at this in the next chapter.
DFS Replication
As you can see from this diagram, DFS Replication will synchronize our two Common local folders on our servers.
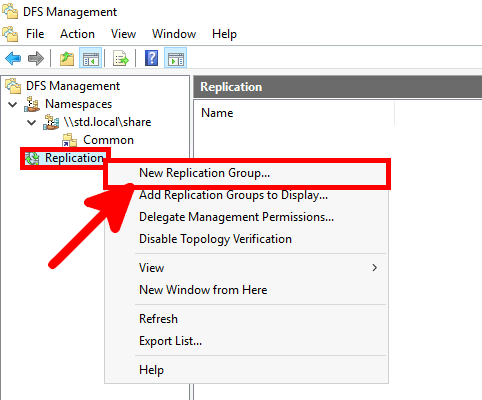
- In the DFS Management console, right-click on Replication and select New Replication Group…:
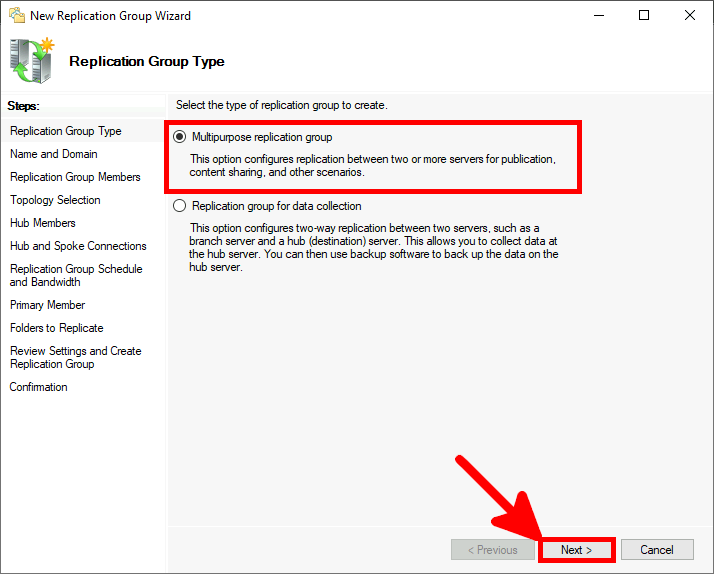
- Select Multipurpose replication group and click Next:
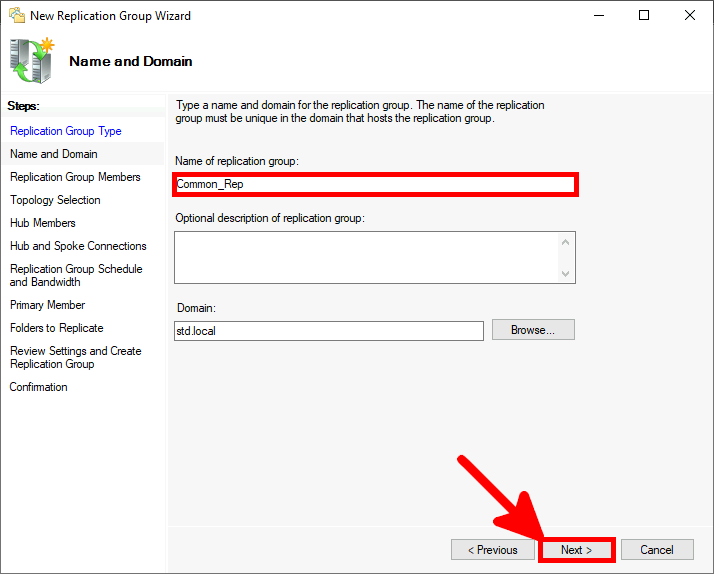
- Define replication name:
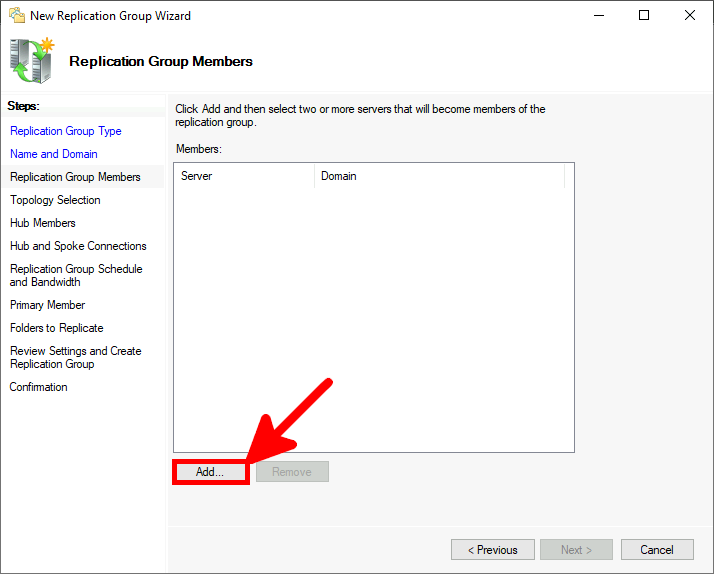
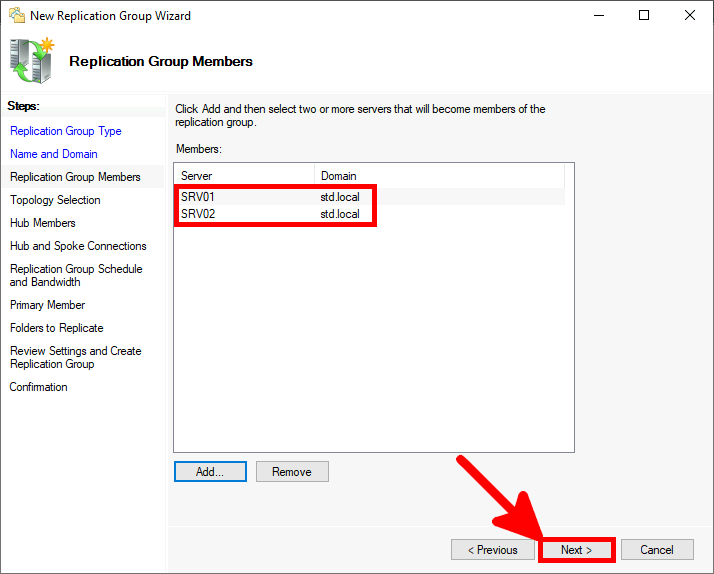
- In the Replication Group Members section, click on Add…:
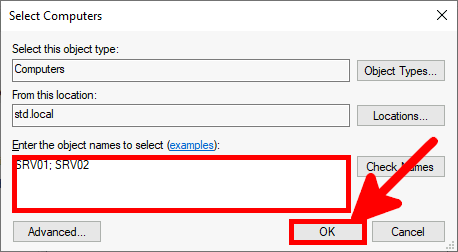
- Add the name of our two servers name and click on OK:
- Then click on Next:
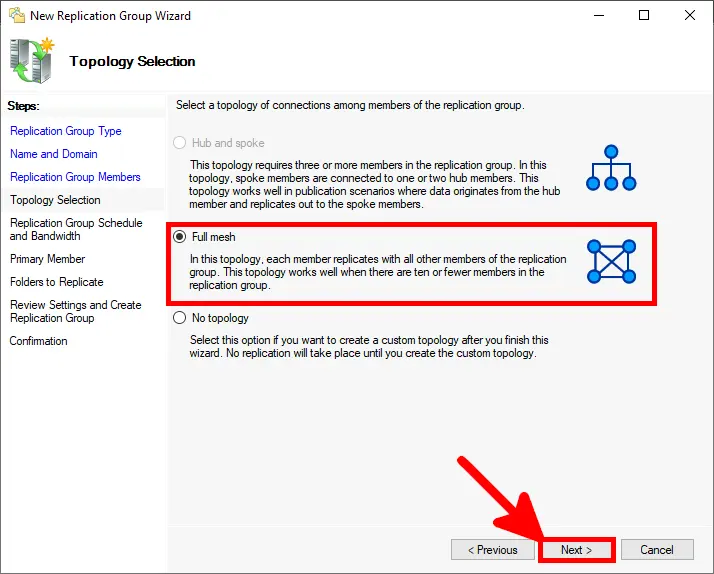
- Select Full mesh and click Next:
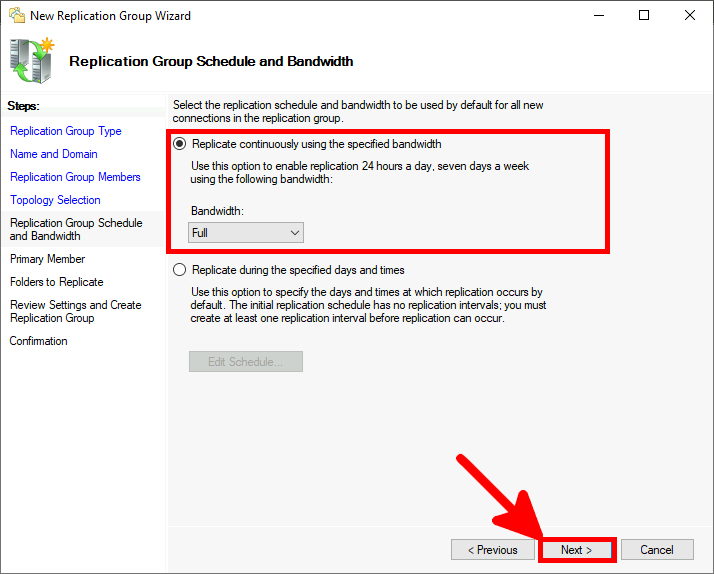
- In Replication Group Schedule and Bandwidth, select an appropriate bandwidth based on the link speed between the two servers. As they are on the same LAN in my test architecture, I chose Full Bandwidth:
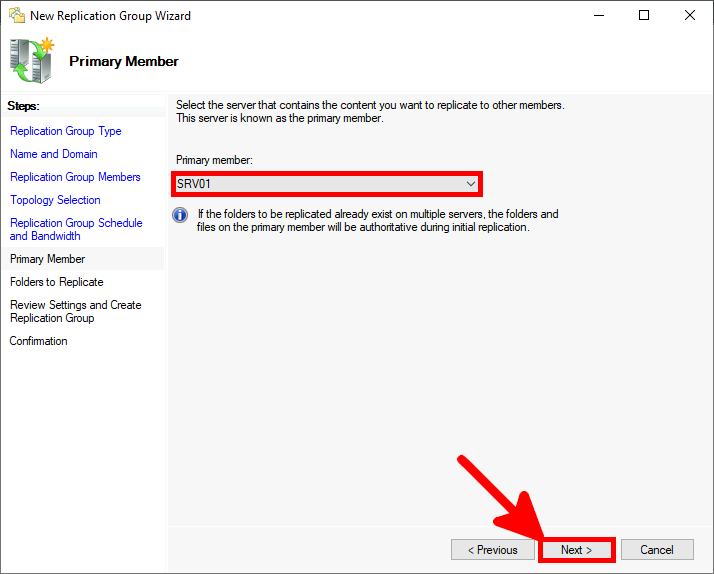
- Choose the primary server from which we want to replicate to the other members:
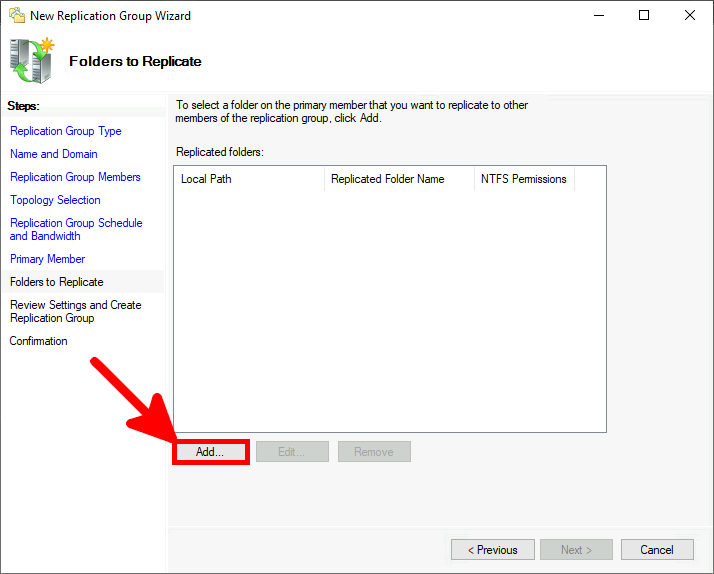
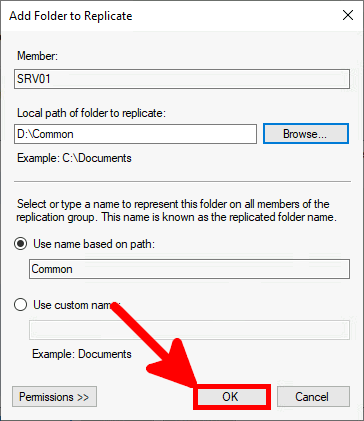
- We now need to specify the folders to be replicated. In our case, these are the two shared folders in D:\Common on our two servers:
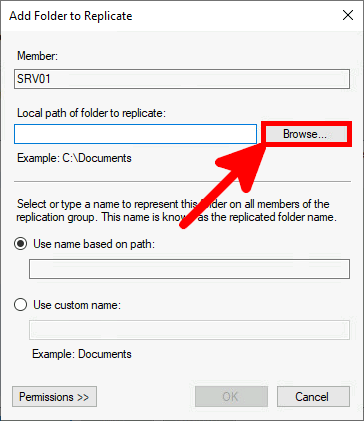
- Click on Browse:
- Select the Common folder:
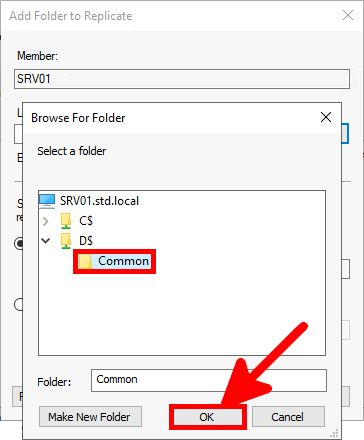
- Validate by clicking on OK:
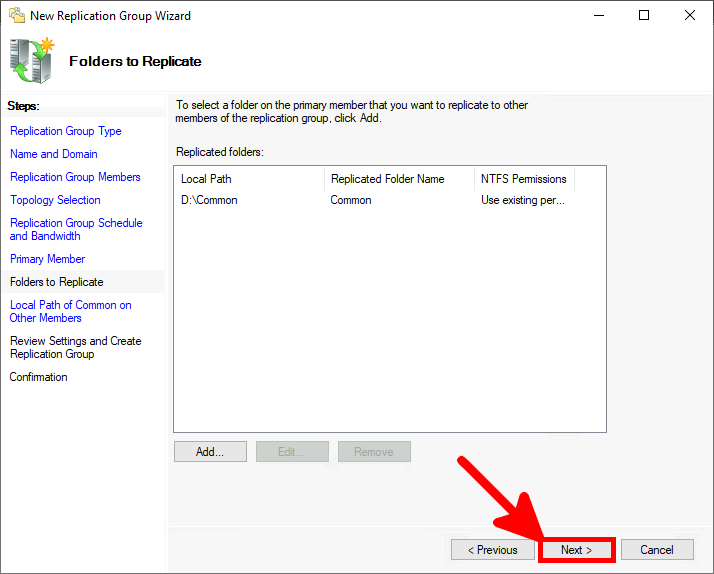
- Click on Next:
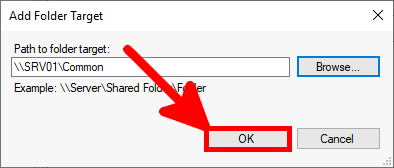
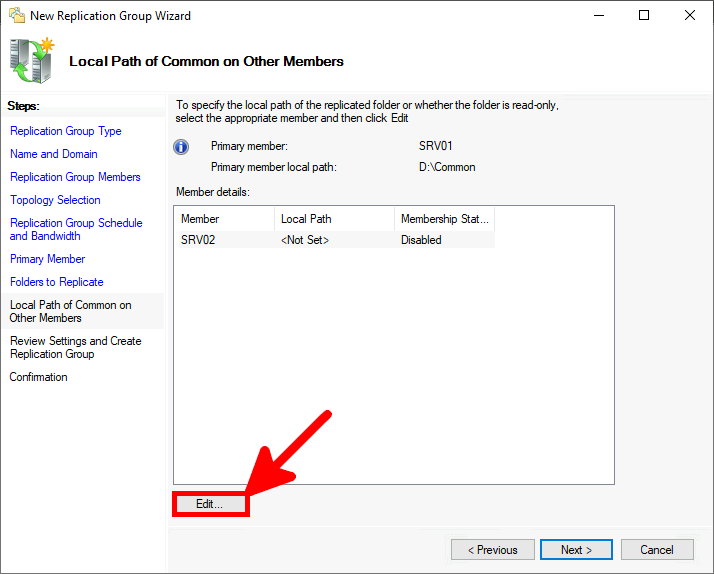
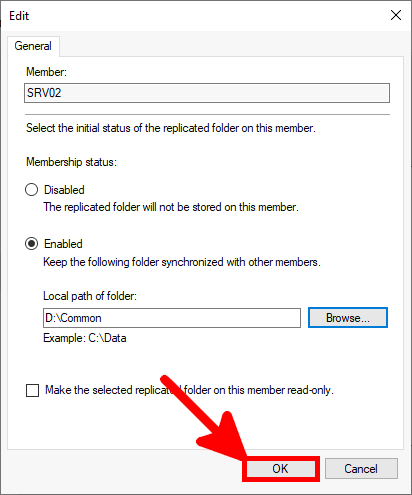
- Click on Edit to specify the path to the Common folder on the SRV02 server:
- Select Enabled and click on Browse:
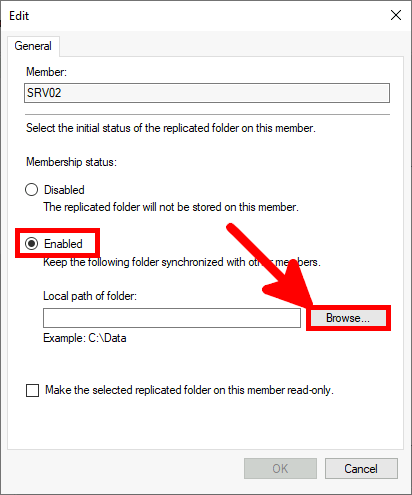
- Select the Common folder:
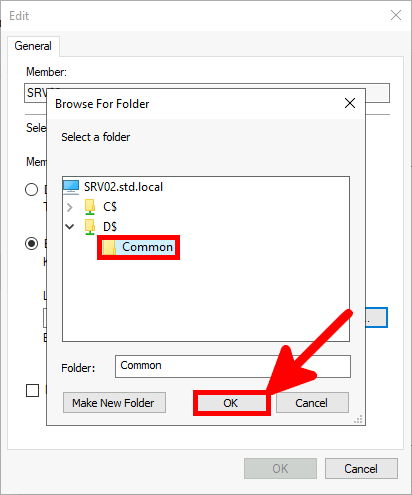
- Confirm by clicking on OK:
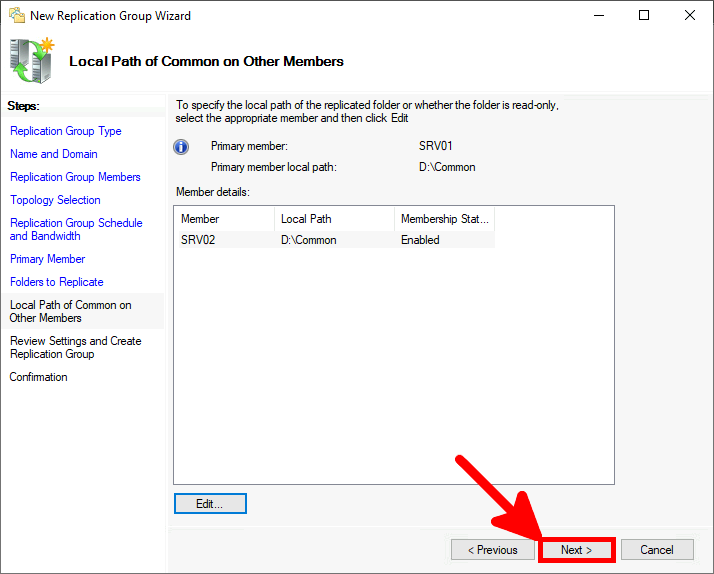
- Click on Next:
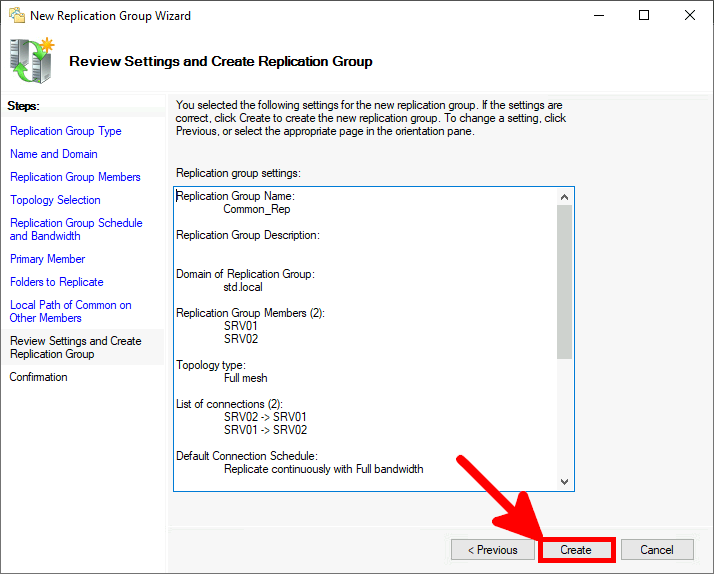
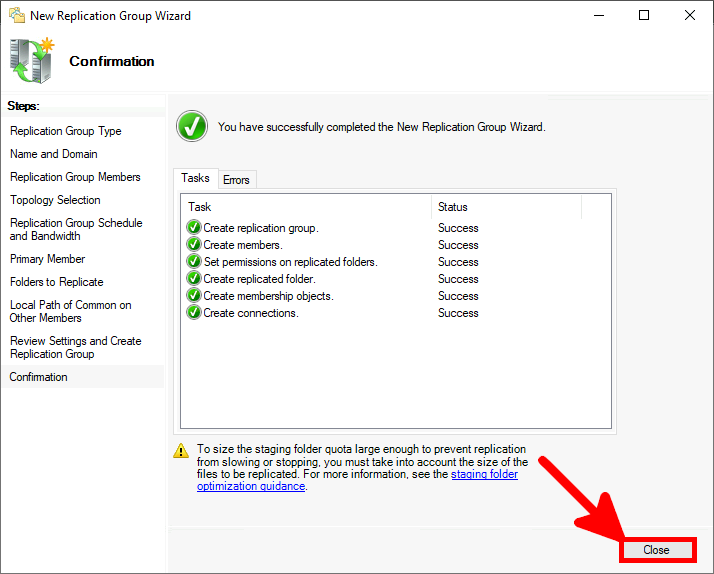
- Finally, click on Create to create our Replication Group:
- Close the window after verifying that all steps have been successfully completed:
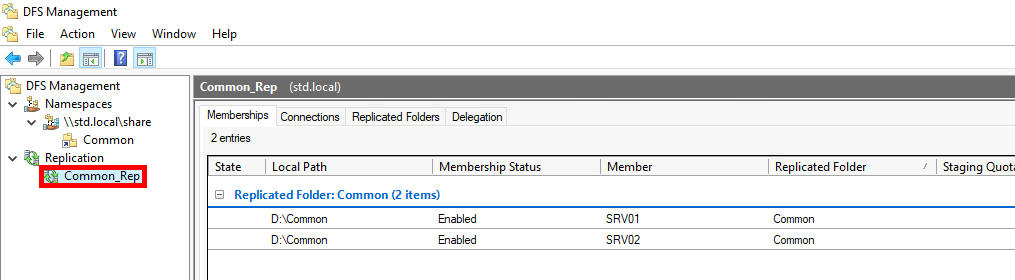
- In the DFS Management console, you should now see the Replication Group:
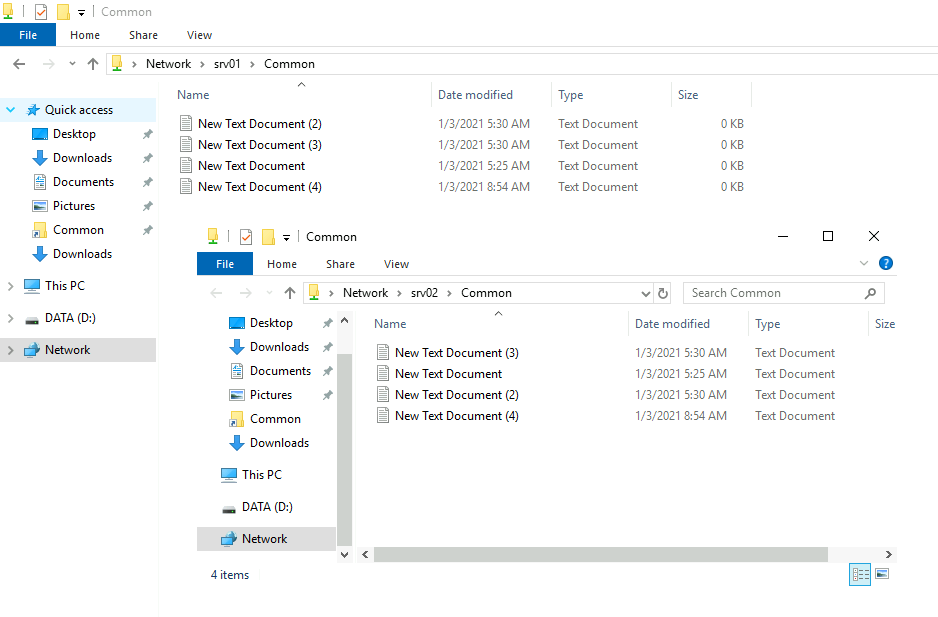
- After a few minutes (depending on network speed and the size of the data to replicate) we should see our two folders synchronized:
- If you have a large number of files to replicate and would like to check the replication status see this link: check the status of DFS replication.